Manual Keycloak Configuration (Legacy)
This document is provided for historical purposes and to help developers understand the logic behind the automated Terraform/OpenTofu scripts. For all modern installations of SW360 v20+, please refer to the Keycloak Authentication guide.
Legacy / Manual Configuration (Keycloak Admin Console)
(Not Recommended for production environments. Use the Terraform instructions if possible.)
These guides are here for understanding the Keycloak configuration. But the most up-to-date and recommended way to configure Keycloak is using Terraform/OpenTofu.
Login to Keycloak admin console.
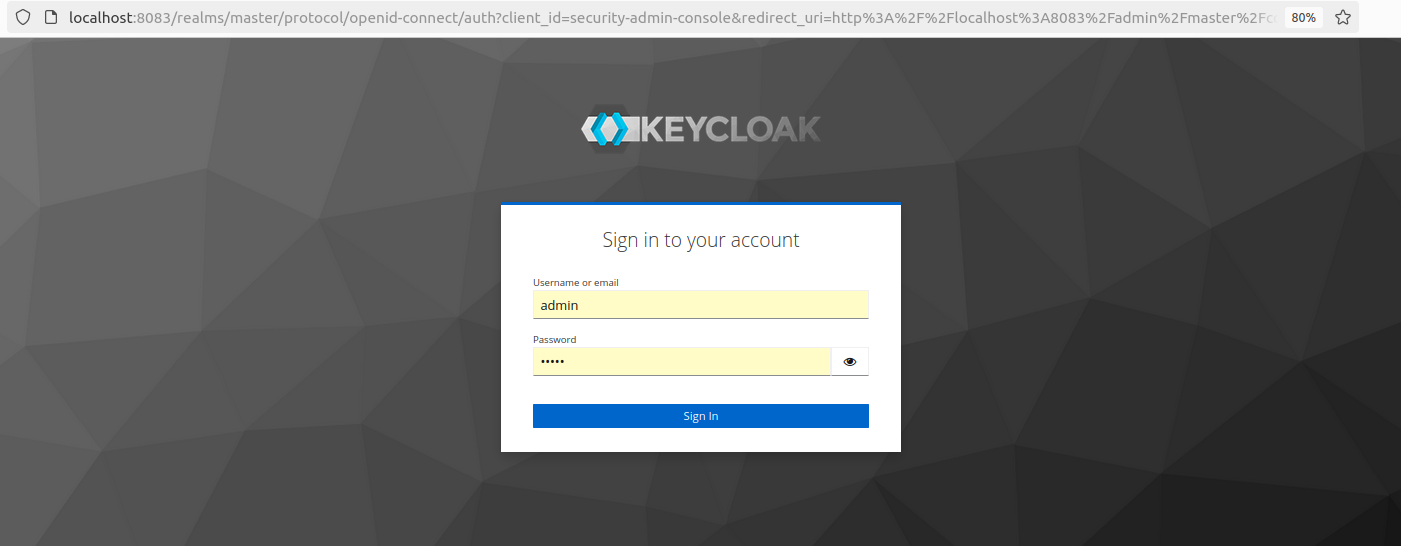
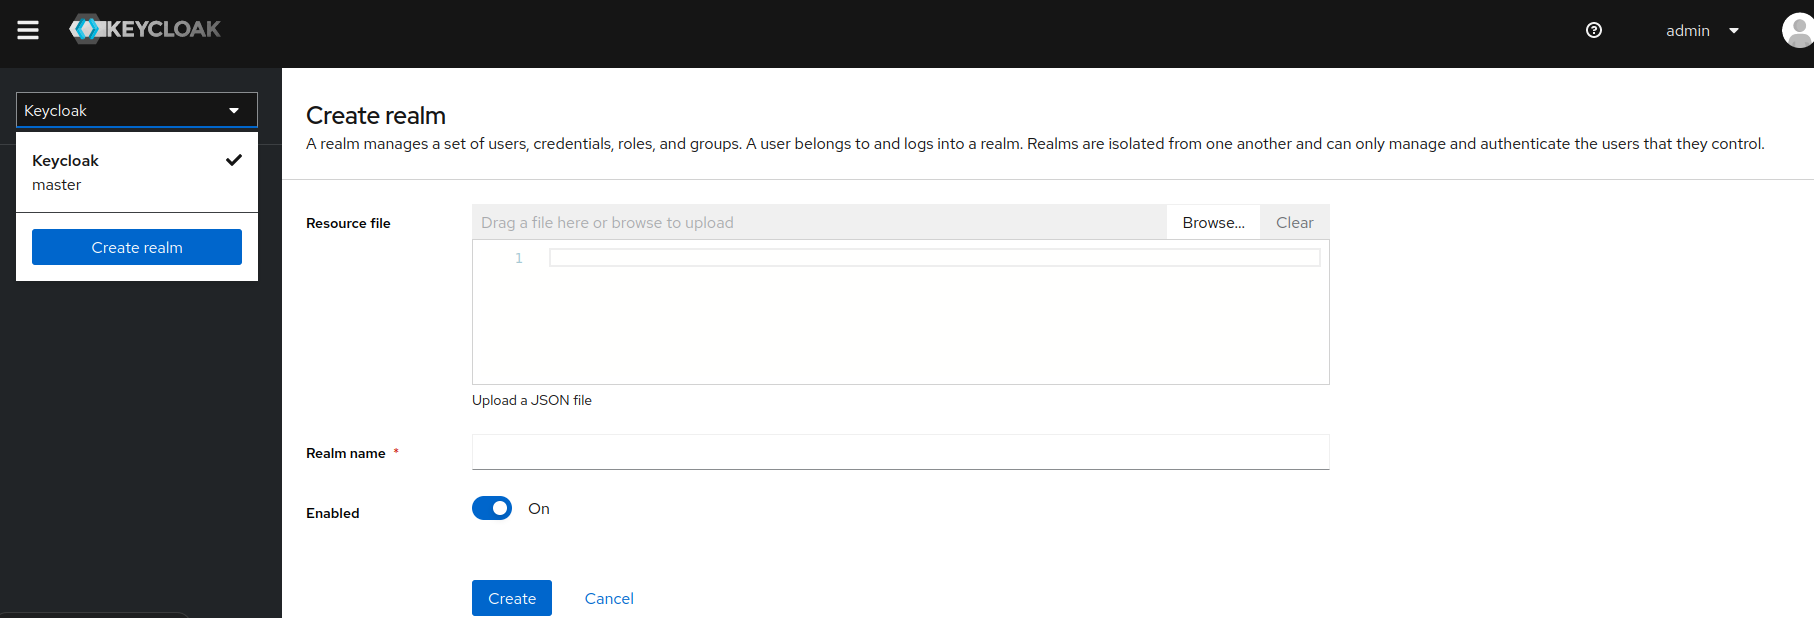
username: admin
password: admin
Create Realm and name it sw360.
Get the JWT issuer and key set for realm and update the backend file at
rest/resource-server/src/main/resources/application.ymland reinstall the backend. Restart the Tomcat server.- Select “OpenID Endpoint Configuration” from the “Realm Settings” and copy
jwks_uri. It will look something likehttp://localhost:8083/realms/sw360/protocol/openid-connect/certs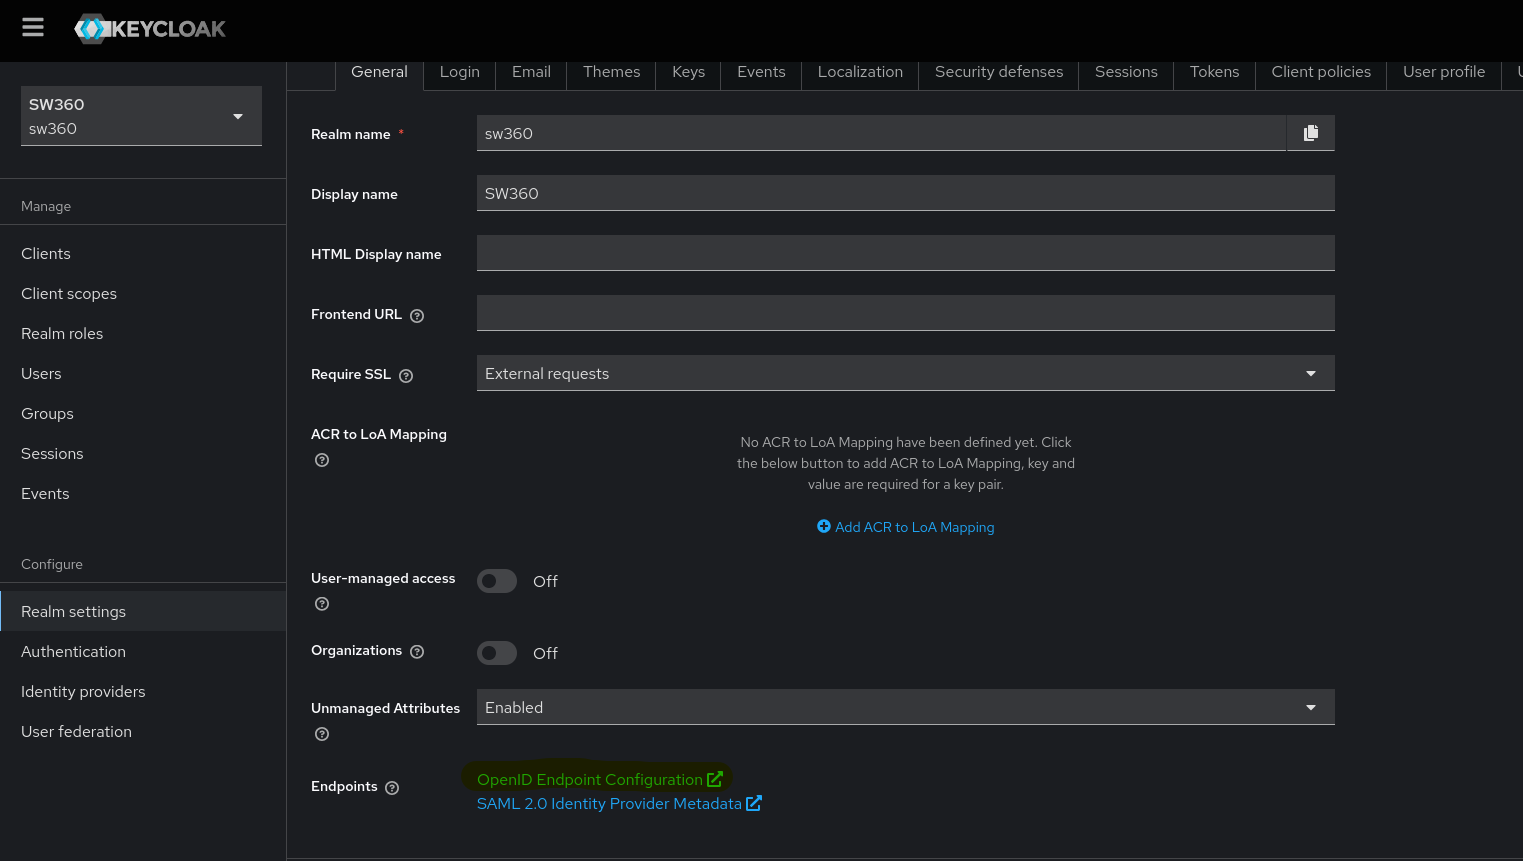
- Update the
issuer-uriandjwk-set-uriin theapplication.ymlfile with this copiedjwks_uri. - Build and install the backend one more time.
- Select “OpenID Endpoint Configuration” from the “Realm Settings” and copy
Create Client in Keycloak.
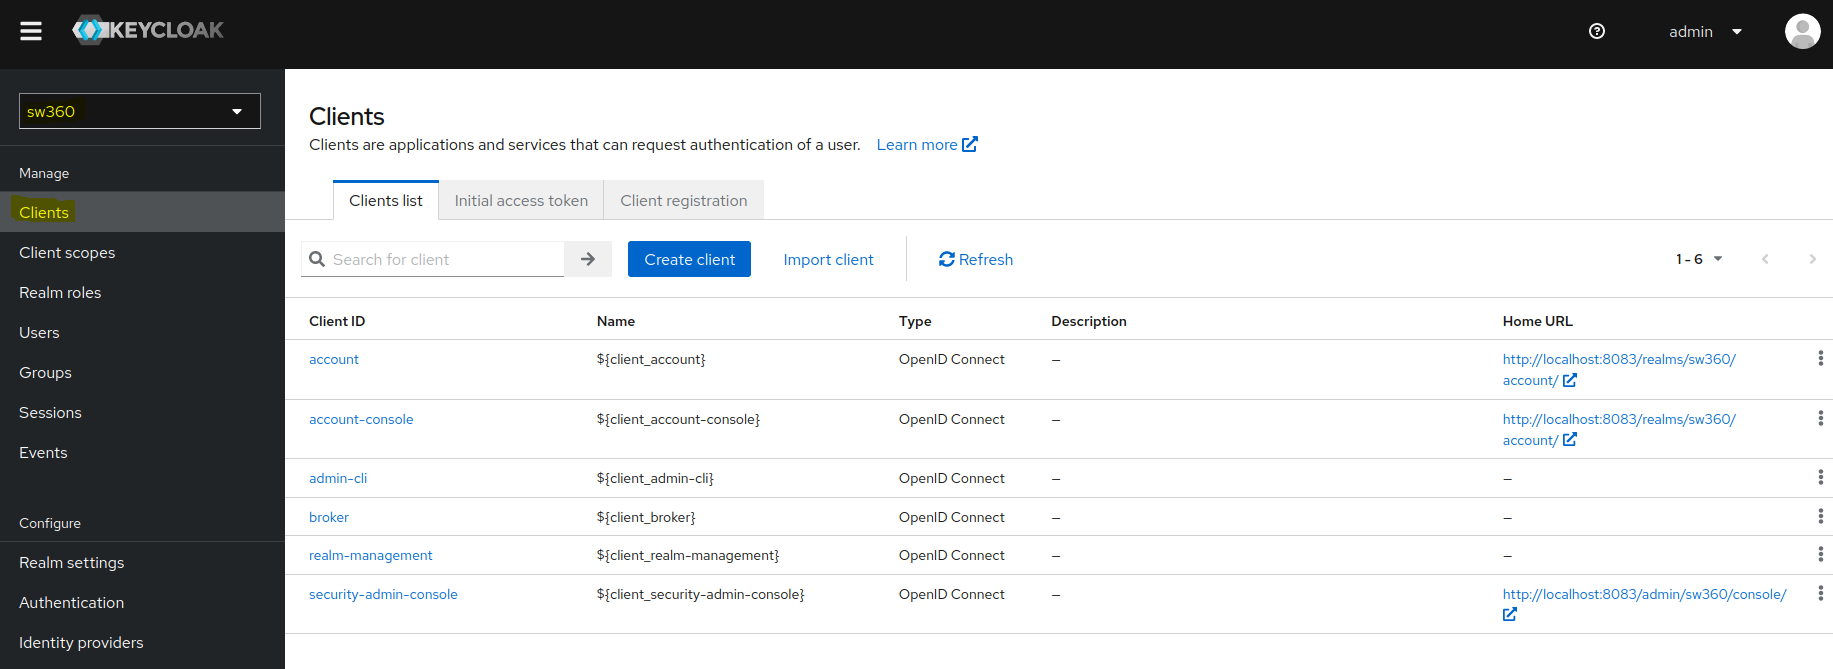
- Follow the below steps for client creation:
Under General settings, enter Client ID which will be used in
.envfile (SW360 Frontend Repo) as well as in rest.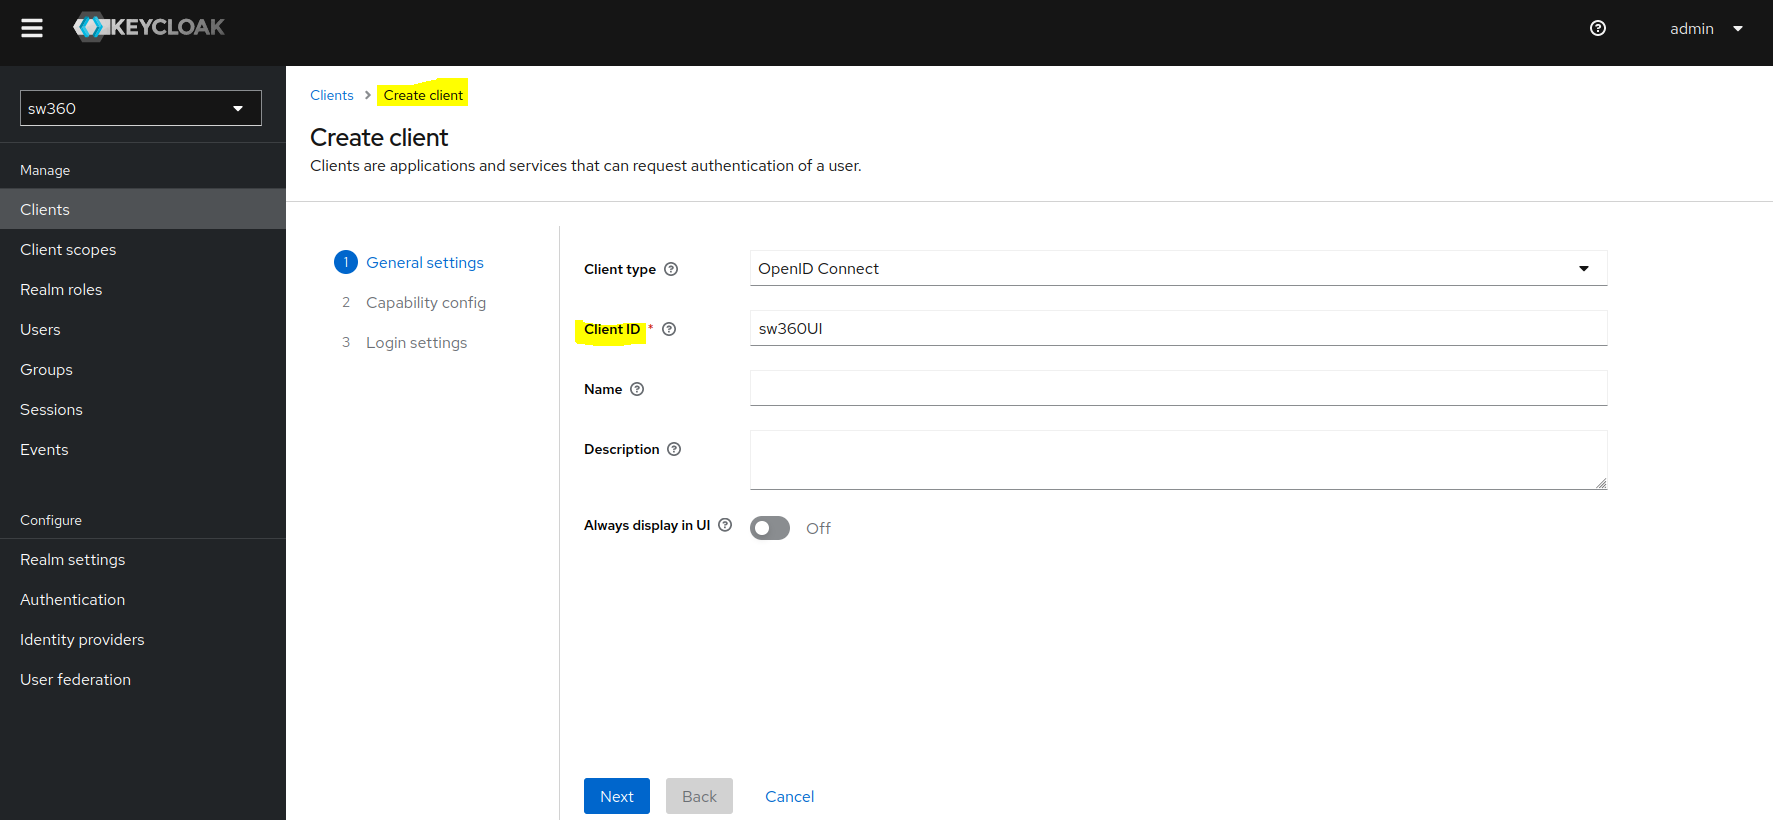
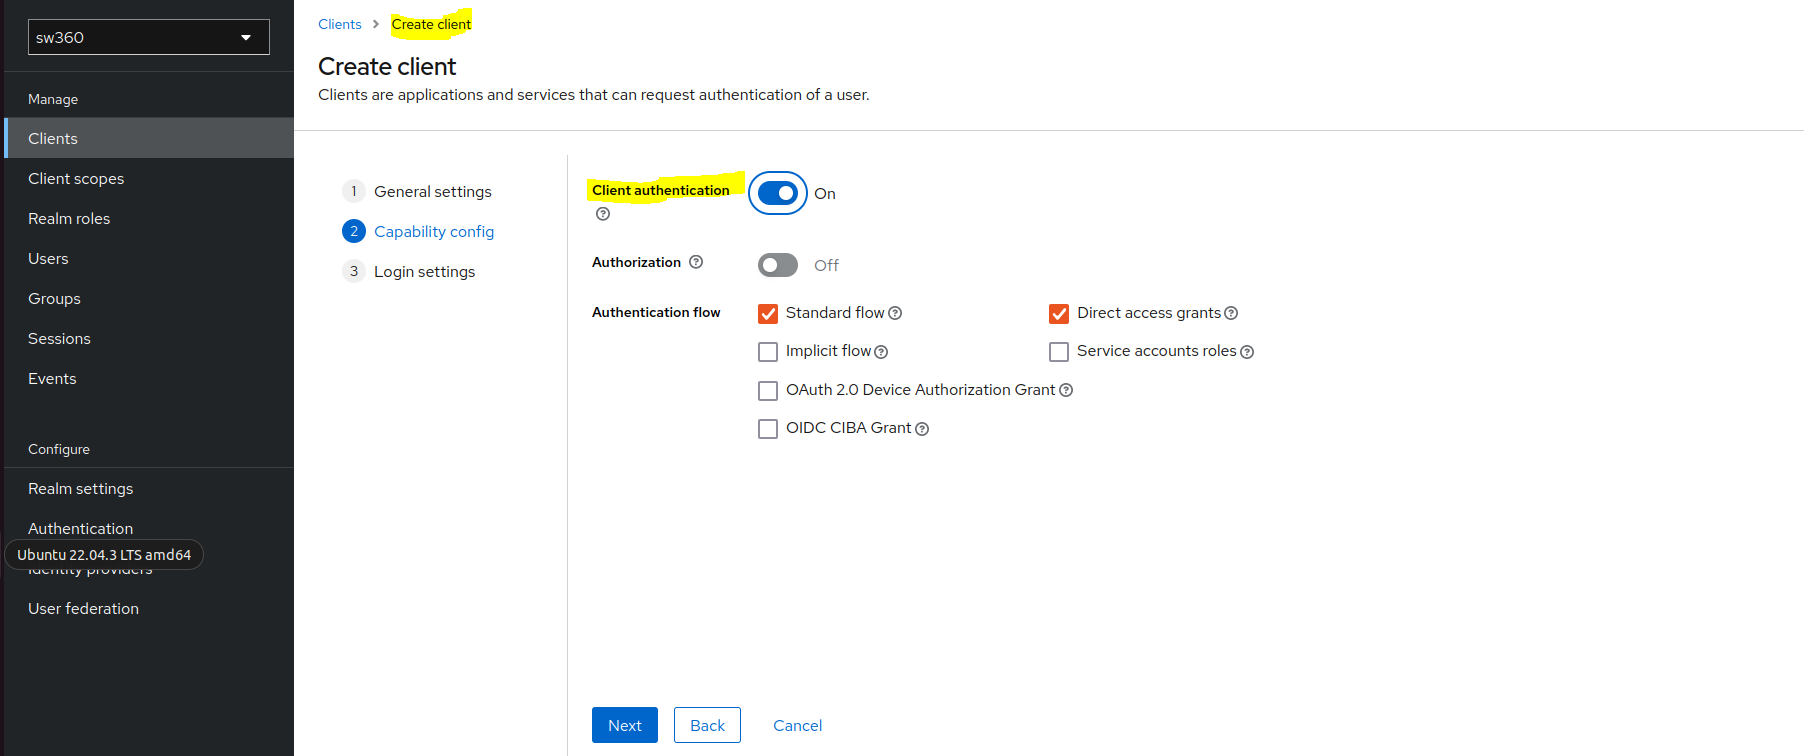
In Capability config enable Client authentication.
Goto Login settings and enter below fields:
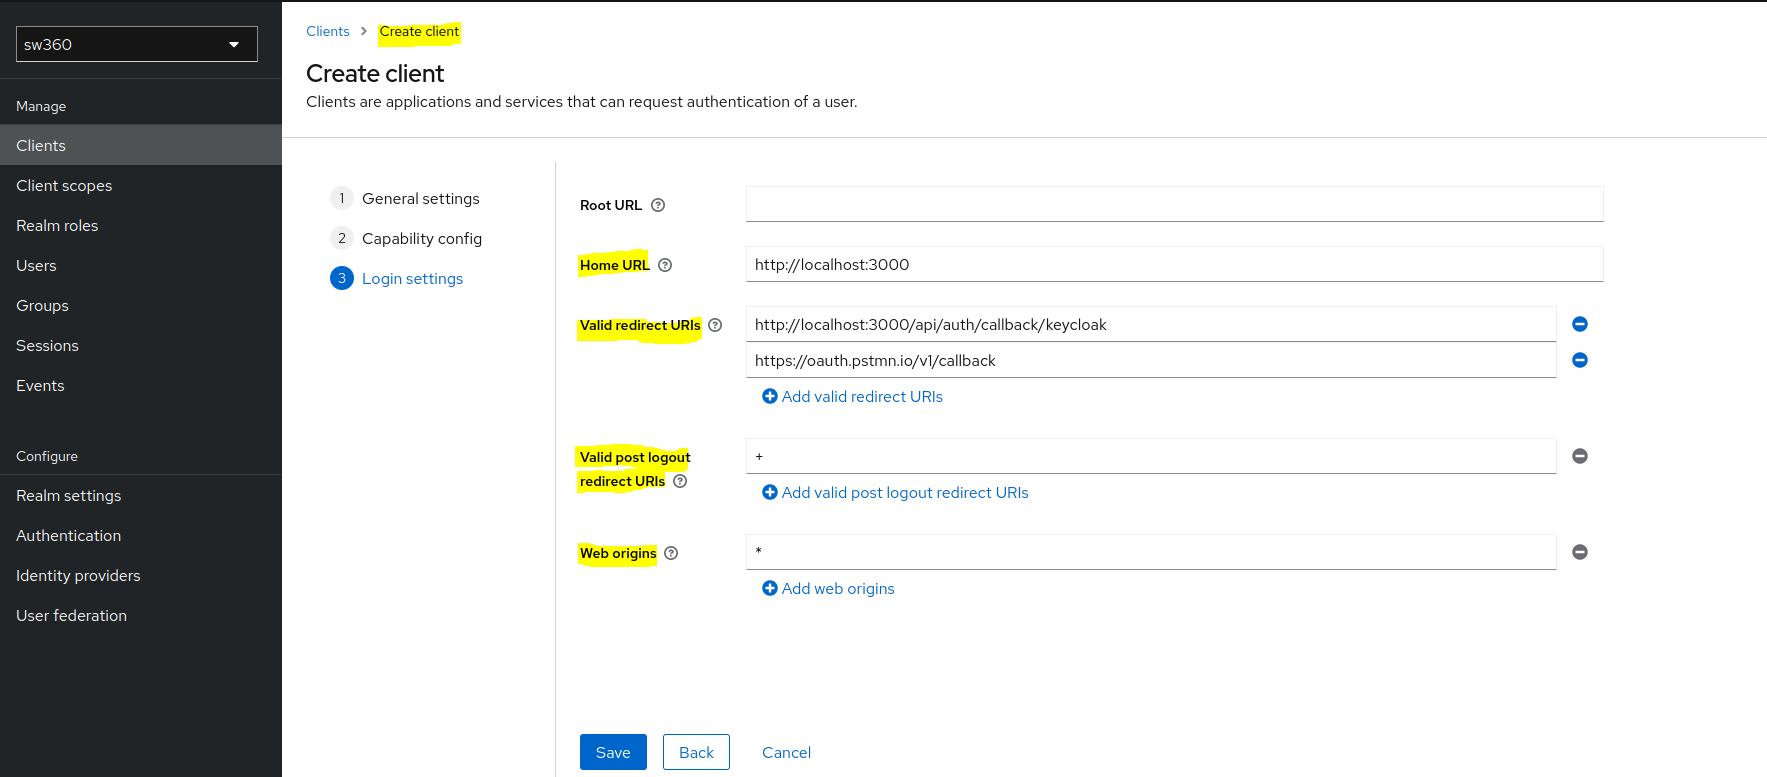
Home URL: http://localhost:3000
Valid redirect URIs: http://localhost:3000/api/auth/callback/keycloak, https://oauth.pstmn.io/v1/callback
Valid post logout redirect URIs: +
Web origins: *
- Follow the below steps for client creation:
Create Client Scopes.
Create
READscope by clicking on Create client scope button.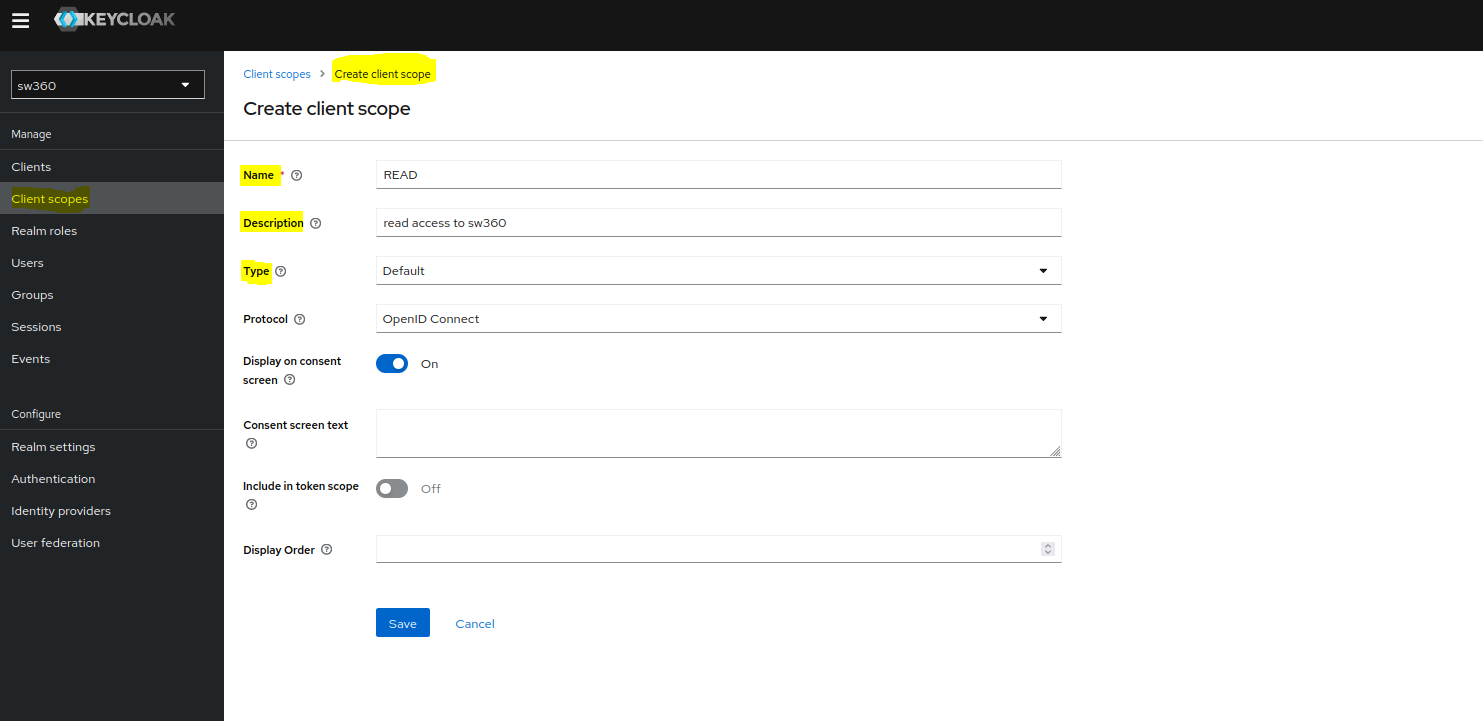
Similarly create
WRITEscope.
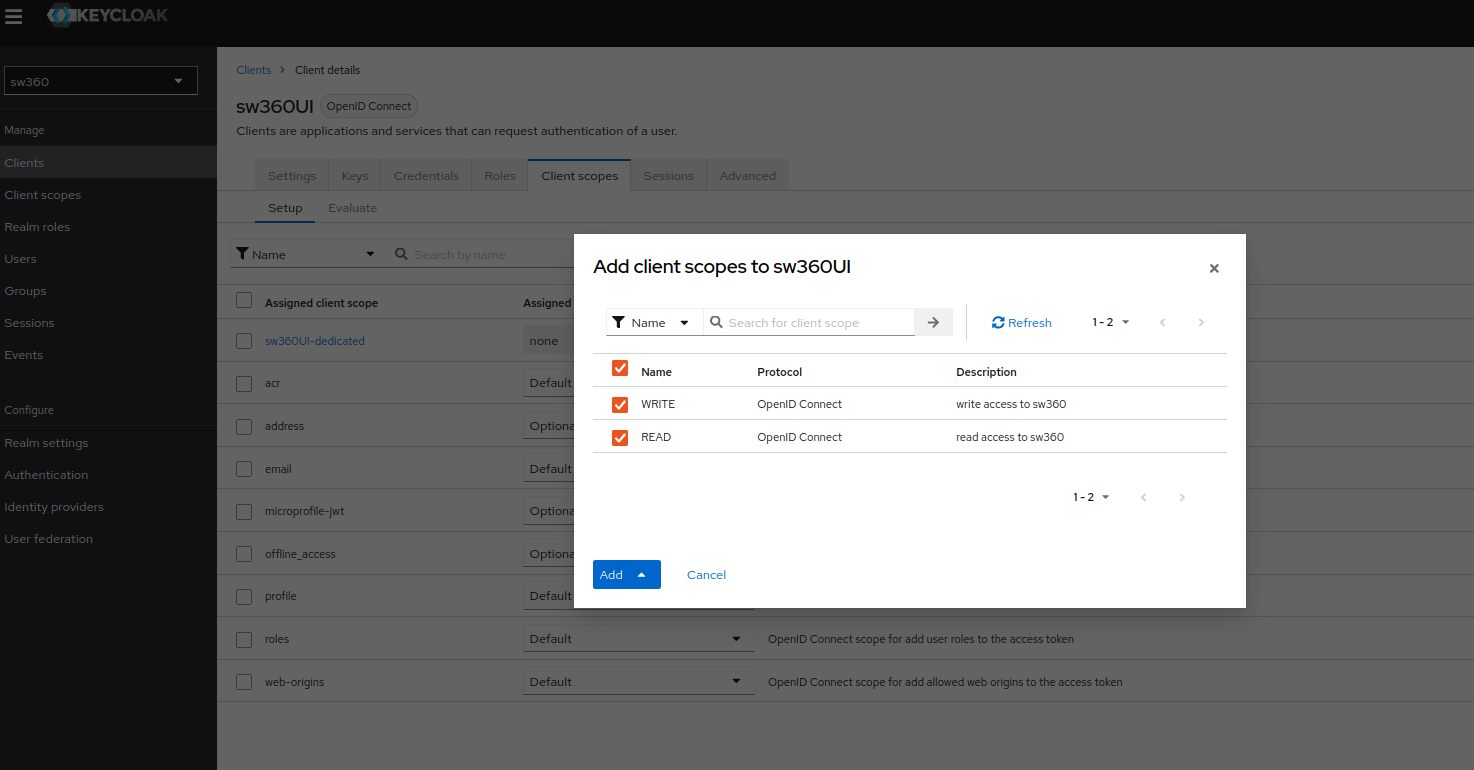
Add Scopes to our Client.
Goto Clients, then select your newly created client in Client lists page.
Goto Client scopes page, click on Add client scope and there you will see your READ and WRITE scopes that you need to add.
Select both scopes and then click on Add (default).
Create Groups.
Goto Groups and create different groups that we are going to use in sw360.

Create 7 groups:
ADMIN,CLEARING_ADMIN,CLEARING_EXPERT,ECC_ADMIN,SECURITY_ADMIN,SW360_ADMIN,USER.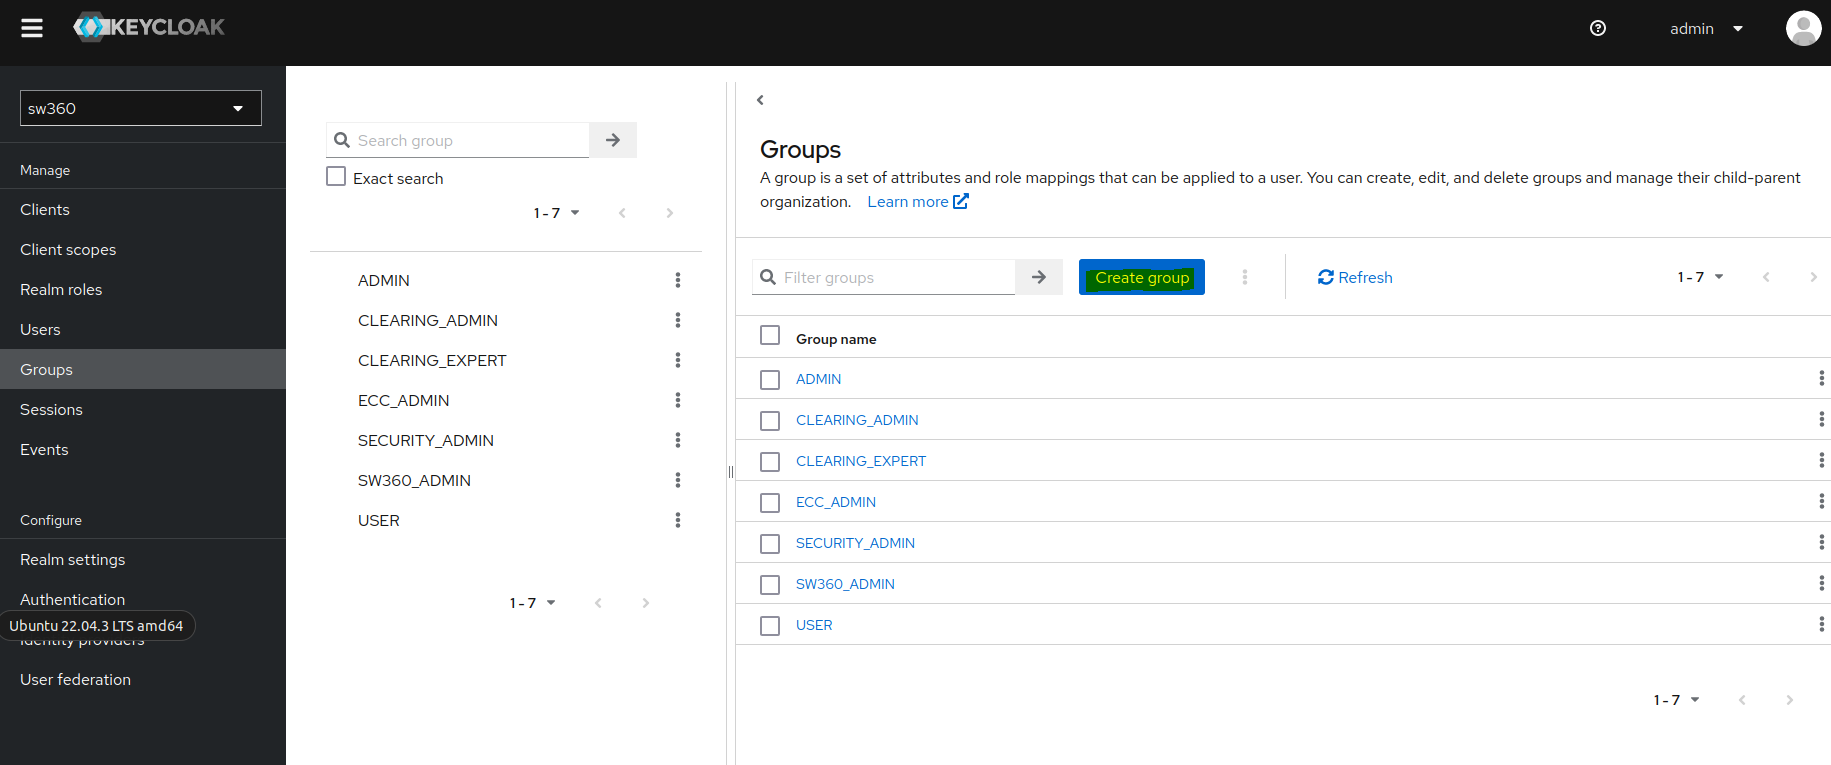
Create an Attribute.
Goto Realm settings then click on User profile page where we can create a new attribute.
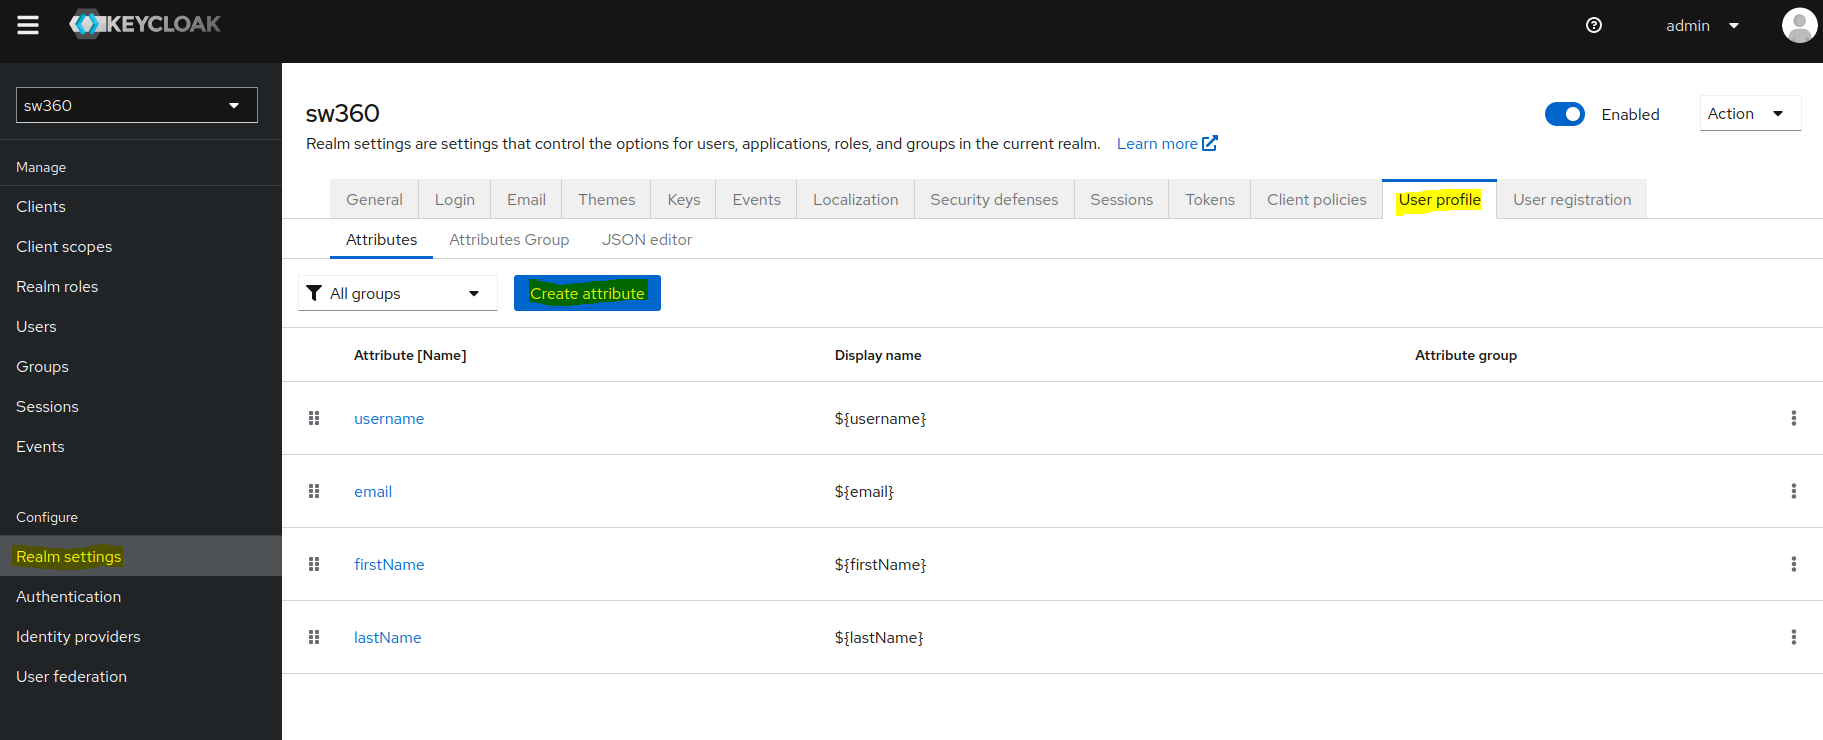
Create a new attribute by the name
Departmentand give the required permissions as shown in screenshot.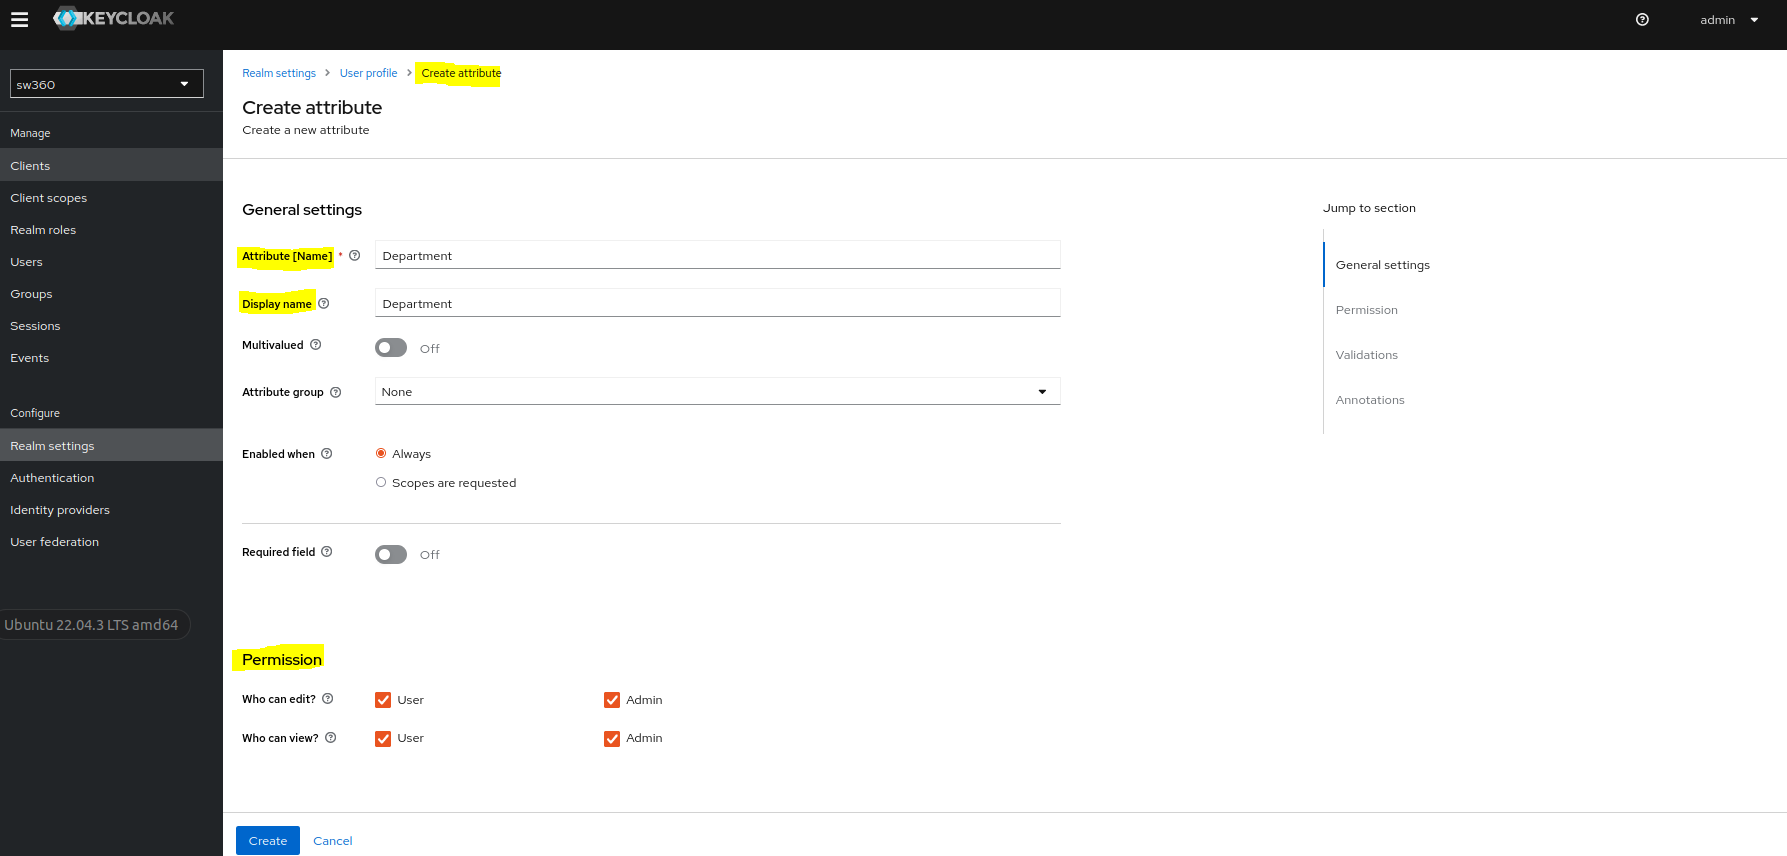
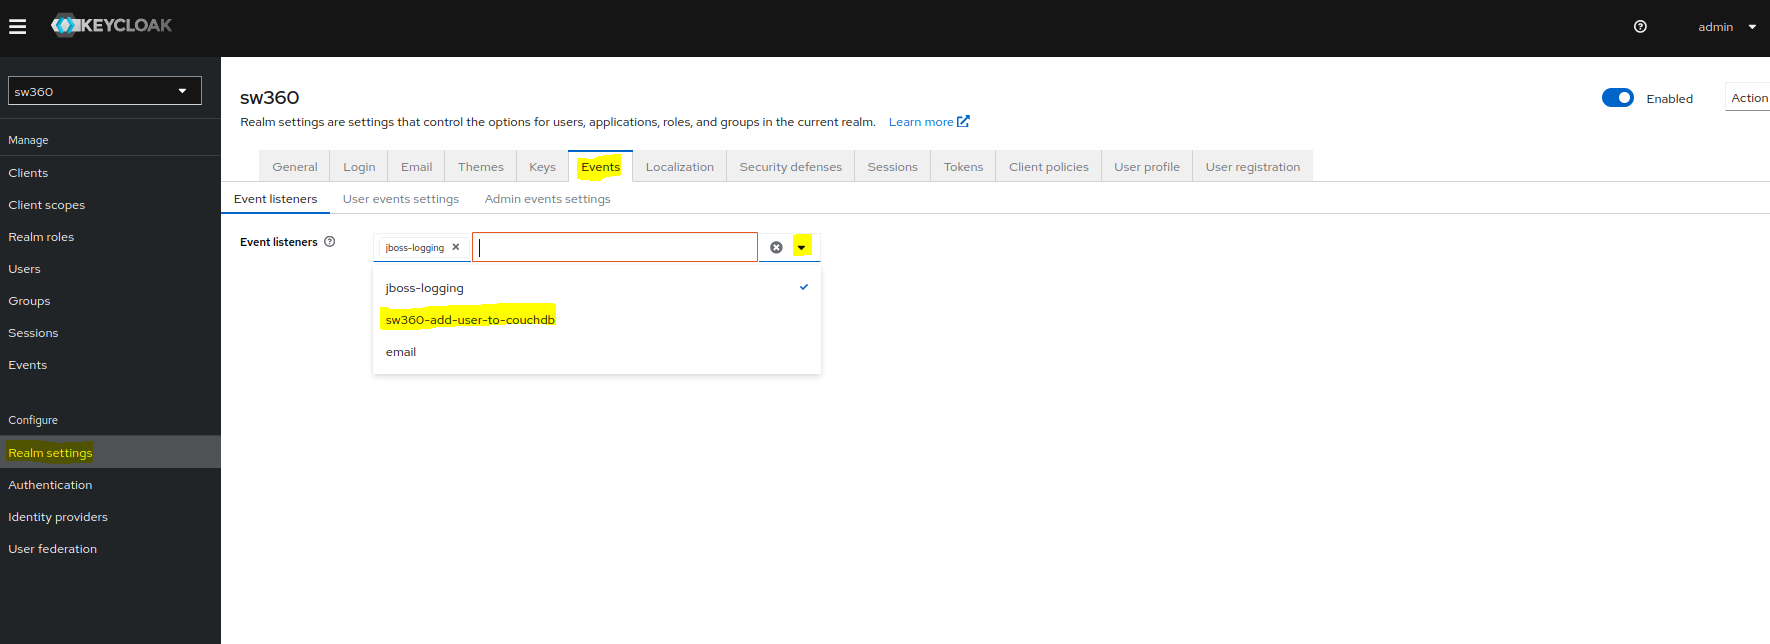
Add Event Listener.
Goto Events page in Realm settings.
Click on event listeners dropdown and select sw360-add-user-to-couchdb.
Access to external Databases.
Goto User federation and select sw360-user-storage-jpa providers.
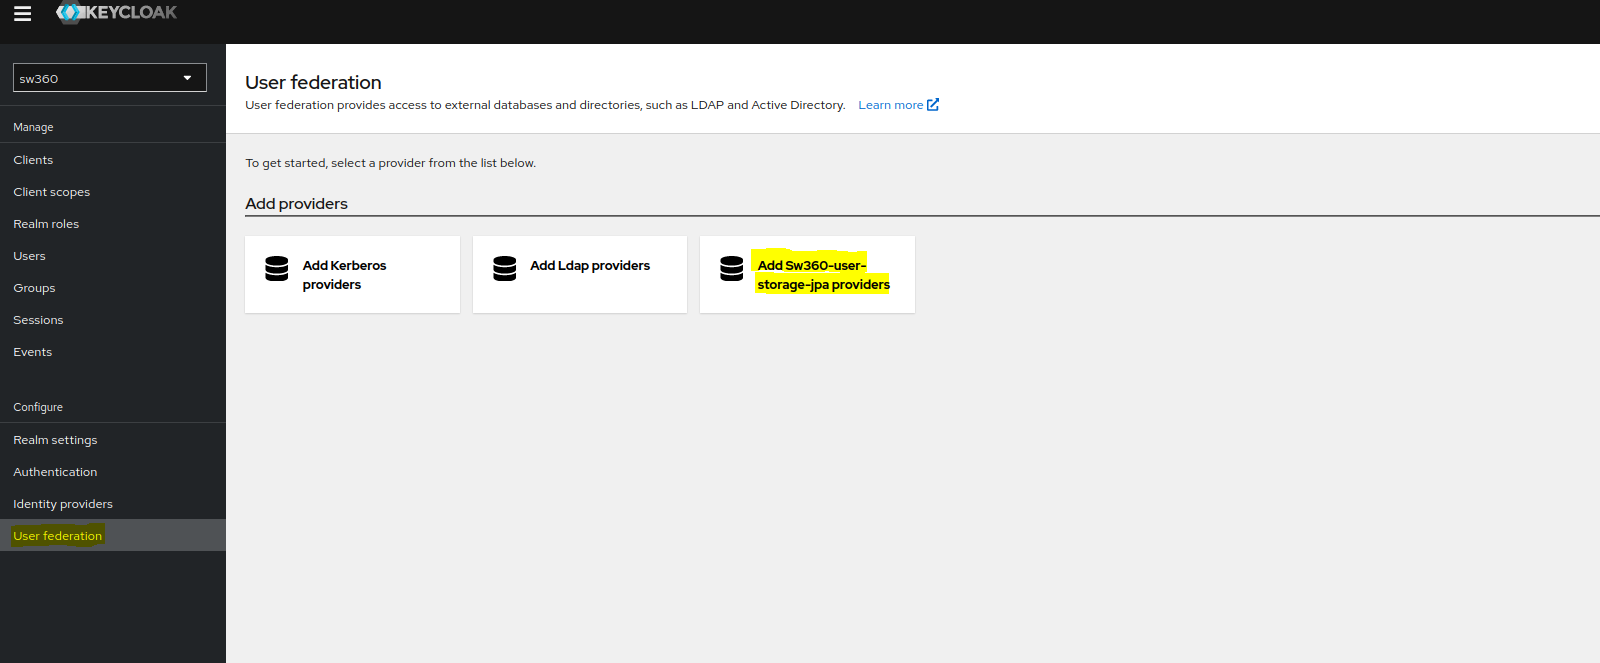
Give proper name and create the custom provider.

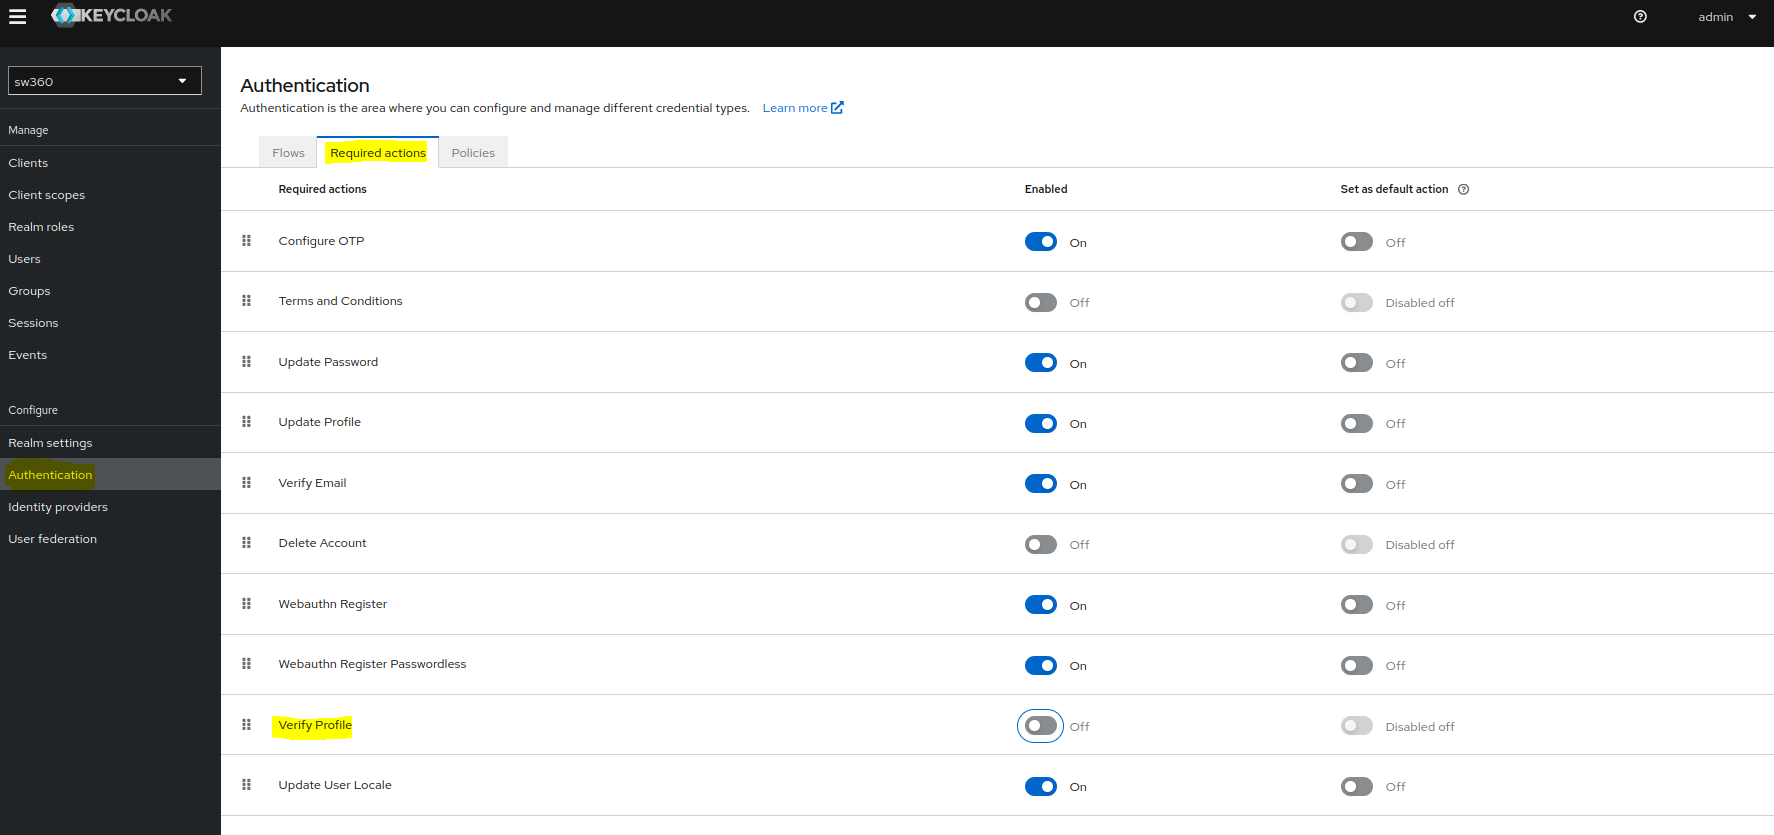
Check Authentication Settings
Goto Authentication and apply the permissions in Required actions as shown in screenshot.
Create Users
To create a new user one can goto Users section.
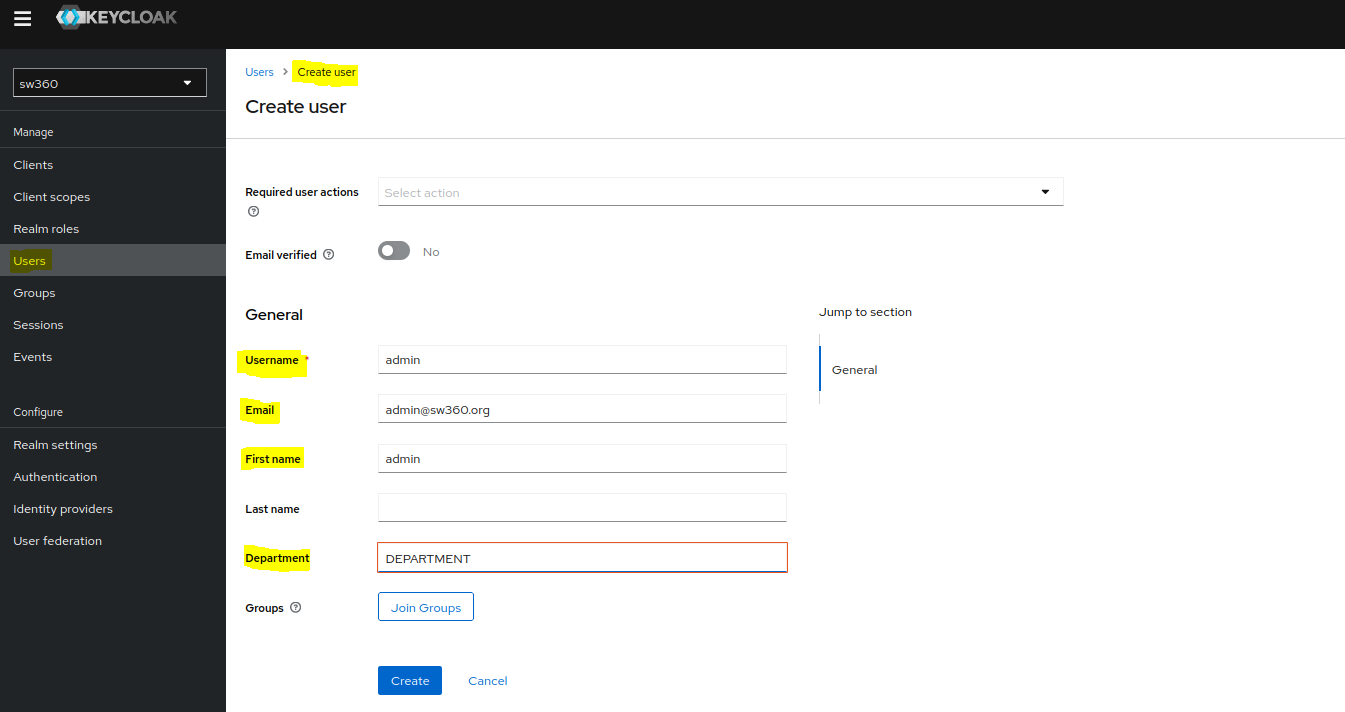
Also check whether user is created in CouchDB or not.
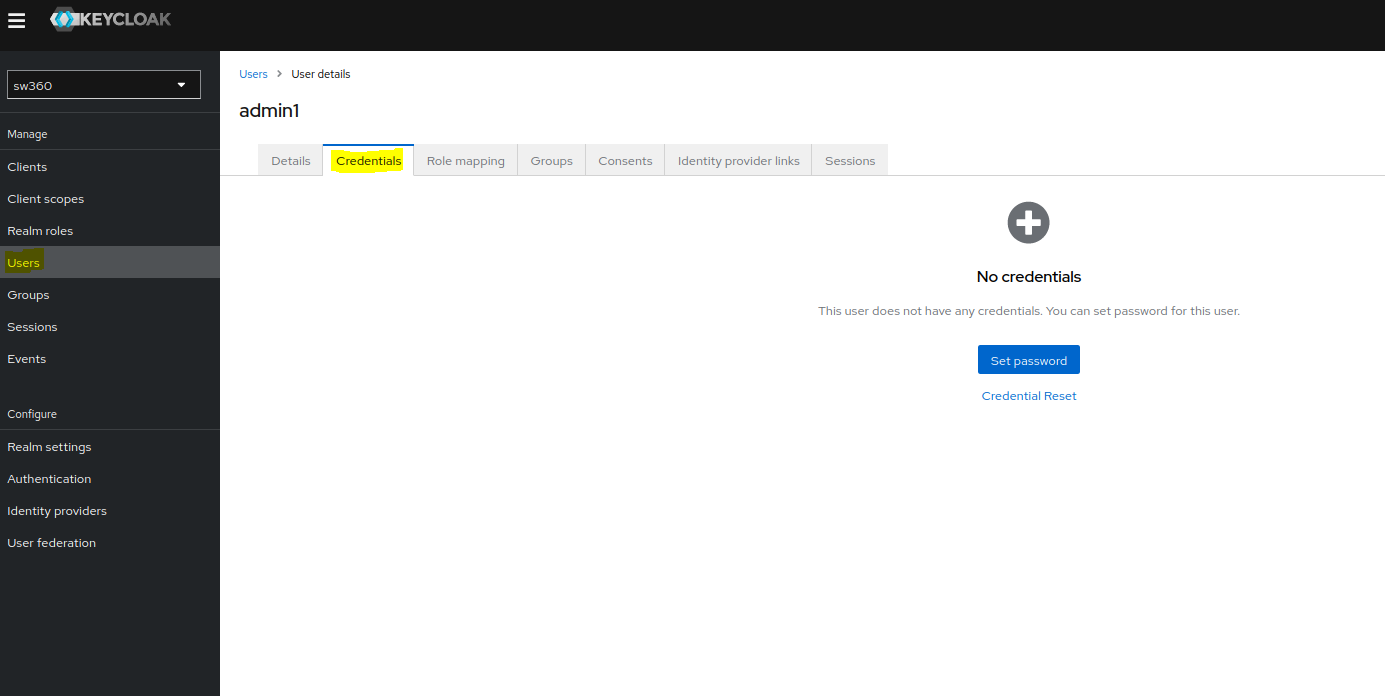
Set password for the newly created user by selecting the user and going to the Credentials page.
Adding Identity Providers in Keycloak for Azure AD Integration
(Manual procedure for reference)
Step 1: Create an Application in Azure AD
Step 2: Configure the Application
Step 3: Configure Keycloak
- Log in to the Keycloak admin console.
- Select the realm sw360 to add the identity provider.
- Go to Identity Providers and select OpenID Connect v1.0 from the dropdown.
- Fill in the following details:
- Alias:
azure-foss360 - Display Name:
Login with AzureAD - Authorization URL:
https://login.microsoftonline.com/<your-tenant-id>/oauth2/v2.0/authorize - Token URL:
https://login.microsoftonline.com/<your-tenant-id>/oauth2/v2.0/token - Logout URL:
https://login.microsoftonline.com/<your-tenant-id>/oauth2/v2.0/logout - User Info URL:
https://graph.microsoft.com/oidc/userinfo - Issuer:
https://login.microsoftonline.com/<your-tenant-id>/v2.0 - JWKS URL:
https://login.microsoftonline.com/<your-tenant-id>/discovery/v2.0/keys - Validate Signatures: ON
- Use JWKS URL: ON
- Trust Email: ON
- Client ID: The Application (client) ID from Azure AD
- Client Secret: The client secret you created in Azure AD
- Default Scopes:
openid profile email
- Alias:
- Click Save.
Step 4: Test the Integration
- Click on Authentication from Left hand Configure Group section
- Click on Browser Flow
- Click config of Identity Provider Redirector
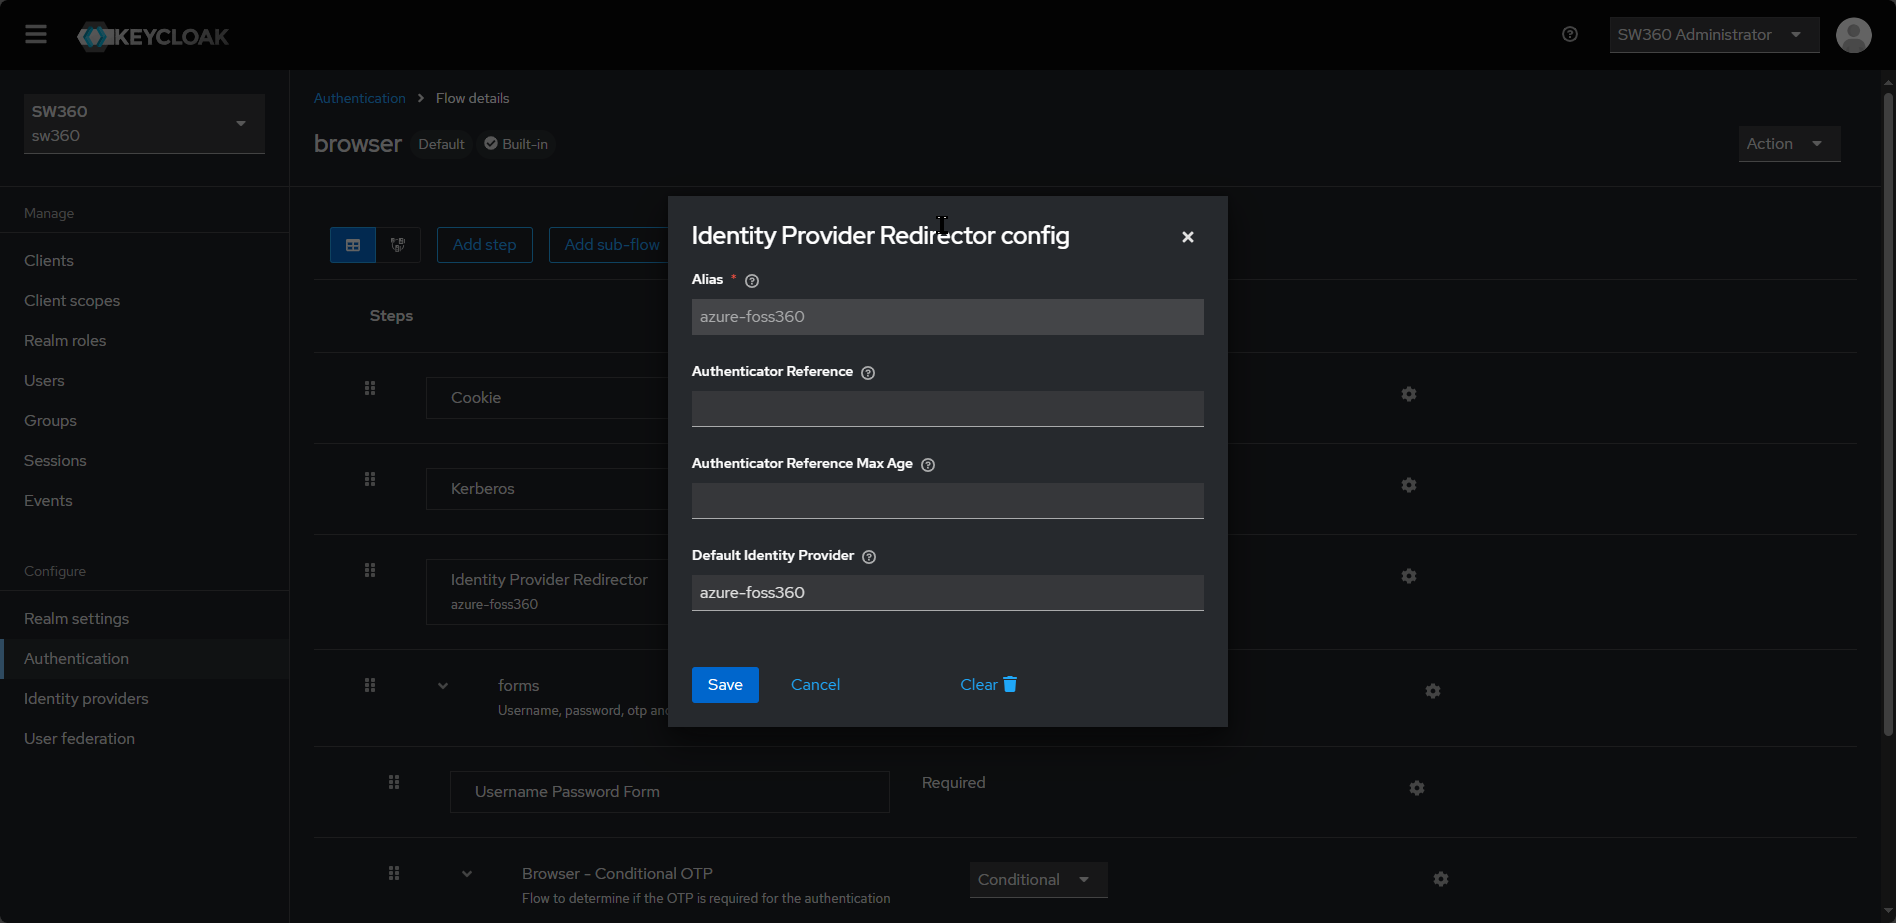
- Provide Default Identity Provider as the value which was given in Identity Providers Alias ( e.g.
azure-foss360in previous section) and click on save. - With this configuration update now access http://localhost:8080 and verify the automatic login with Azure ID redirect.