Initial Setup of Liferay 7.3 and sw360
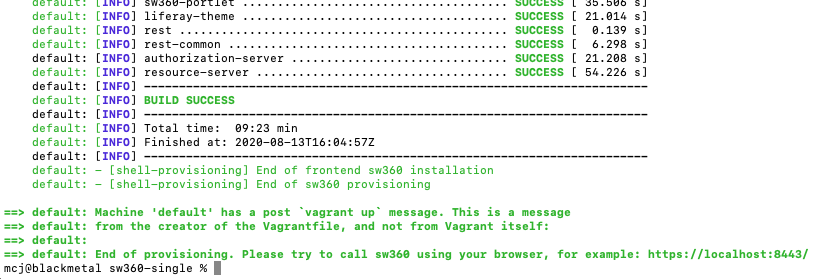
After successful installation, the vagrant ends like the following terminal output:
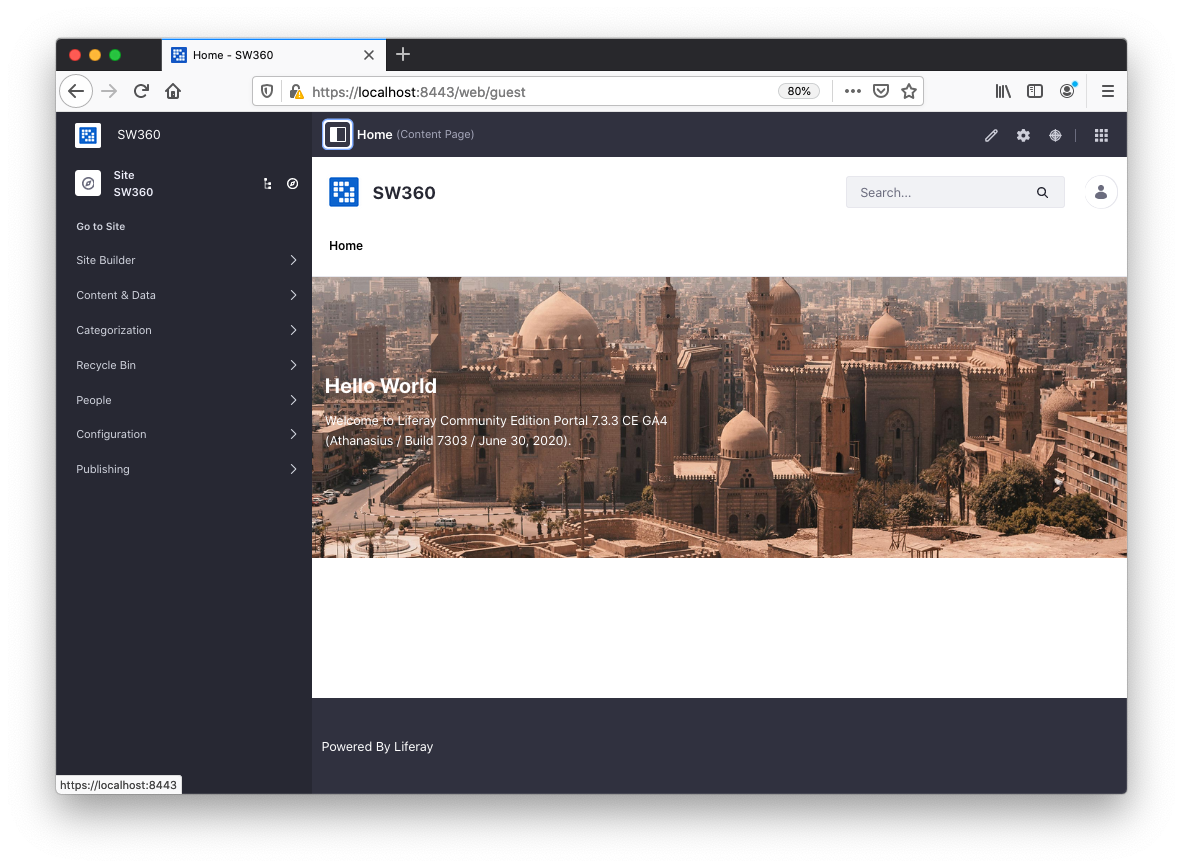
Then if you open the server with the URL https://localhost:8443/ the following screen should appear:
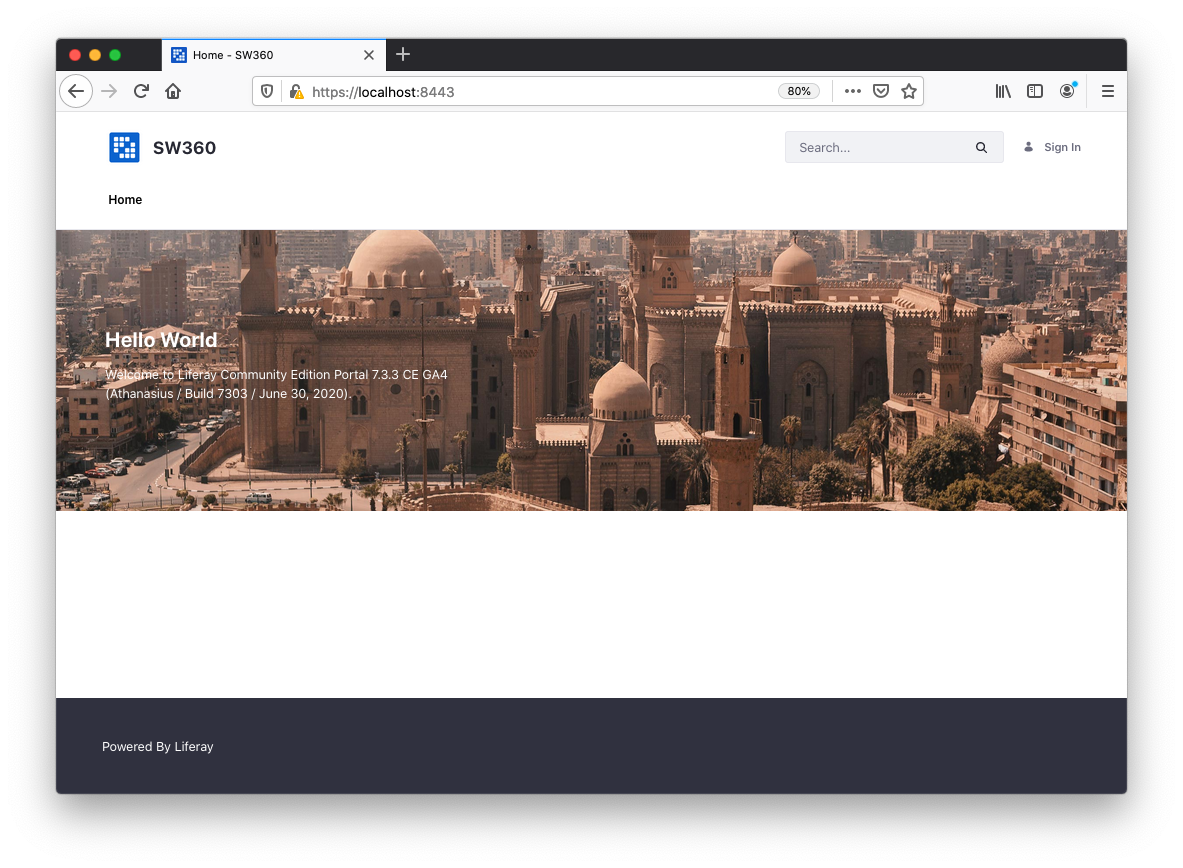
Note that the actual image changes with every liferay version. If there is weird html output without images and plain text, then likely some port settings did not work and the pages generated have wrong URLs inside.
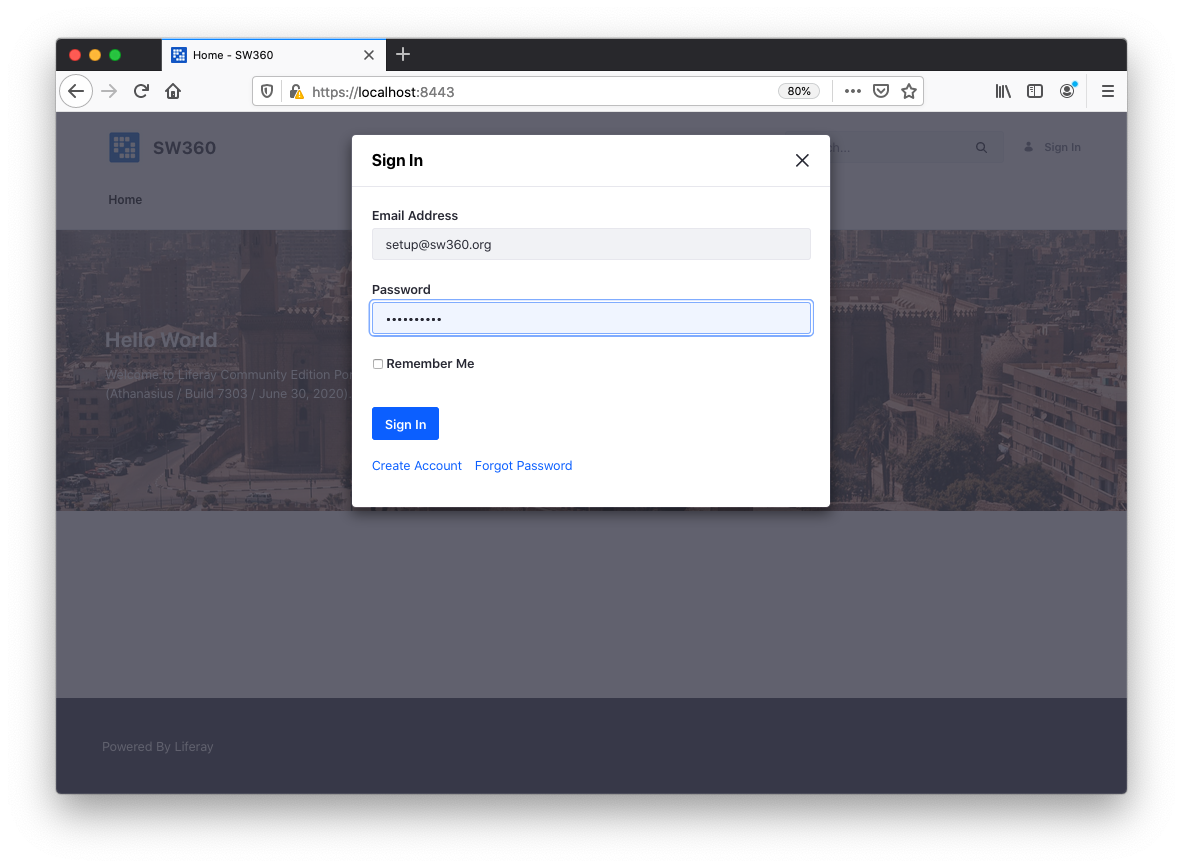
Sign in_the icon_the upper left corner. If you did not change the values in configuration.rbthe default login is setup@sw360.org and sw360fossy.
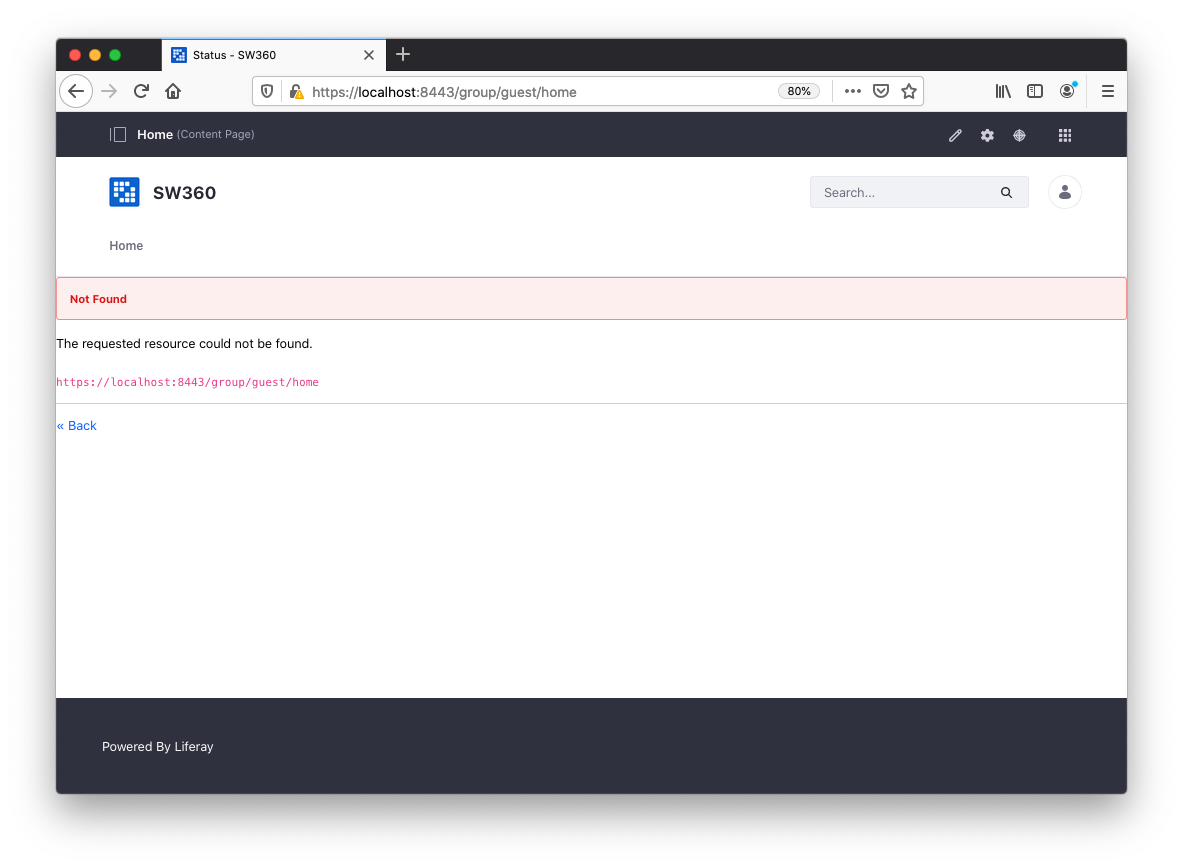
After login the sw360 is not setup, thus the server does not display much, but a screen like the following:
User and Login Settings in Liferay
Go into the control panel area by clicking the items icon (nine small cubes) in the upper right corner and select the control panel tab:
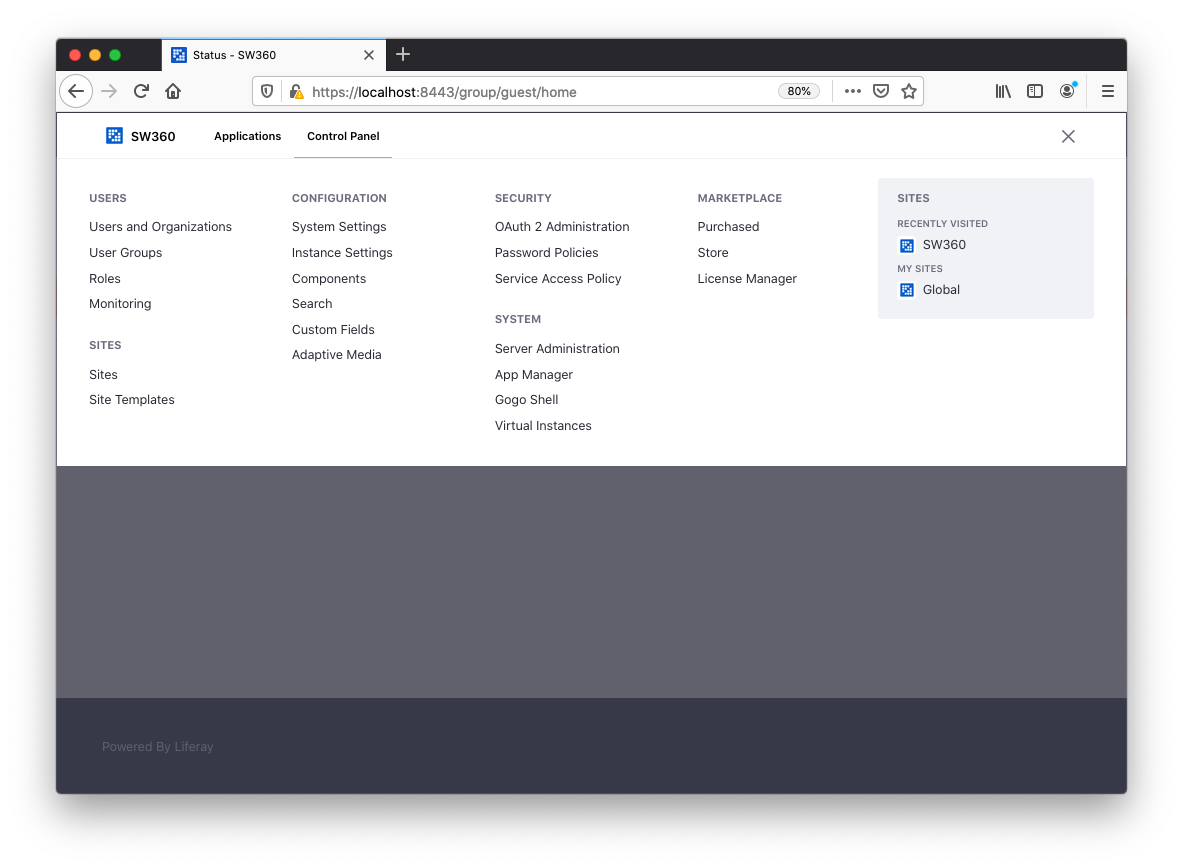
In this area, go for Security > Password Policies:
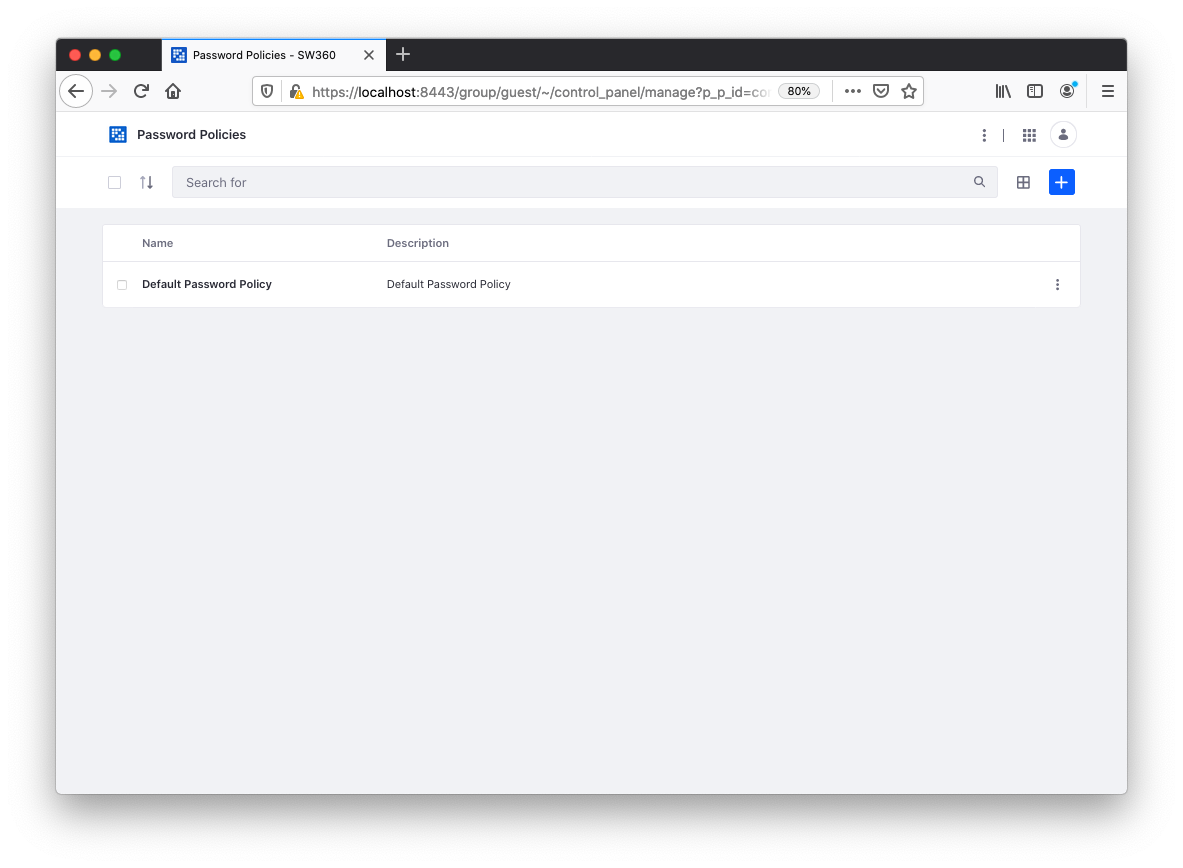
Edit this password policy and disable change Required if you wish to do so. Click on Save_the bottom of the page to save the selection.

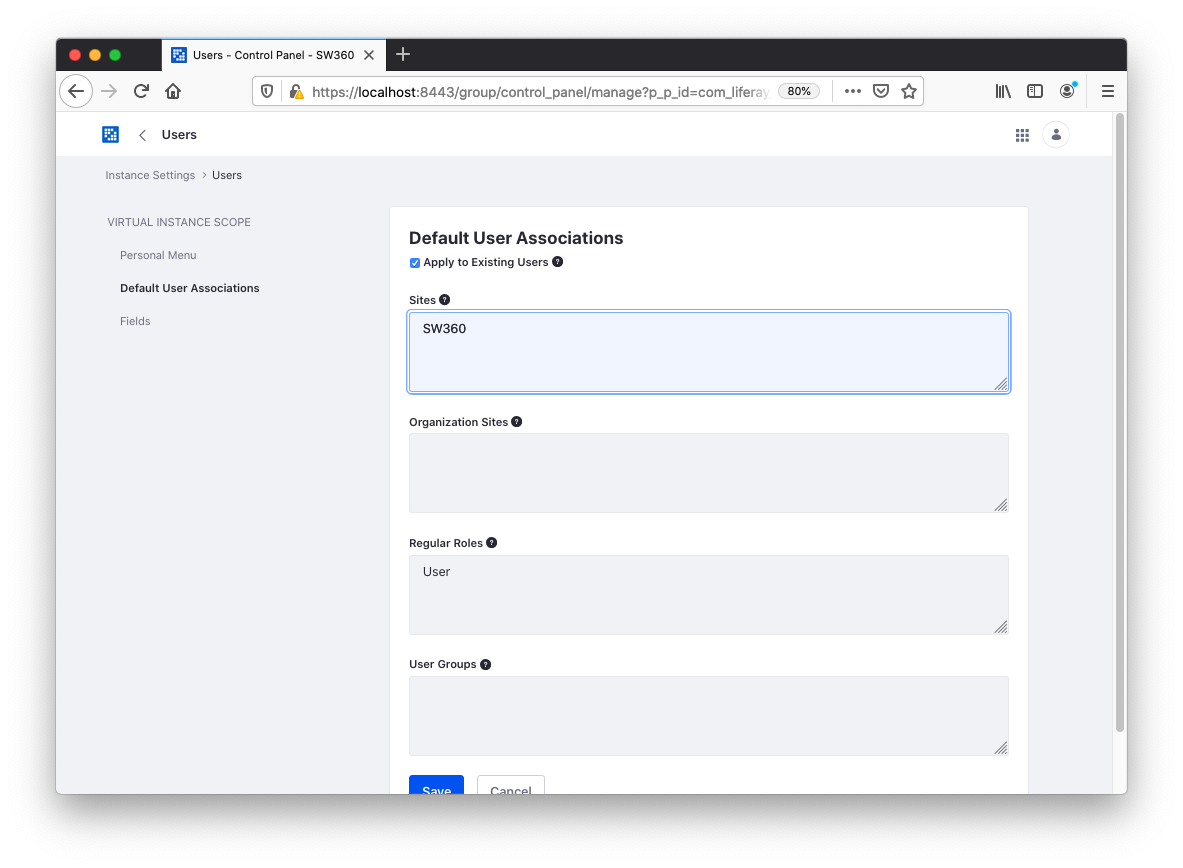
Then, go: in Configuration > Instance Settings > Users >
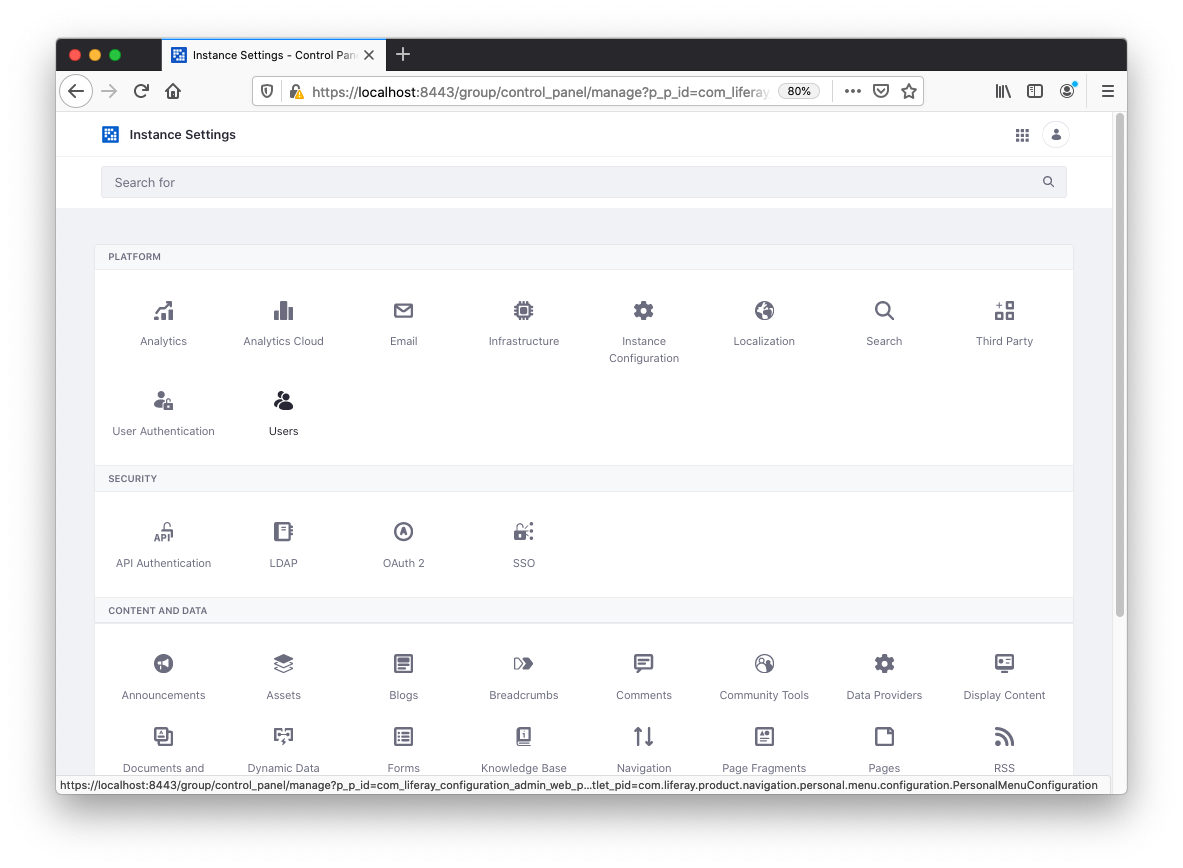
In this area, select Default User Associations to enter SW360 and apply it also to existing users. Click on Save to save the selection:
Then, in Configuration > Instance Settings > User Authentication > General to disable all kind of auto login to make sure only authenticated users can log in. You may want to switch off the e-mail verification, because for most of the development times it will not be of much value.

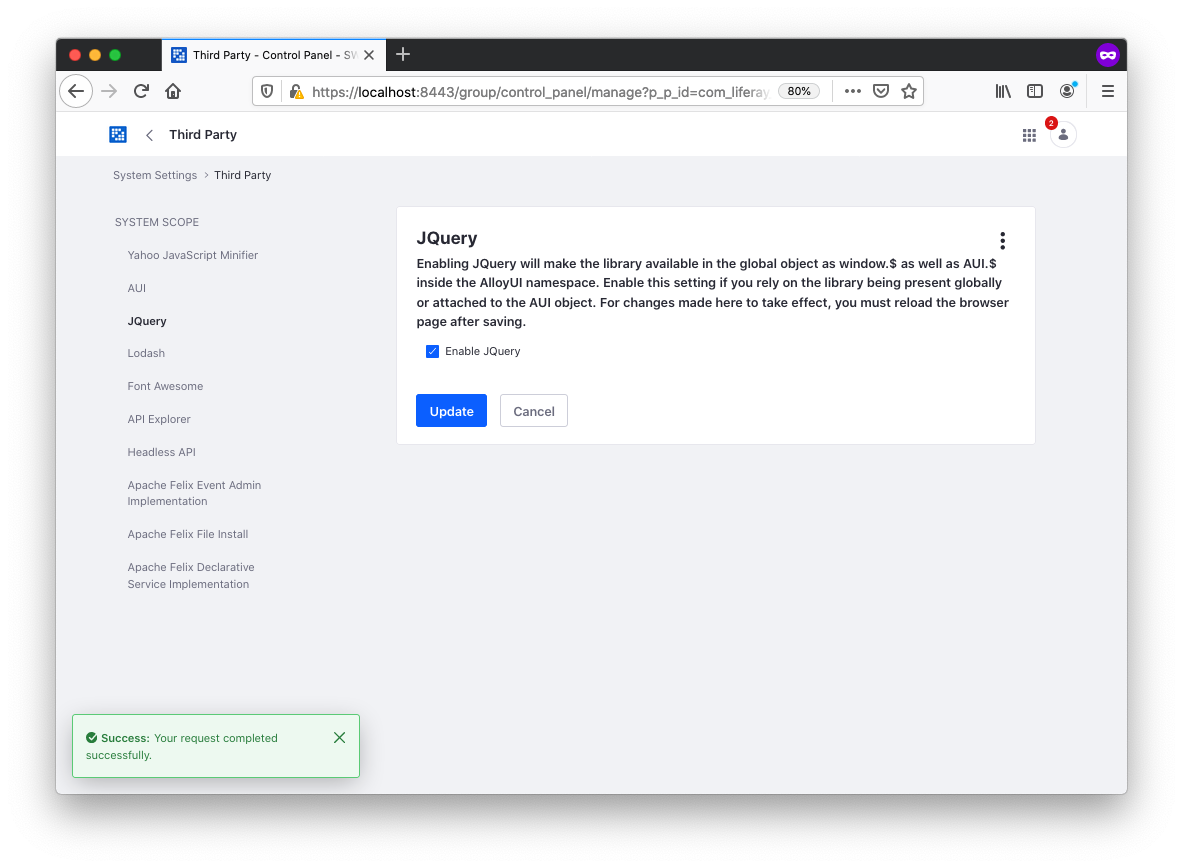
Finally, sice Liferay 7.3 some of the bundled modules need to be activated:
- jquery
- font awesome
In oder to do this, please select from the Configuration > System Settings > Third Party and go to jquery, select the enablement and click on Update:
Do the same for Font Awesome:
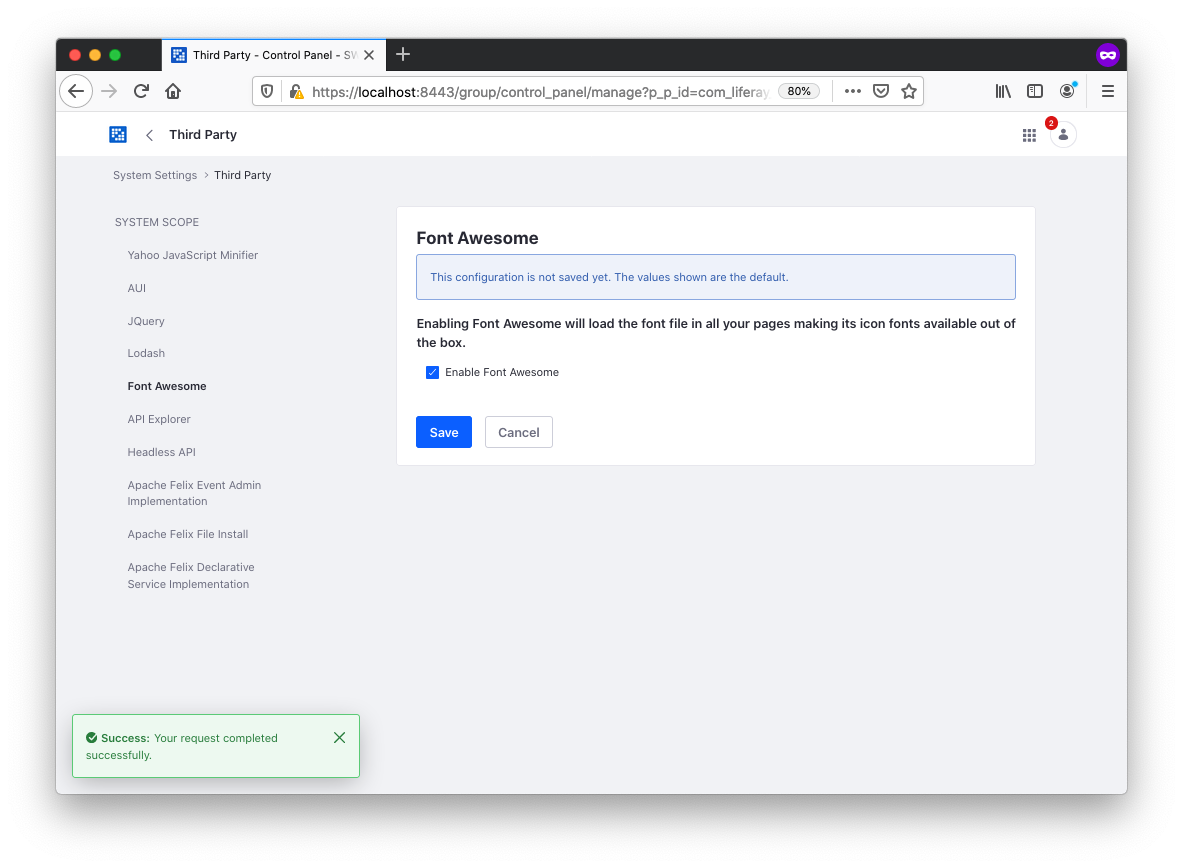
Note that you need to reload the browser or load a new browser window to take changes to effect.
Setup SW360 for Liferay: Import *.lar Files
For the setup of SW360 in Liferay, the portal description files, *.lar files need not be imported. there is no way except from doing this in the UI. If we are wrong with this, please let us know, because it is very annoying that these ever occurring steps cannot be automated with Liferay.
In order to go ahead, switch to the SW360 area where you can apply site settings:
The go into > Publishing > Import which shows like this:
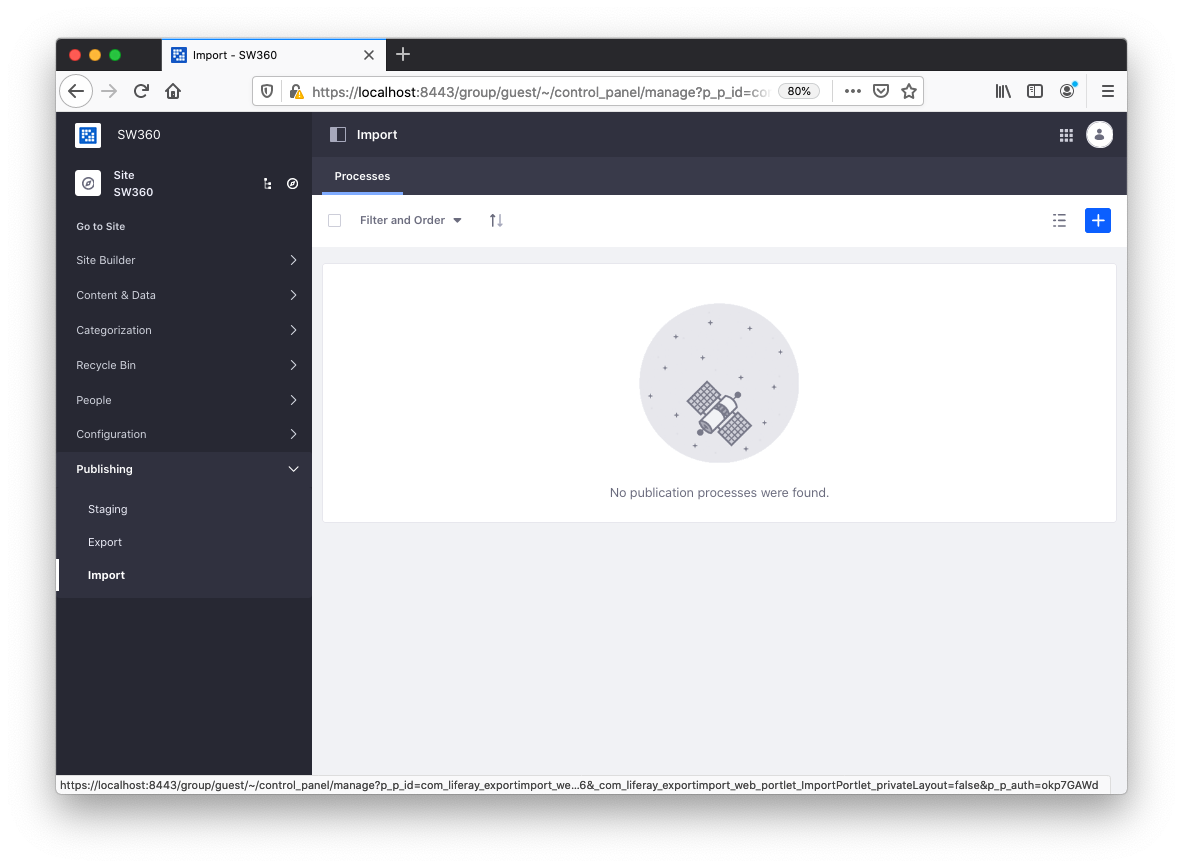
Then, click on the plus sign in order to import the *.lar file for public pages. You will find the lar files in the frontend/configuration folder of the sw360 repository.
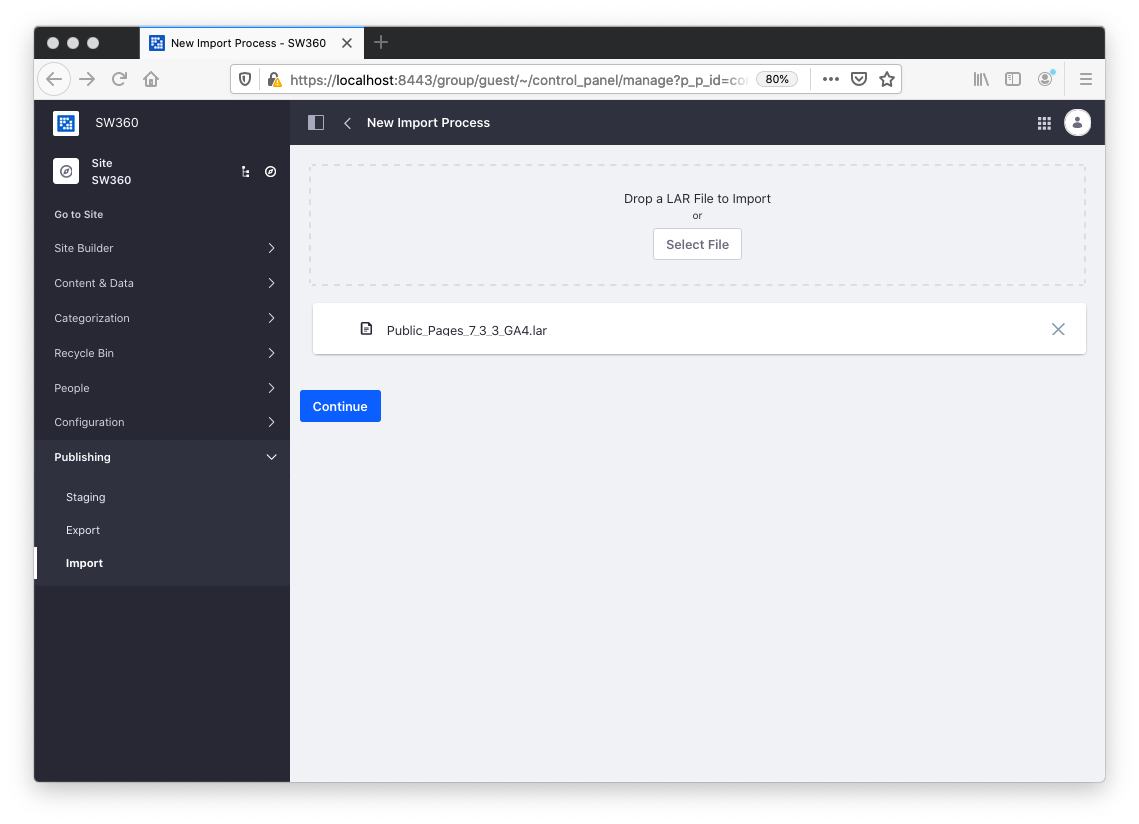
As for import settings, follow the selection as shown on the screenshot. It is very important that for the PublicPages.lar file the selection Public Pages is made.

Importing permission makes sure that pages are visible according to users rights. For public pages, it is irrelevant_the moment. Overwriting and the write as current user needs to be selected.
After successful importing, the same steps shall be repeated for the PrivatePages.lar file.
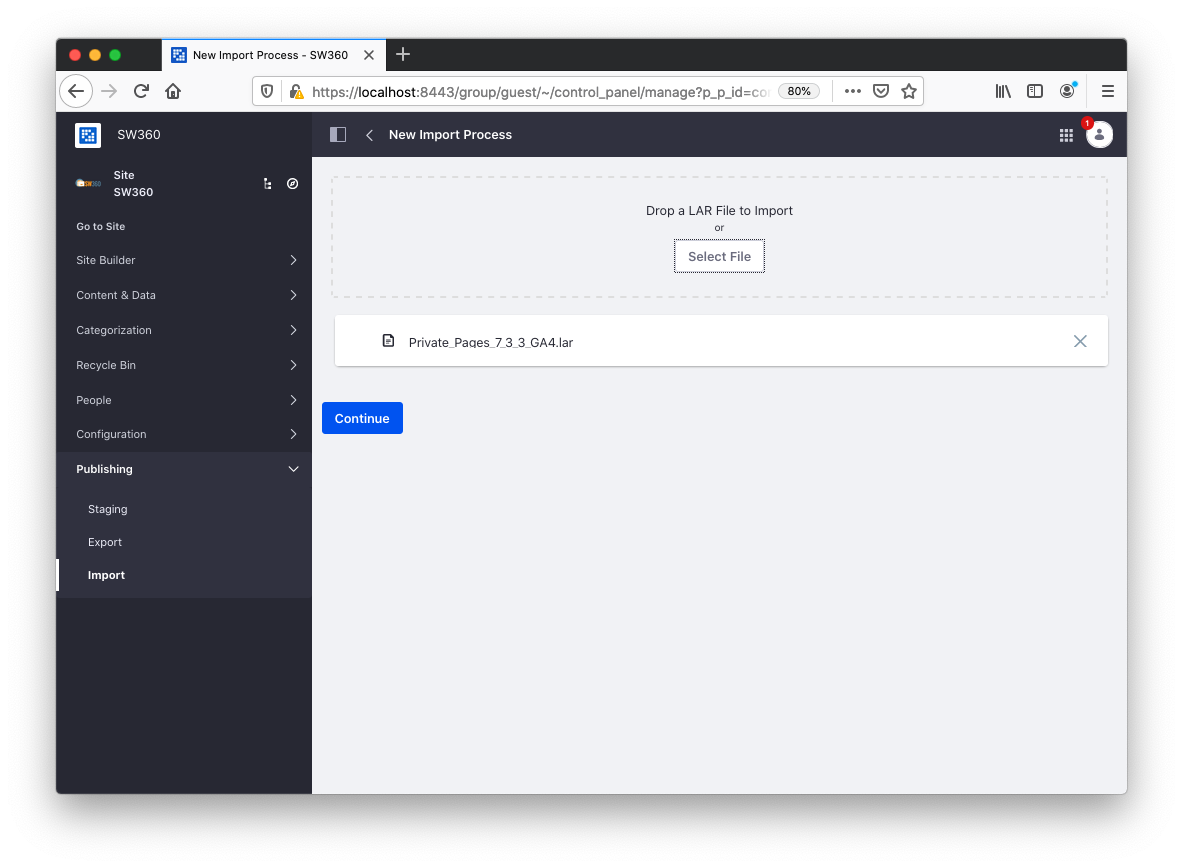
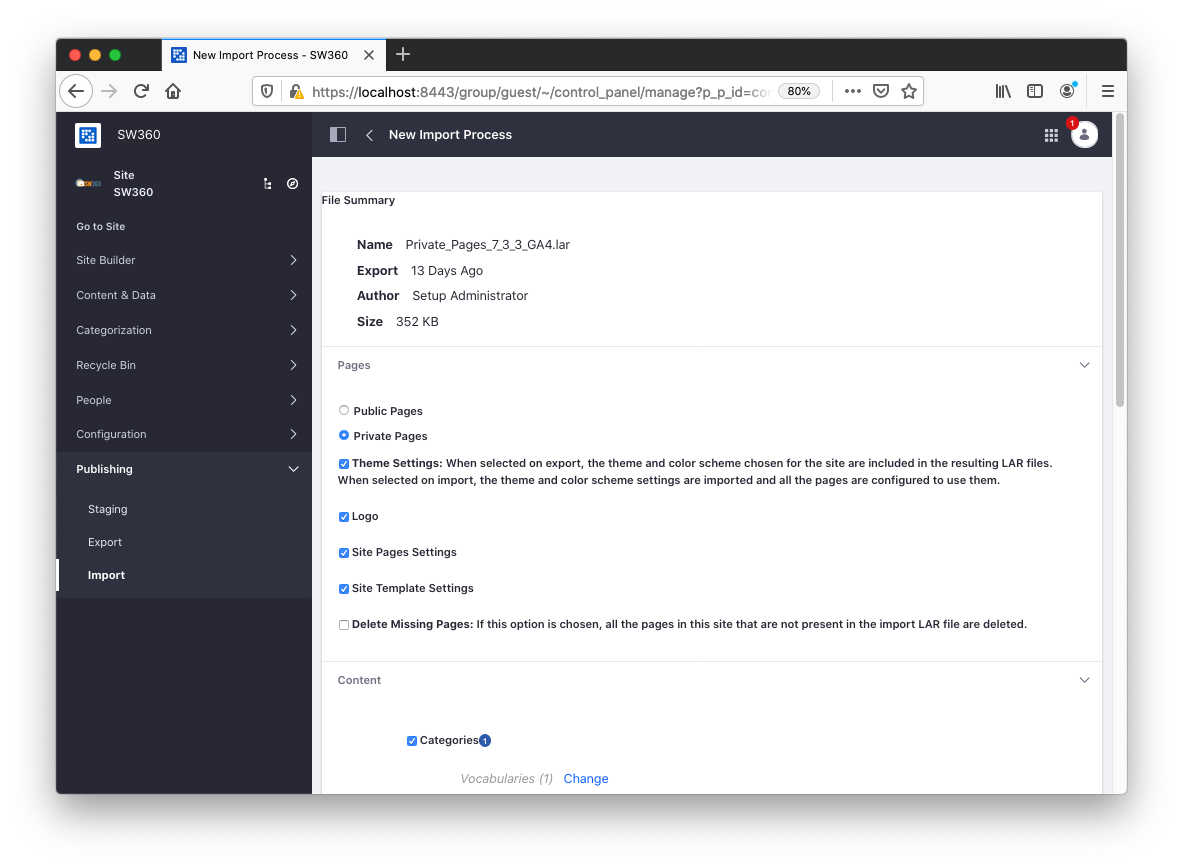
Make sure that Private Pages is selected. Follow the other selections made as shown on the screenshot … importing permissions … mirror with overwriting, use the current author …
If you click then the liferay logo_the upper left corner where the SW360 is, you will return to the application and the following screen should appear:
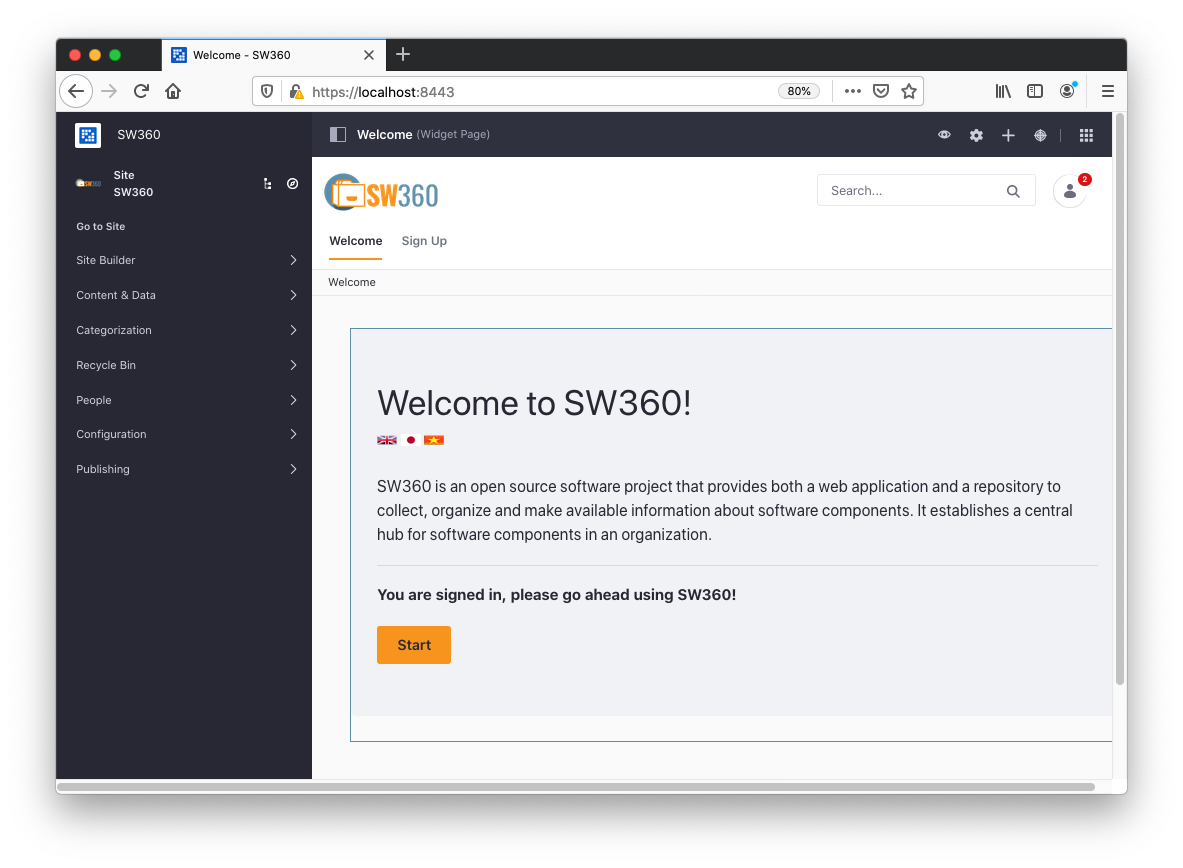
You can close the left menu area by clicking on the upper left icon:
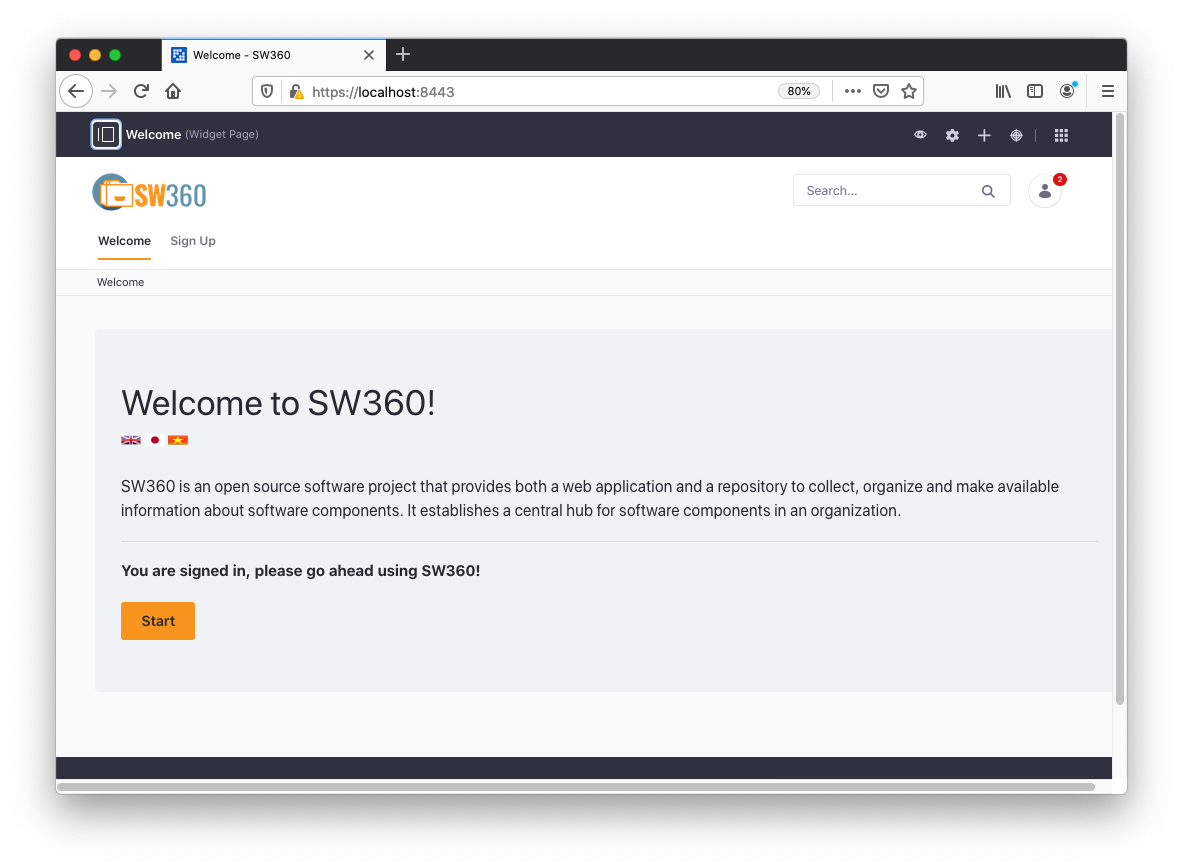
Click Start to open the private pages. You are still logged in, so the setup account is used to view the pages.
Important The setup account does not belong to a group. Thus, not all view are functional because they require a group membership to work correctly.
Import User Accounts for Testing
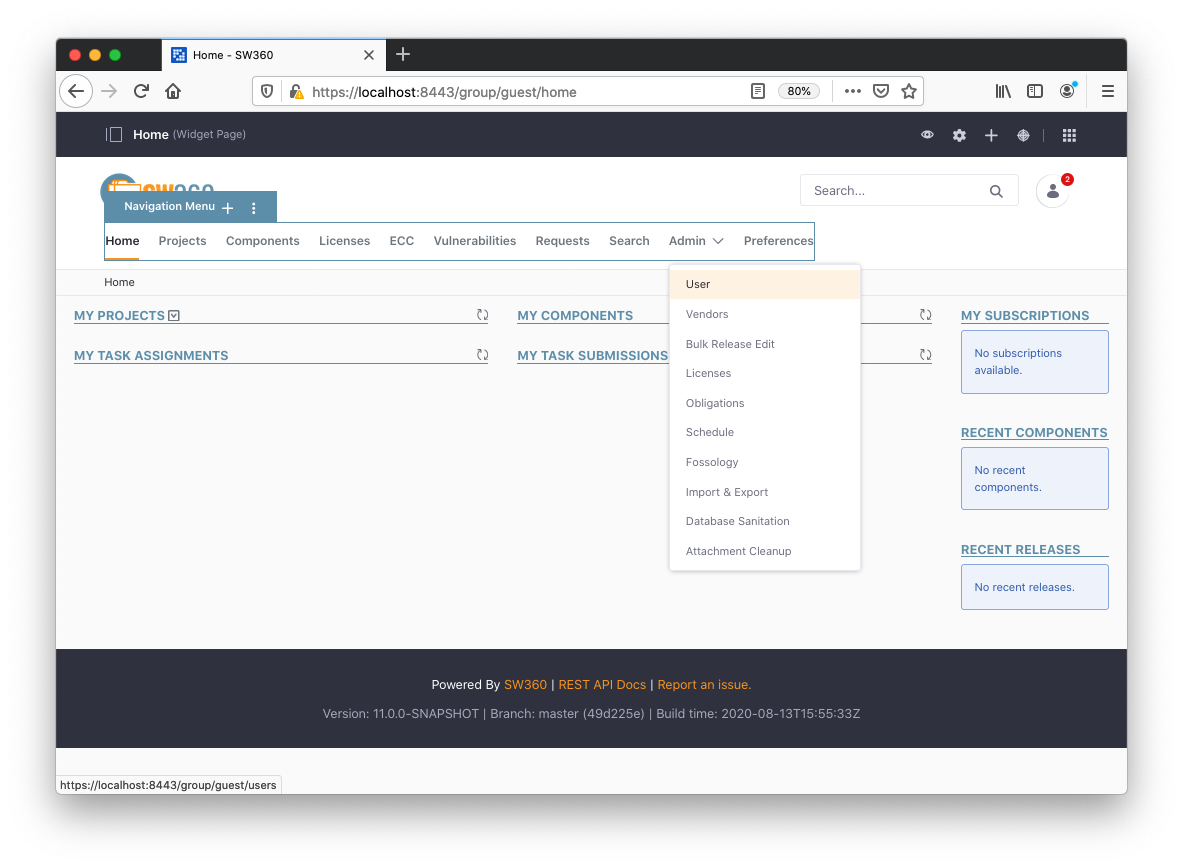
Click the SW360 Admin menu which is_the right and selection the User item.
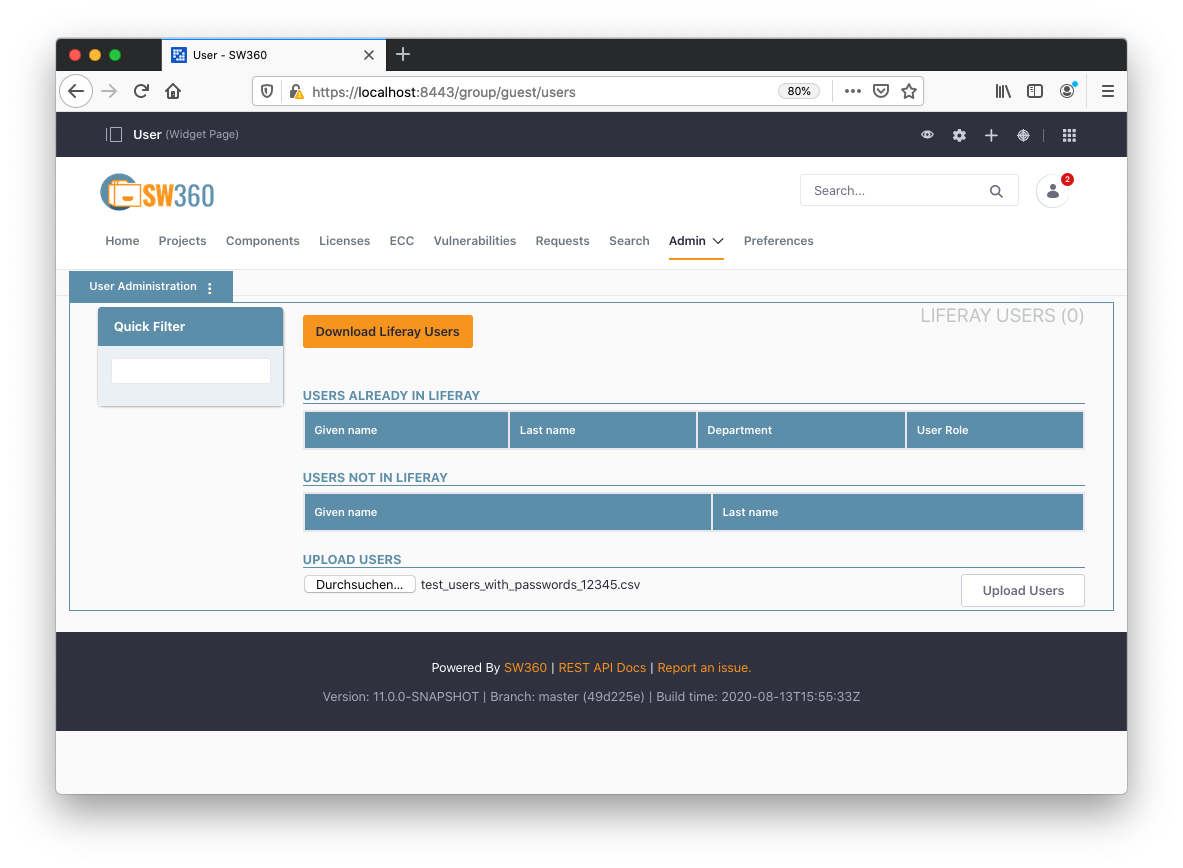
At the bottom of that view, select a User file to import for testing. Skip it if you will create users differently. You can find a user account import file to import in the sw360vagrant project in the folder shared. After the user have been imported successfully, they should appear in the table view.
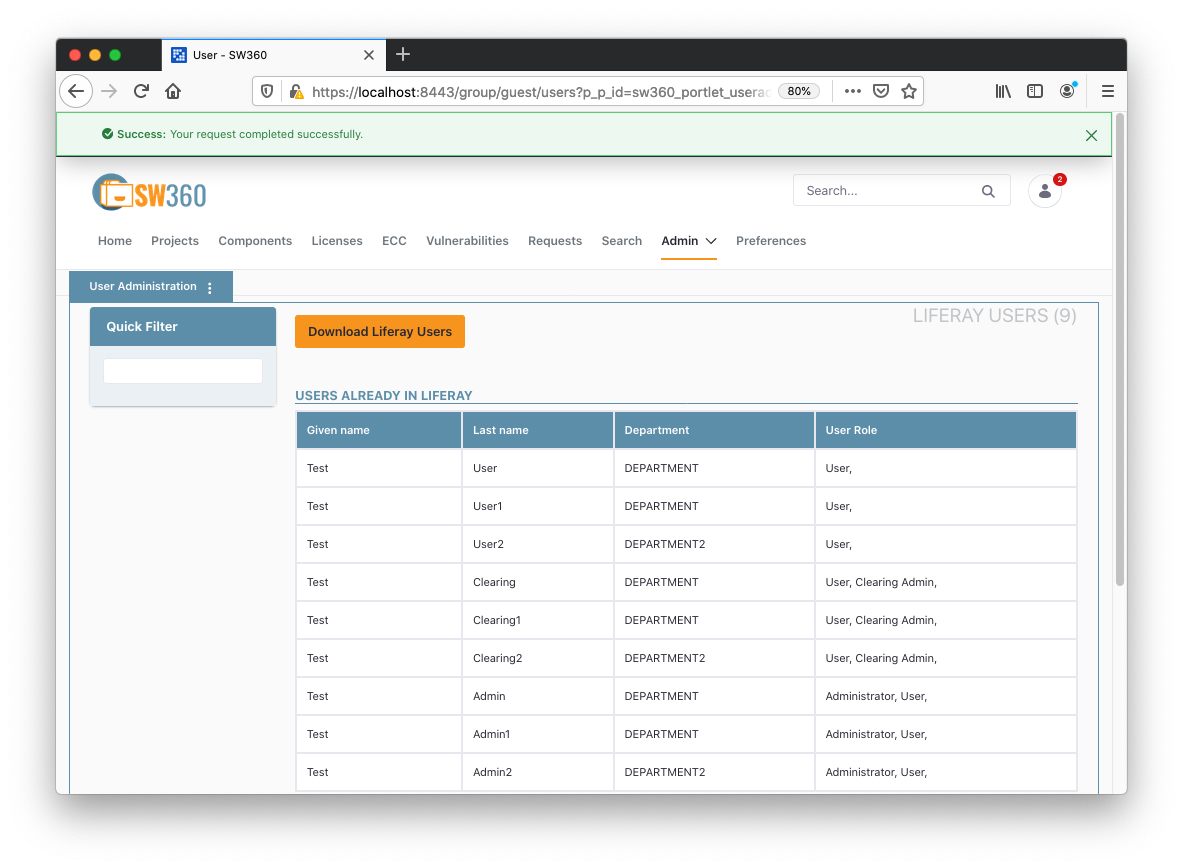
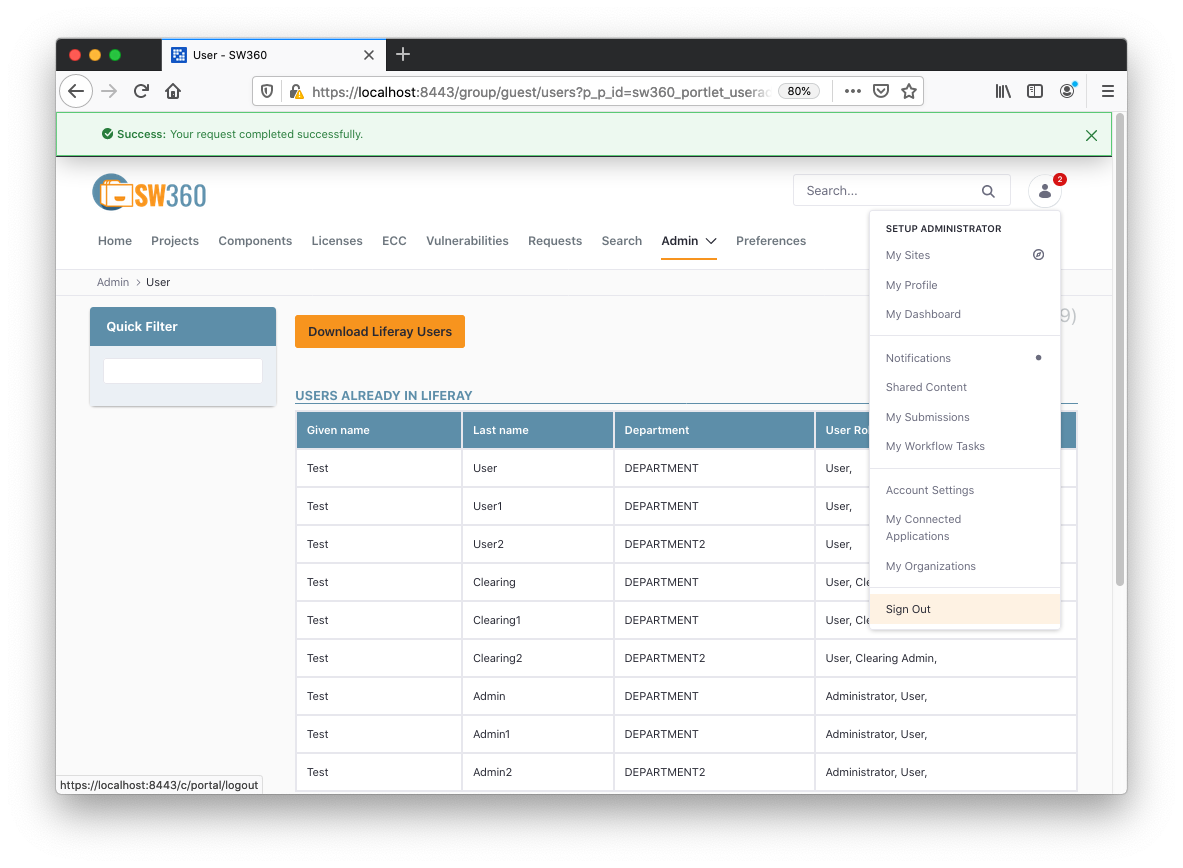
After the user have been imported successfully, they should appear in the table view. You can logout for now and use one of the just added accounts (see below):
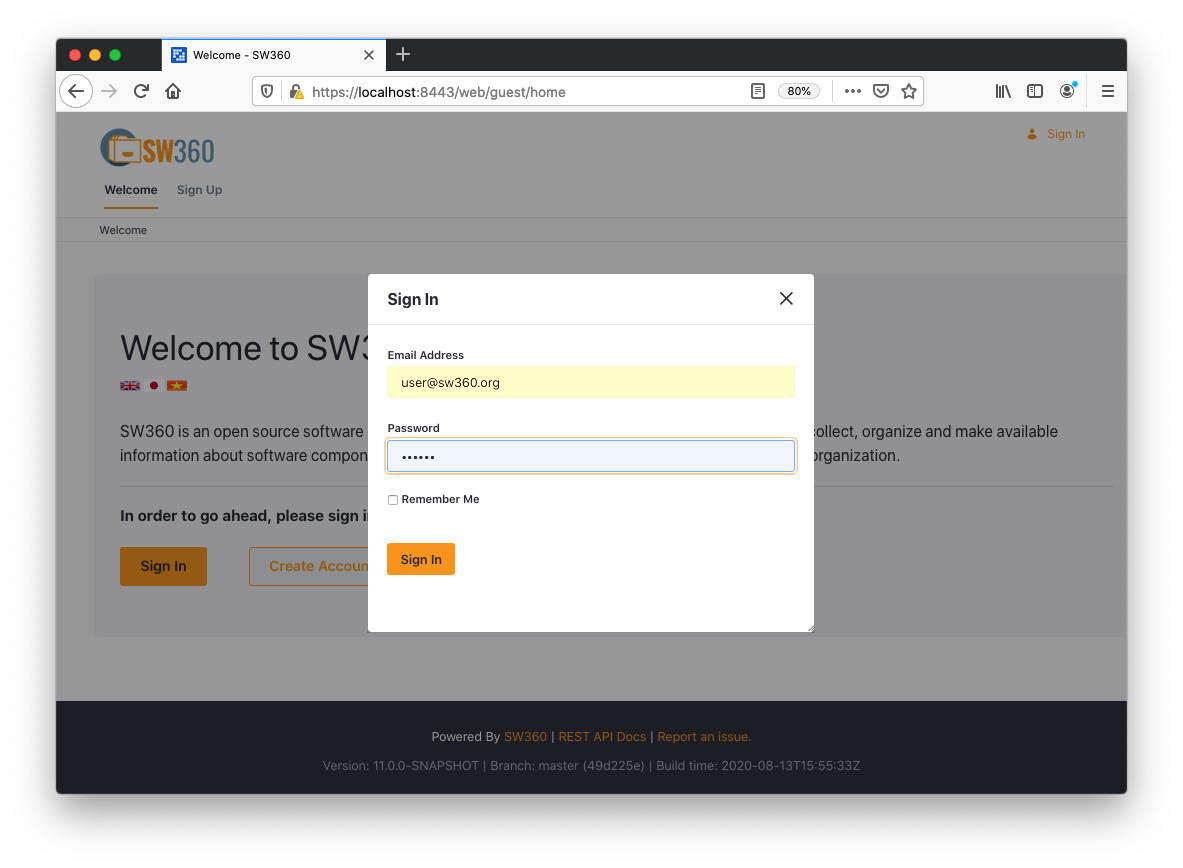
Real Login
One example user is user@sw360.org with the password 12345. Note that in the import file with the example accounts, the passwort is provided with a hash. If you would like to generate new (salted) hashes, you can change your password and export the user list using the same portlet where you have imported the users. This functionality can be also used to migrate accounts between servers.
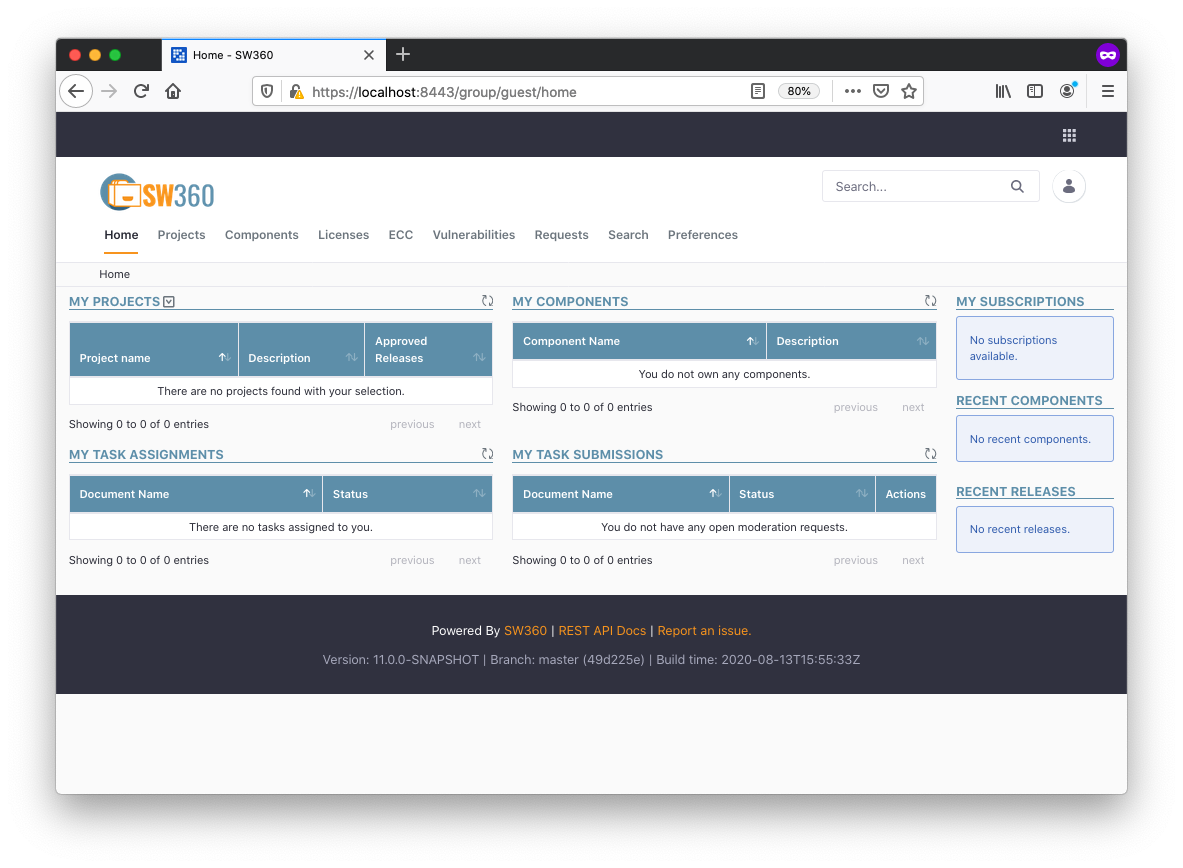
After the successful login, SW360 will look as follows.