-
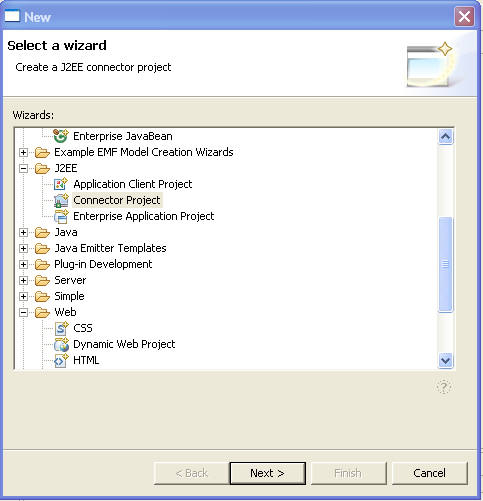
From any perspective, click
File > New > Other > J2EE >
Connector Project
...
-
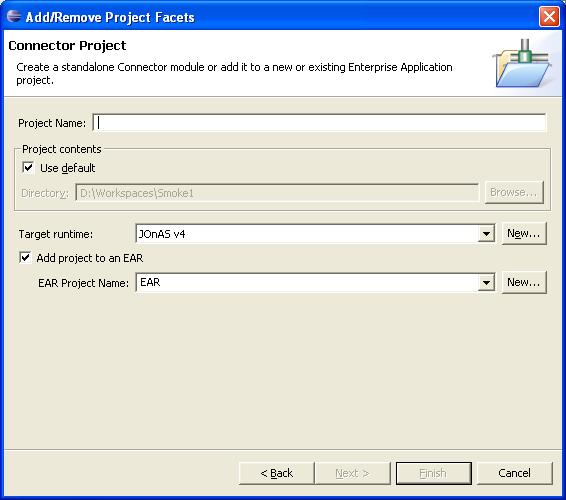
Click Next.
-
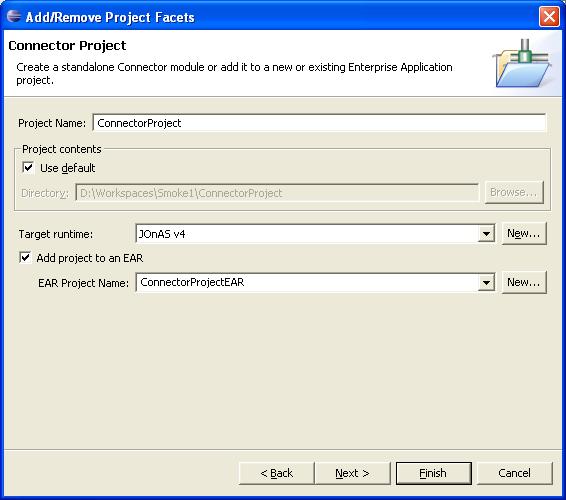
Enter the project name 'ConnectorProject'.Enter
a default or valid J2EE Runtime Library and make sure the
add to EAR selection is checked.
-
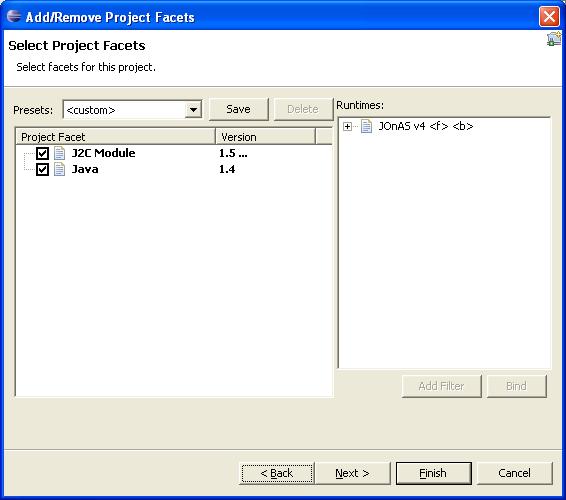
Click Next to go to Select Project Facets Page. You can install
additional factets and bind to a runtime.
-
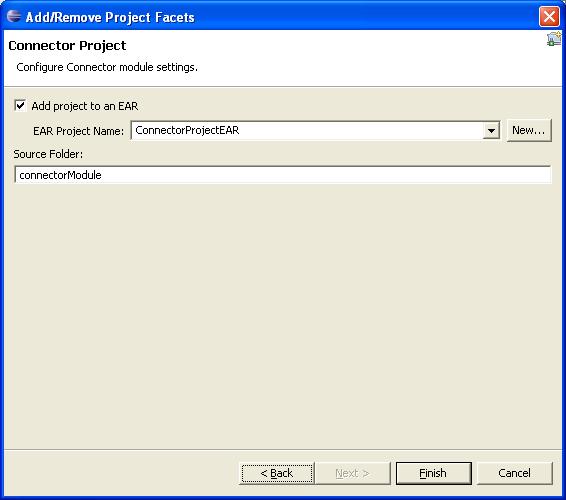
Click Next to go to Connector Settings Page. You can overwrite the
default settings here.
-
Click Finish on New Connector Project wizard. Your
Connector project and EAR module have now been created.
-
After the wizard finishes, if you are not already in
the J2EE perspective, you will be prompted to switch
agree by selecting 'Yes'. In the J2EE perspective
you will see the ConnectorProject in the Project
Explorer.
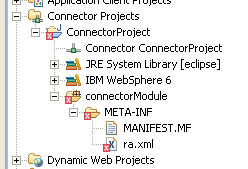
After expanding take special notice of the component folders
which have been created.
-
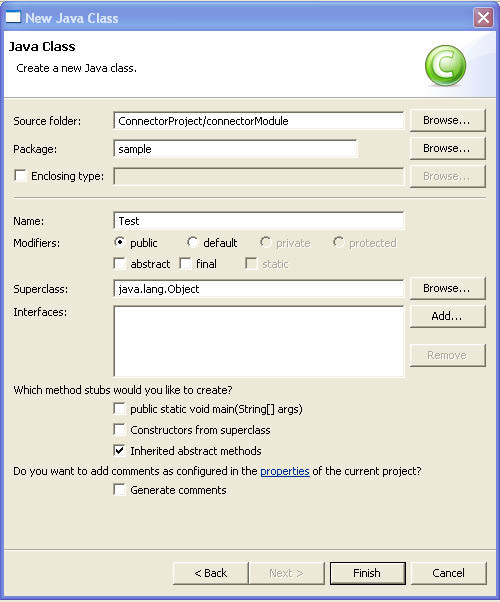
Next create a Test java class in the ConnectorProject's
source folder 'ConnectorProject/connectorModule'.
Defaults are provided in the following image.
After the class is created, perform a Project >
Clean to kick off a full build.
-
Switching now to the Resource perspective, the ouput
of the builder can be verified. In the Navigator, you
will see all resources as they exist on disk. After
expanding the Java Project you will notice a
'.deployables' folder. This folder represents the
deployable output (J2EE spec compliant)
generated via the Component Structural Builder.
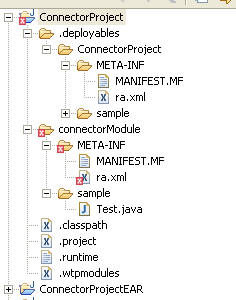
After expanding take notice of the components
under the .deployables for each project.
In the Connector, take special
notice of the sample/Test.class representing the
output of the previously created java class. Also in
the 'ConnectorProjectEAR' check the application.xml
to insure it contains an entry to the Connector and
also open the ConnectorProject.rar contained in the
EAR with a zip utility to insure the contents
contain the Connector's Manifest.MF,
ra.xml and the Test.class.