| Creating Java elements and simple resources |
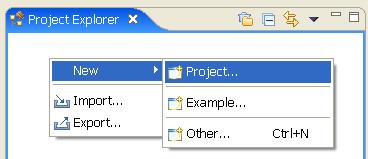
 | Create a Java project by right clicking within the WTP Project
Explorer and selecting "New > Project". When the wizard dialog presents itself,
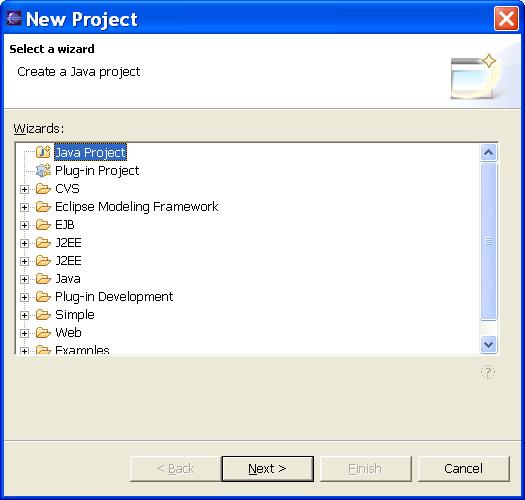
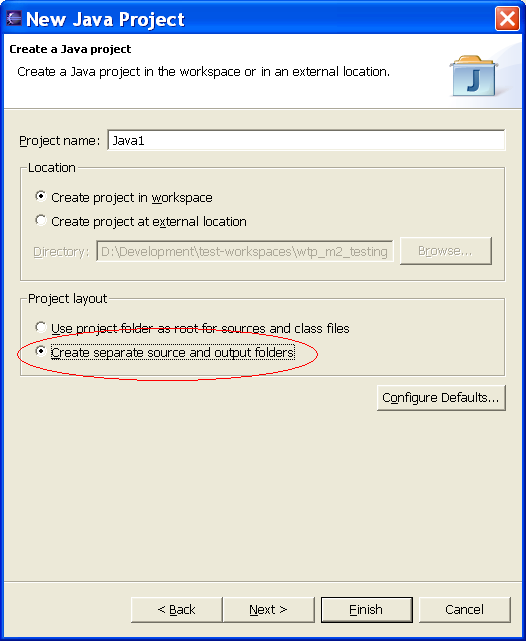
select "Java" and then click "Next". On the "New Java Project" dialog, select
the option to create separate source and output folders.
|
|
|
|
|
|
Figure 1.1: Right click on the open space in the WTP
Project Explorer viewer and select "New > Project"
|
|
|
|
Figure 1.2: Select "Java Project" in the "New"
dialog and click "Next"
|
|
|
|
Figure 1.3: Enter "Java1" as the project name and select the
option to create separate source and output folders
|
|
|
|
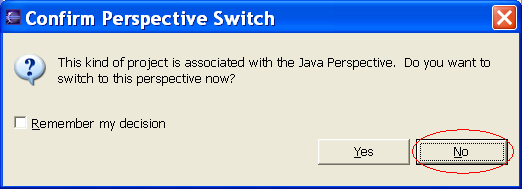
Figure 1.4: Select "No" when the "Confirm Perspective Switch"
question dialog presents itself
|
|
Figure 1: Create a new Java Project.
|
|
| Once you have created your Java Project, create a Java class and a simple
resource. |
|
|
|

|
|
Figure 2.1: Right click on the Java project created
earlier and select "New > Class"
|
|
|
|
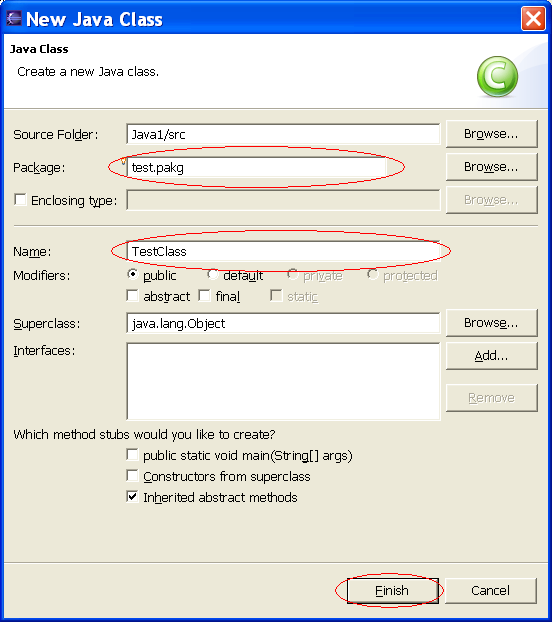
Figure 2.2: Enter "test.pakg" as the Java package and
"TestClass" as the name of the class and click "Finish"
|
|
Figure 2: Create a new Java class.
|
|
| Now create a simple file. |
|
|
|
|
|
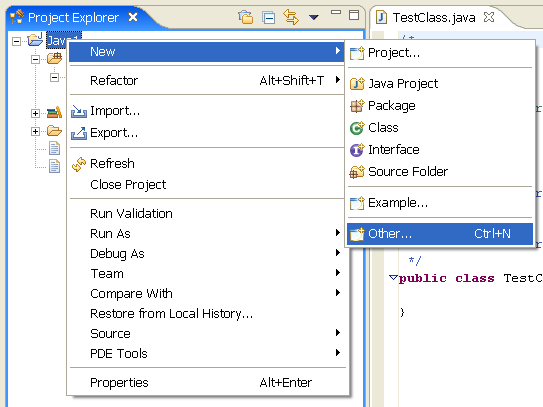
Figure 3.1: Right click on the Java project created
earlier and select "New > Other..."
|
|
|
|
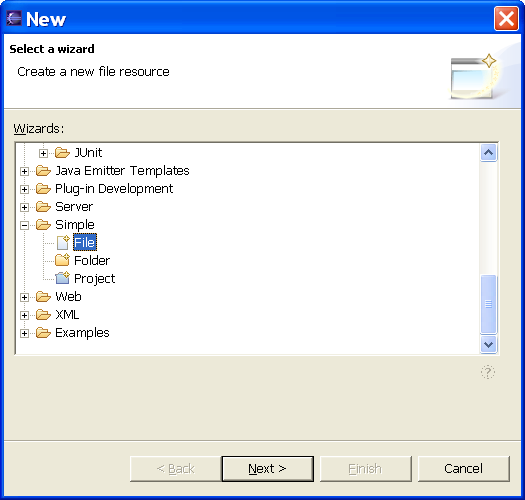
Figure 3.2: Select "File" in the "New" dialog and click "Next"
|
|
|
|
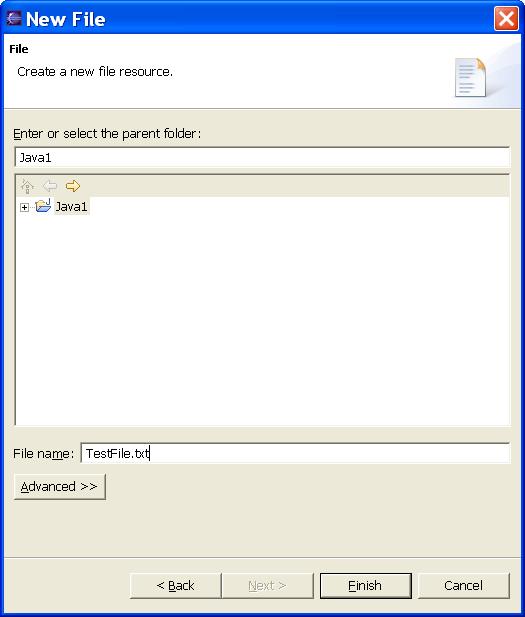
Figure 3.3: Enter "TestFile.txt" as the name of the file and click "Finish"
|
|
Figure 3: Create a new file. Name the file "TestFile.txt" when creating the file
|
|
|
| Return to overview. |