Connecting JetBrains IntelliJ IDEA Ultimate Edition to a Che workspace
Eclipse Che supports connecting your local IntelliJ IDE to a running Che workspace over JetBrains Gateway.
-
The JetBrains Gateway application is installed.
-
The Gateway provider for OpenShift Dev Spaces is installed.
-
In your local terminal, you are logged in to your OpenShift server with the OpenShift Client.
The
oc logincommand establishes the authenticated session and saves the connection information to the configuration file which is read by the Gateway provider for OpenShift Dev Spaces.
-
Create a workspace on the Che Dashboard and choose
IntelliJ IDEA Ultimate (desktop)editor:
-
Wait for the prompt to open your local JetBrains Gateway application to appear:

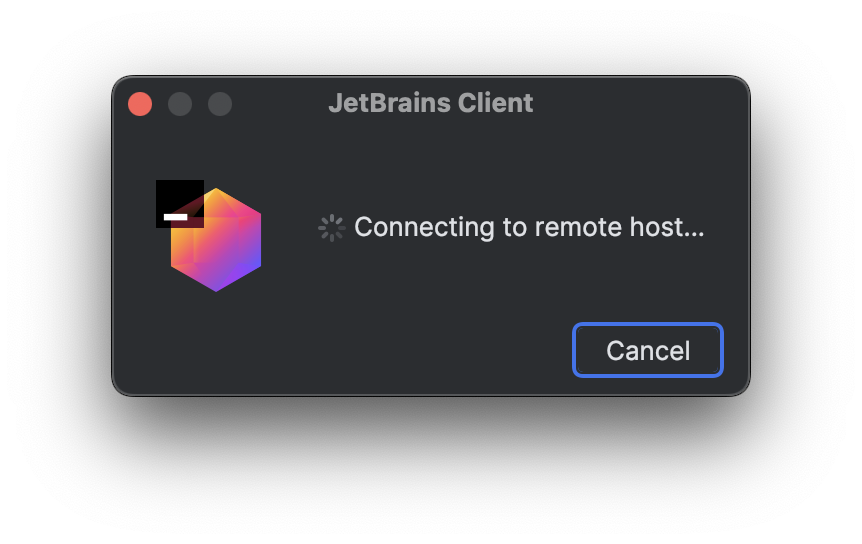
Click the Open Gateway button to start your local JetBrains Client application connected to your Dev Spaces workspace:
There are two options to connect the local IntelliJ IDE to an existing workspace:
-
from the Che Dashboard
-
from the Gateway application
The simplest way to connect to an existing workspace is to start a workspace from the Che Dashboard and click the Open Gateway button.
However, with the Gateway application, you can connect the IntelliJ IDE to your workspace without accessing the Che Dashboard.
-
Open the Gateway app and click
Connect to Dev Spaces: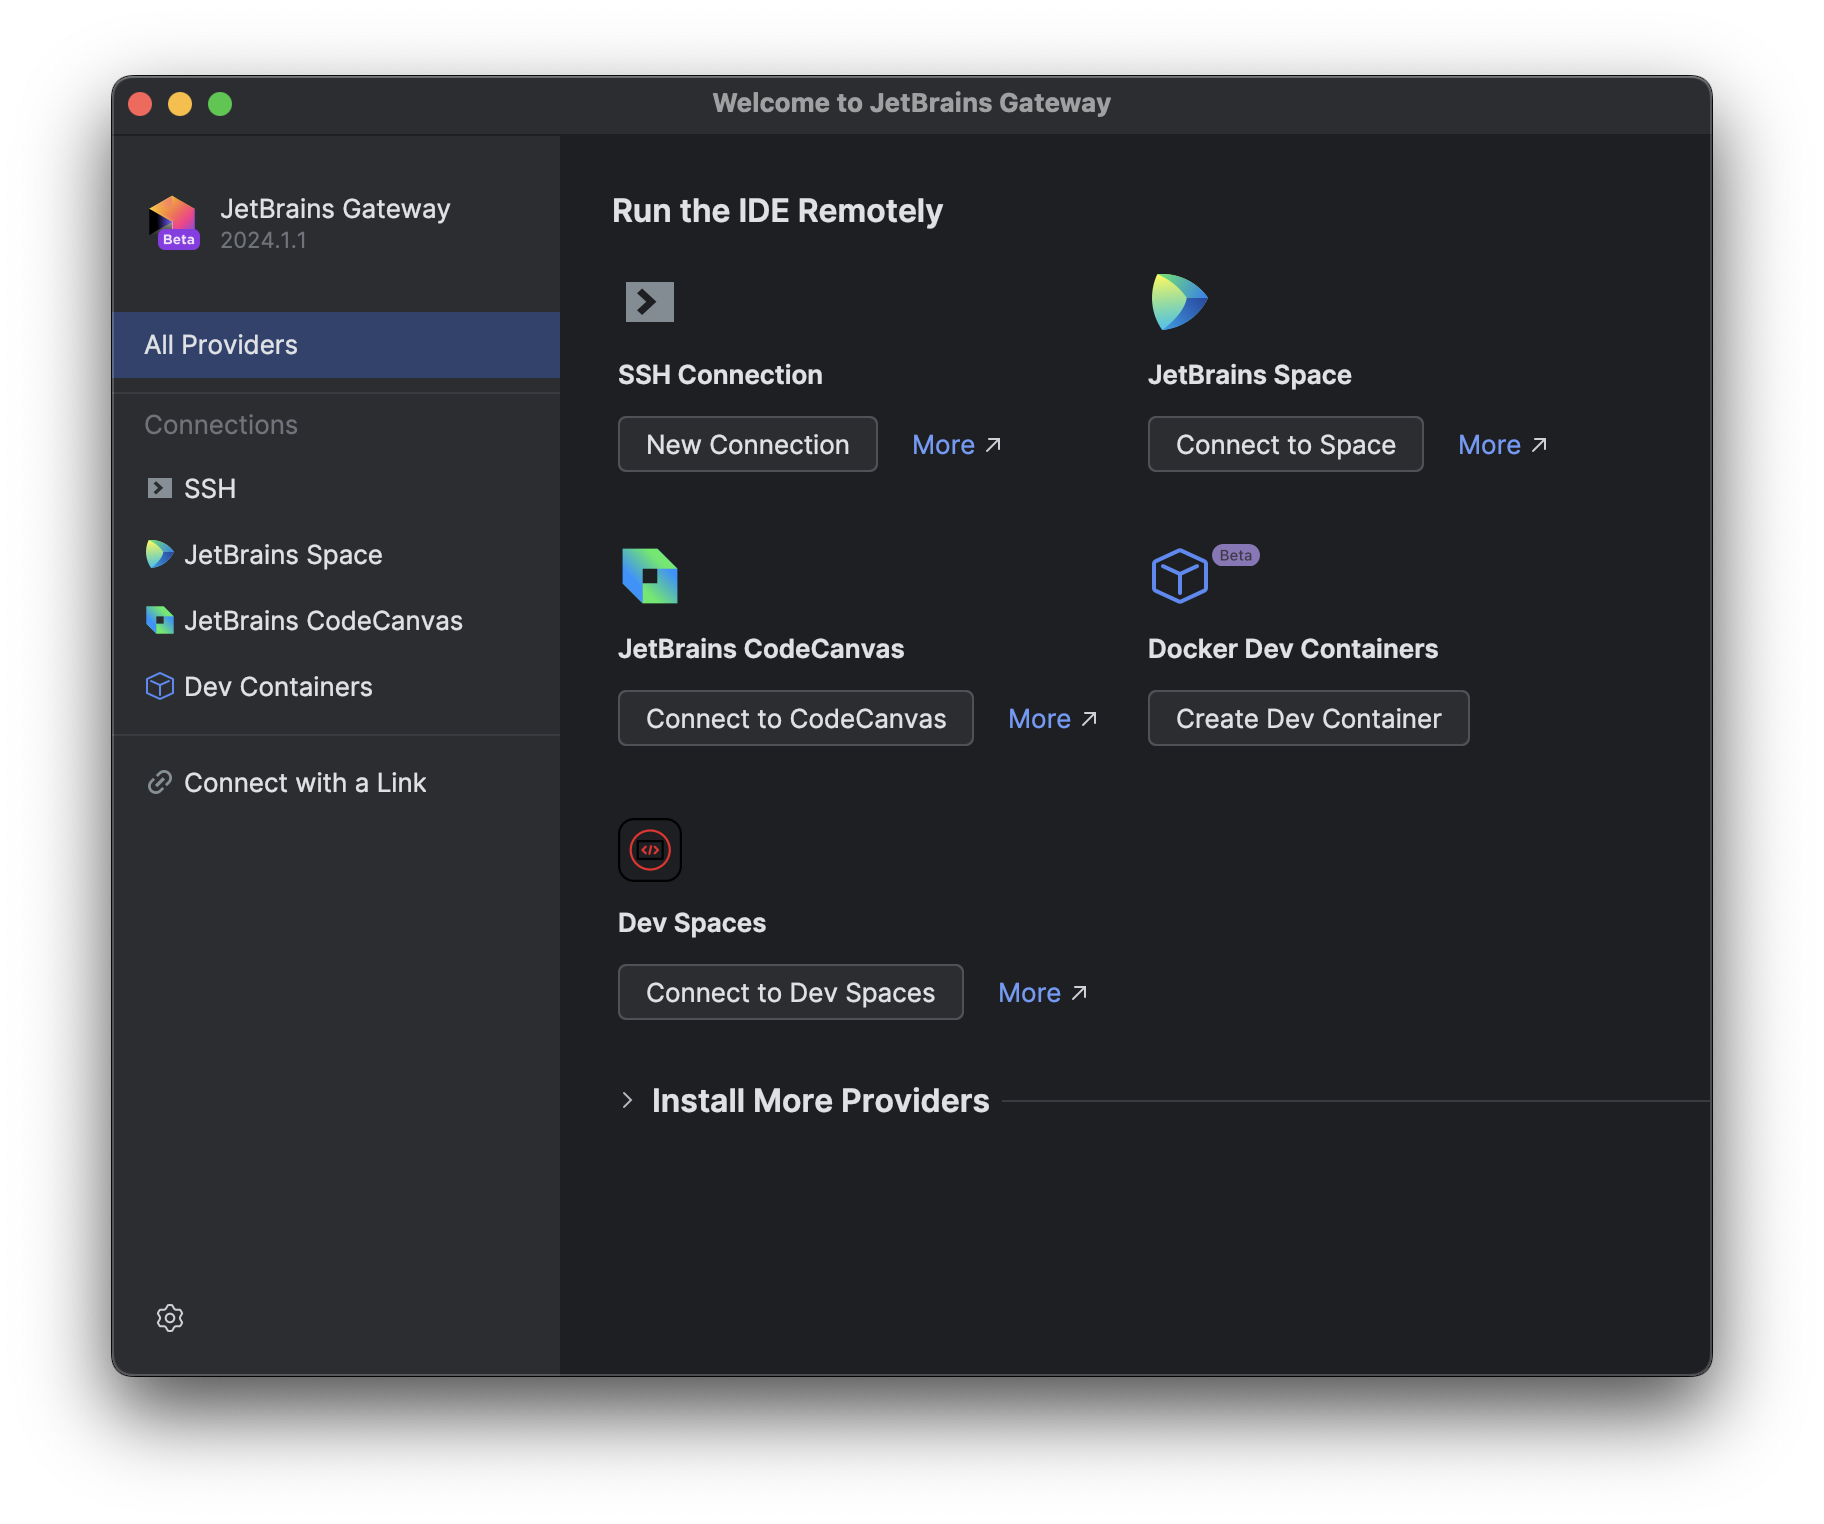
-
On the next page, provide the parameters to connect to the OpenShift API server and click the
Check Connection and Continuebutton: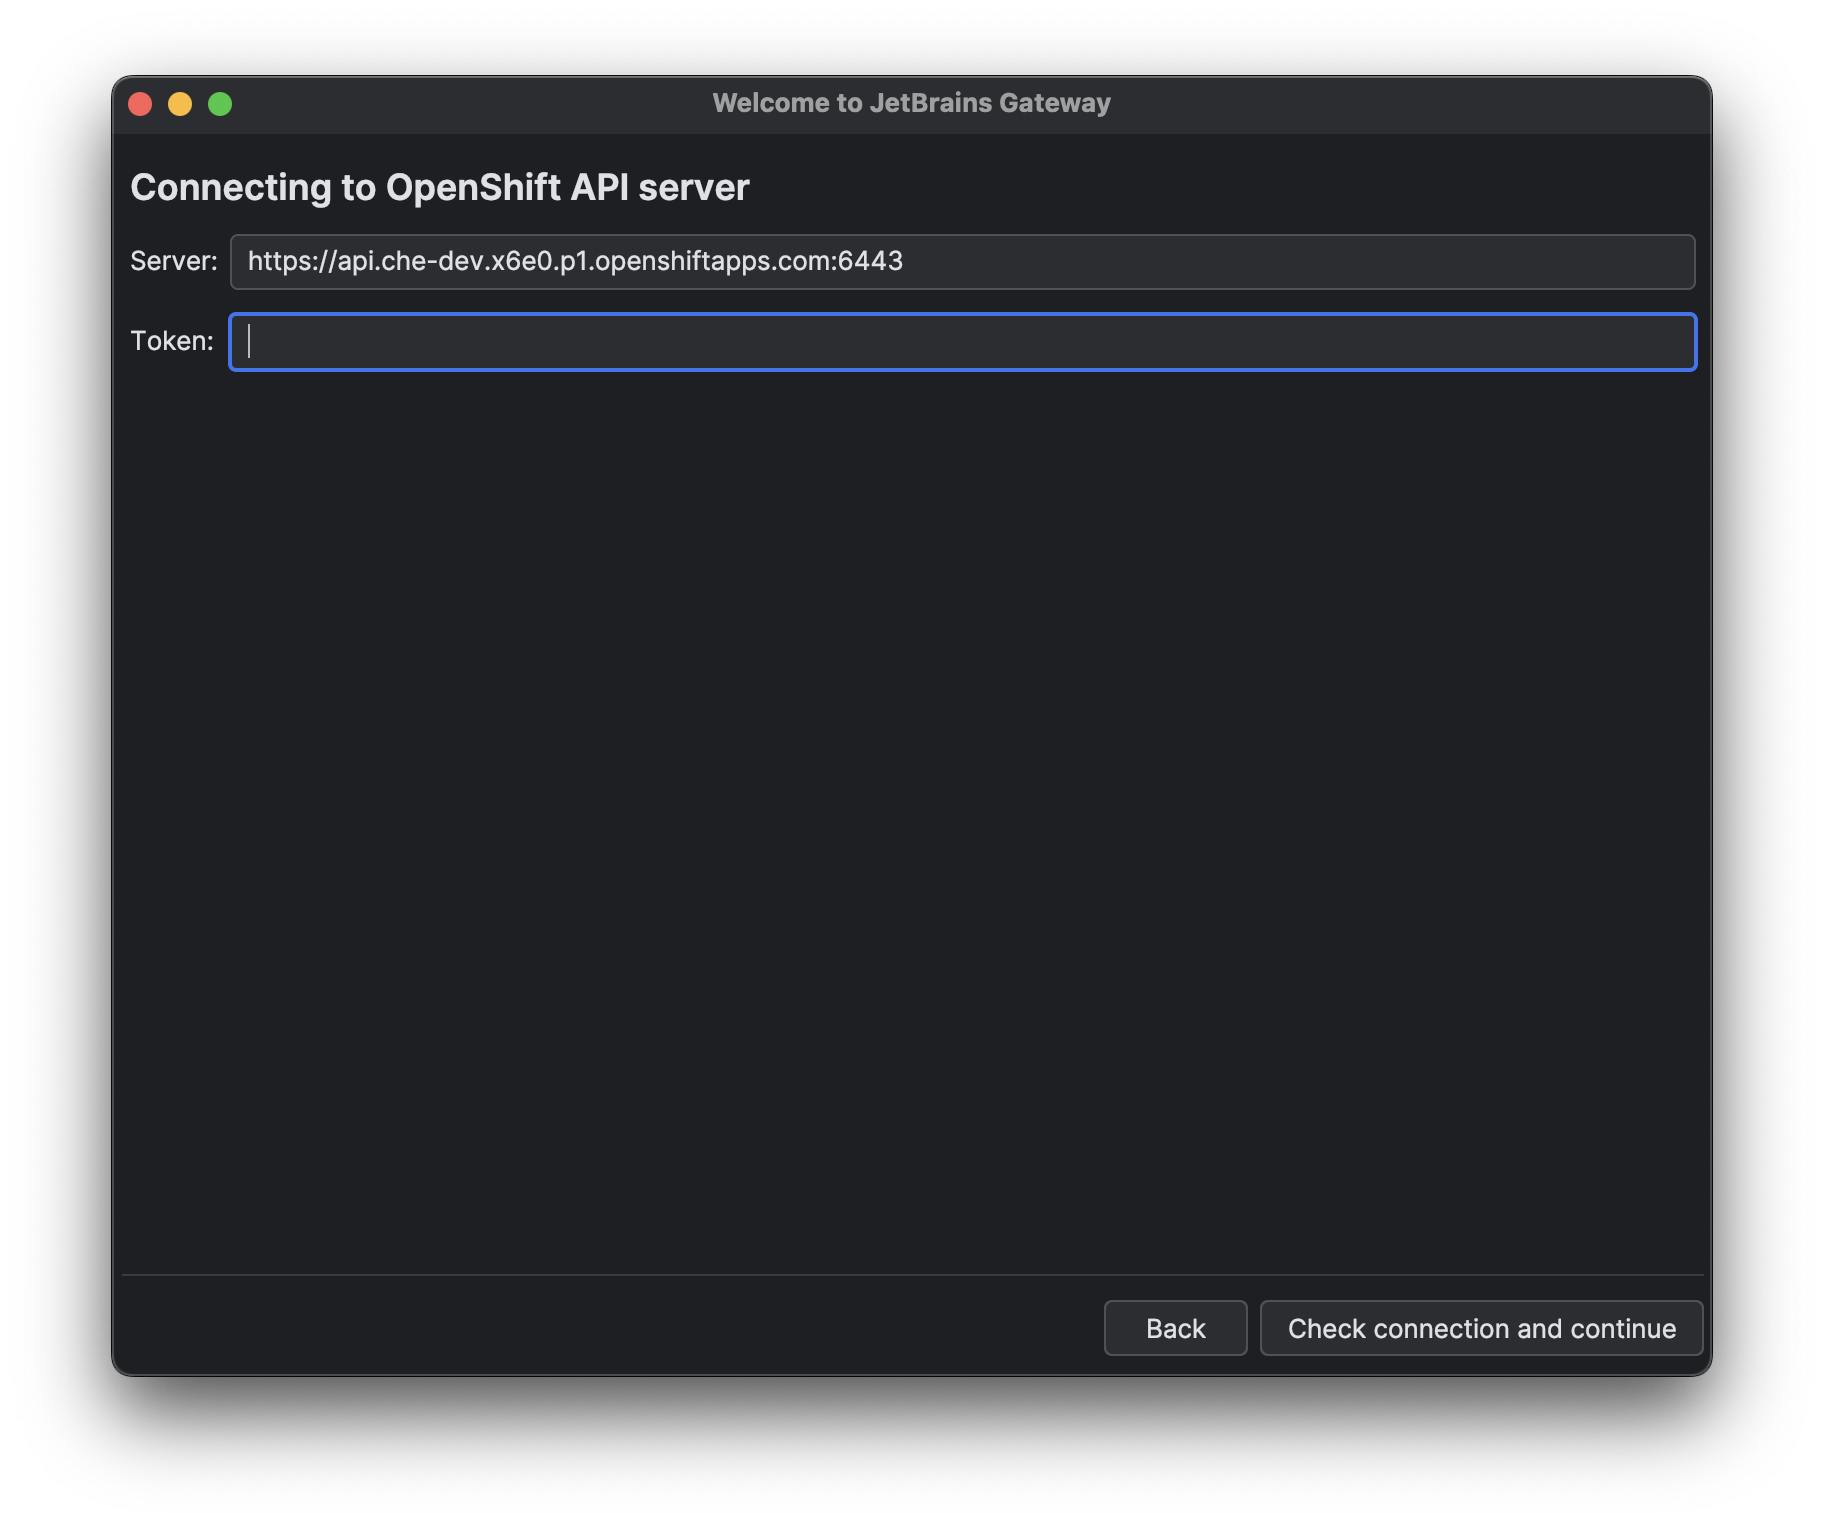
-
Choose your workspace and click the
Connectbutton: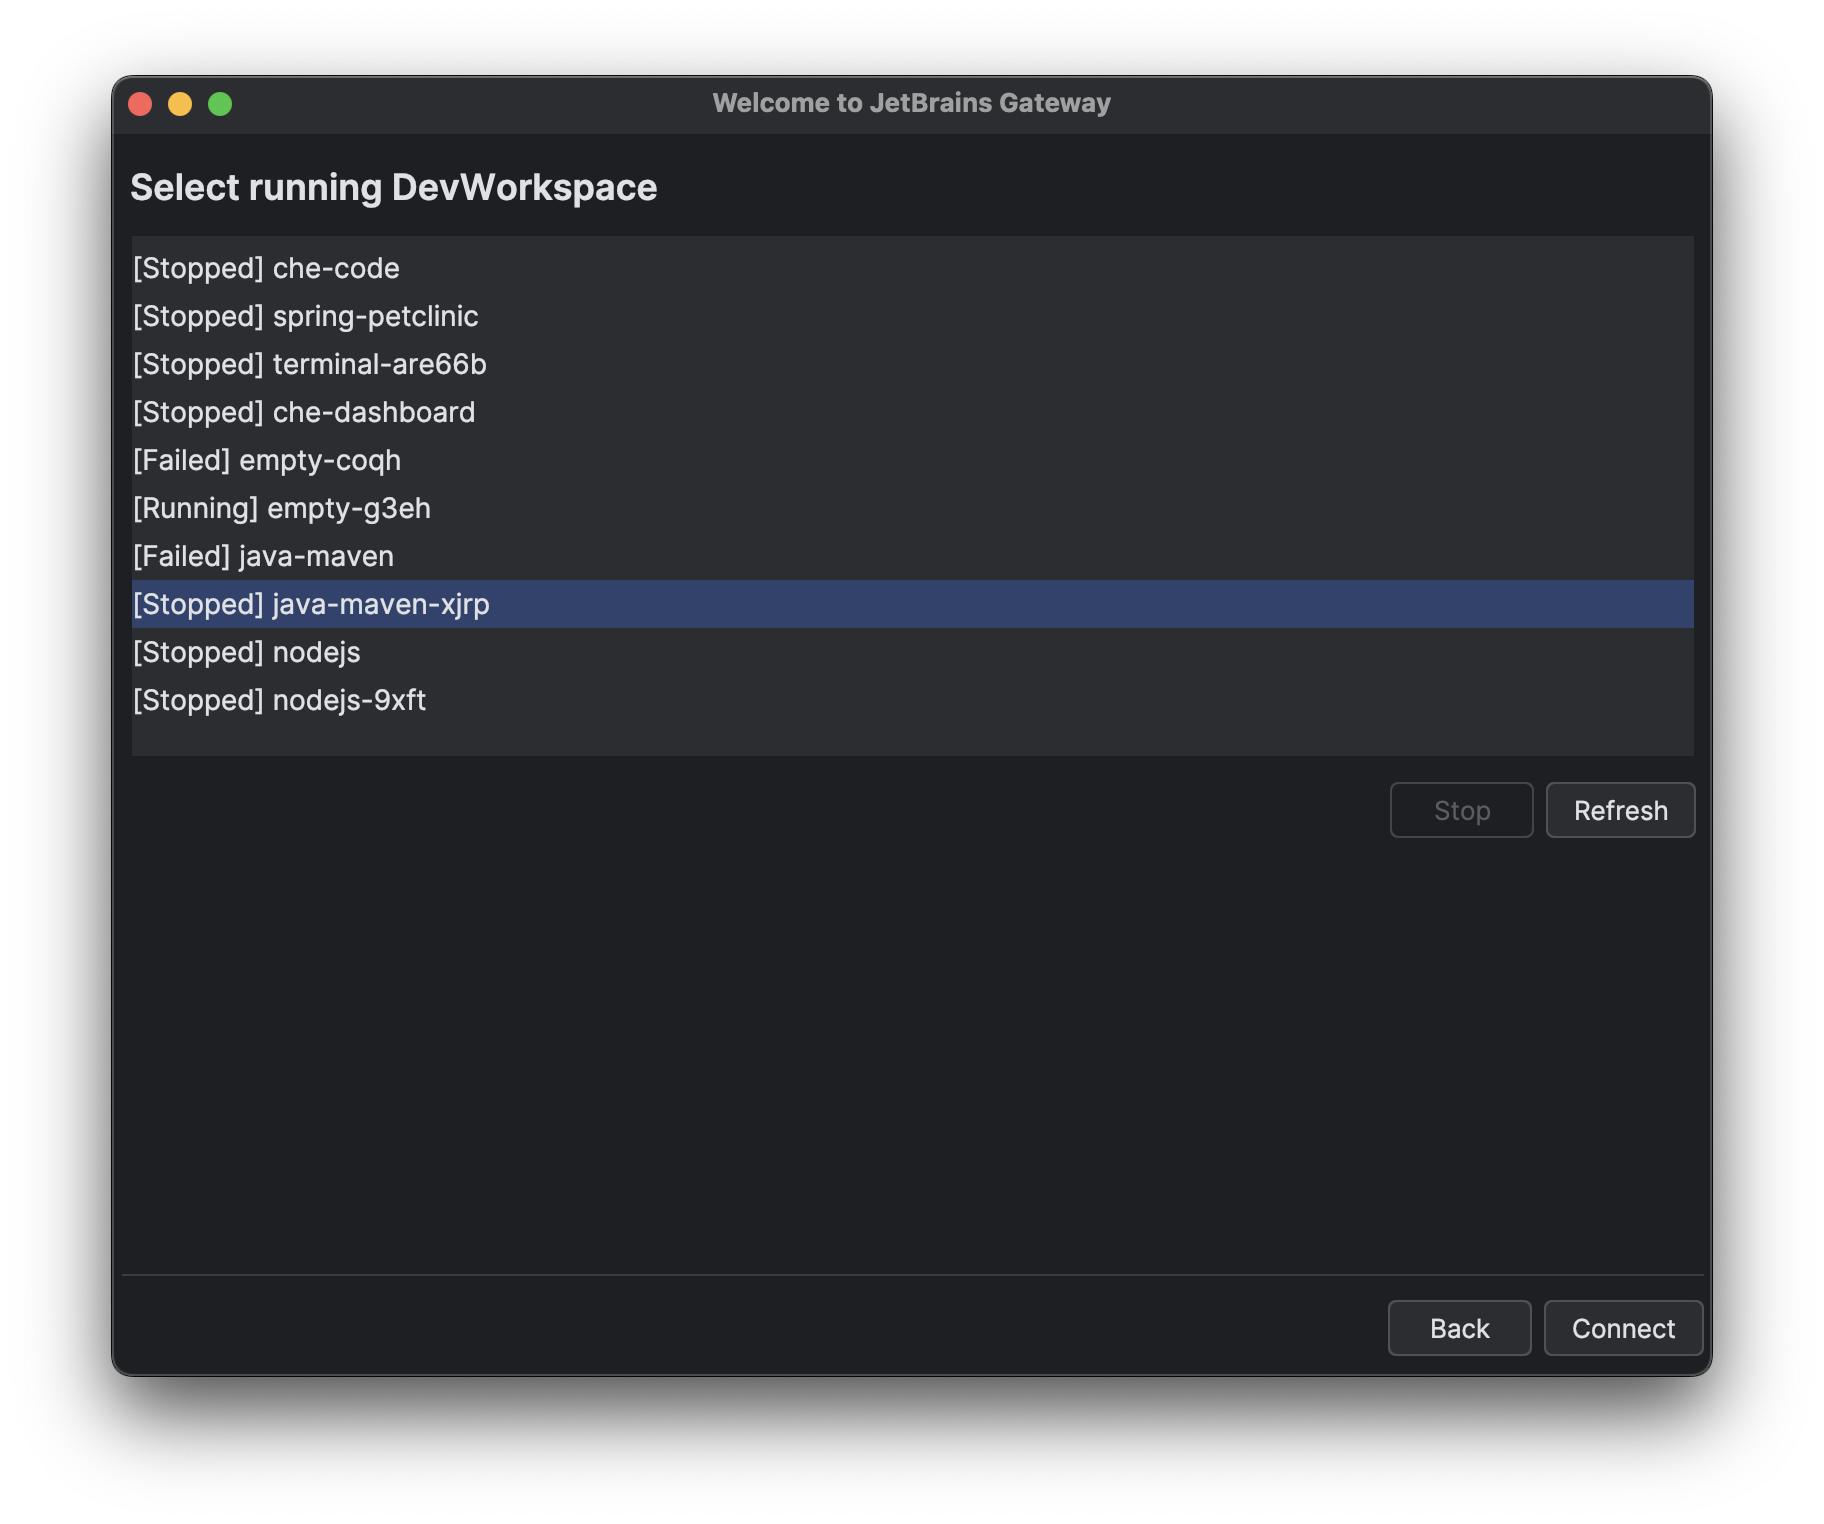
-
Your local Gateway application is running the JetBrains Client and connects to the workspace.