Getting Started C
In this tutorial you will have a first look at a very simple eTrice model. The goal is to learn the work flow of eTrice and to understand a few basic features of ROOM.
Preconditions
-
Working C development environment:
- C compiler of your choice
- Installed eTrice VSCode extension (see Install eTrice)
- Installed eTrice Standalone C Generator (see Standalone Generators)
-
Optional: Install Trace2UML, an Open Source MSC viewer which is part of the Astade UML Tool Installation
How to install the MinGW compiler under Windows
-
Go to the official mingw64 download site and select a pre-built windows toolchain from the list, for example one from WinLibs.com
-
Select a variant to use (for example 64-bit using POSIX threads, SEH, and UCRT) and download the corresponding binary archive.
-
Extract the contents of the binary archive to a local install directory, preferably without spaces in the path.
-
Set the environment variable path to include the MinGW directory. Open the windows menu with "windows key", type "Control Panel" and press Enter.
-
At the top right of the control panel window there should be a search box. Select it and type "Advanced system settings" and then click on the search result "View advanced system settings".
-
Click on "Environment Variables" and double click on the user variable "Path". In the new "Edit environment variable window", enter a new absolute path pointing to the "bin" subfolder of the local install directory, i.e.
[local install directory]/bin. Press OK on all open settings windows to close them.
- To verify that your installation is working, run the following commands and confirm that the outputs match as follows. It is possible that a restart may be necessary to confirm the changes.
> gcc --version
g++ (GCC) X.X.X
......

> g++ --version
g++ (GCC) X.X.X
......

> gdb --version
GNU gdb (GDB) X.X.X
......
Open template project
Download the eTrice C template project from the eTrice releases page (the template project can be found in the Quellcode archive under examples/org.eclipse.etrice.template.c). Open a new empty workspace folder and copy the extracted folder into your new workspace folder. Open workspace the folder in VSCode using File → Open Folder.
You will also need the runtime.c and modellib.c projects found in the runtime folder. Copy them into your workspace folder.
Now open TemplateModel.room in the model folder of the template.c project.
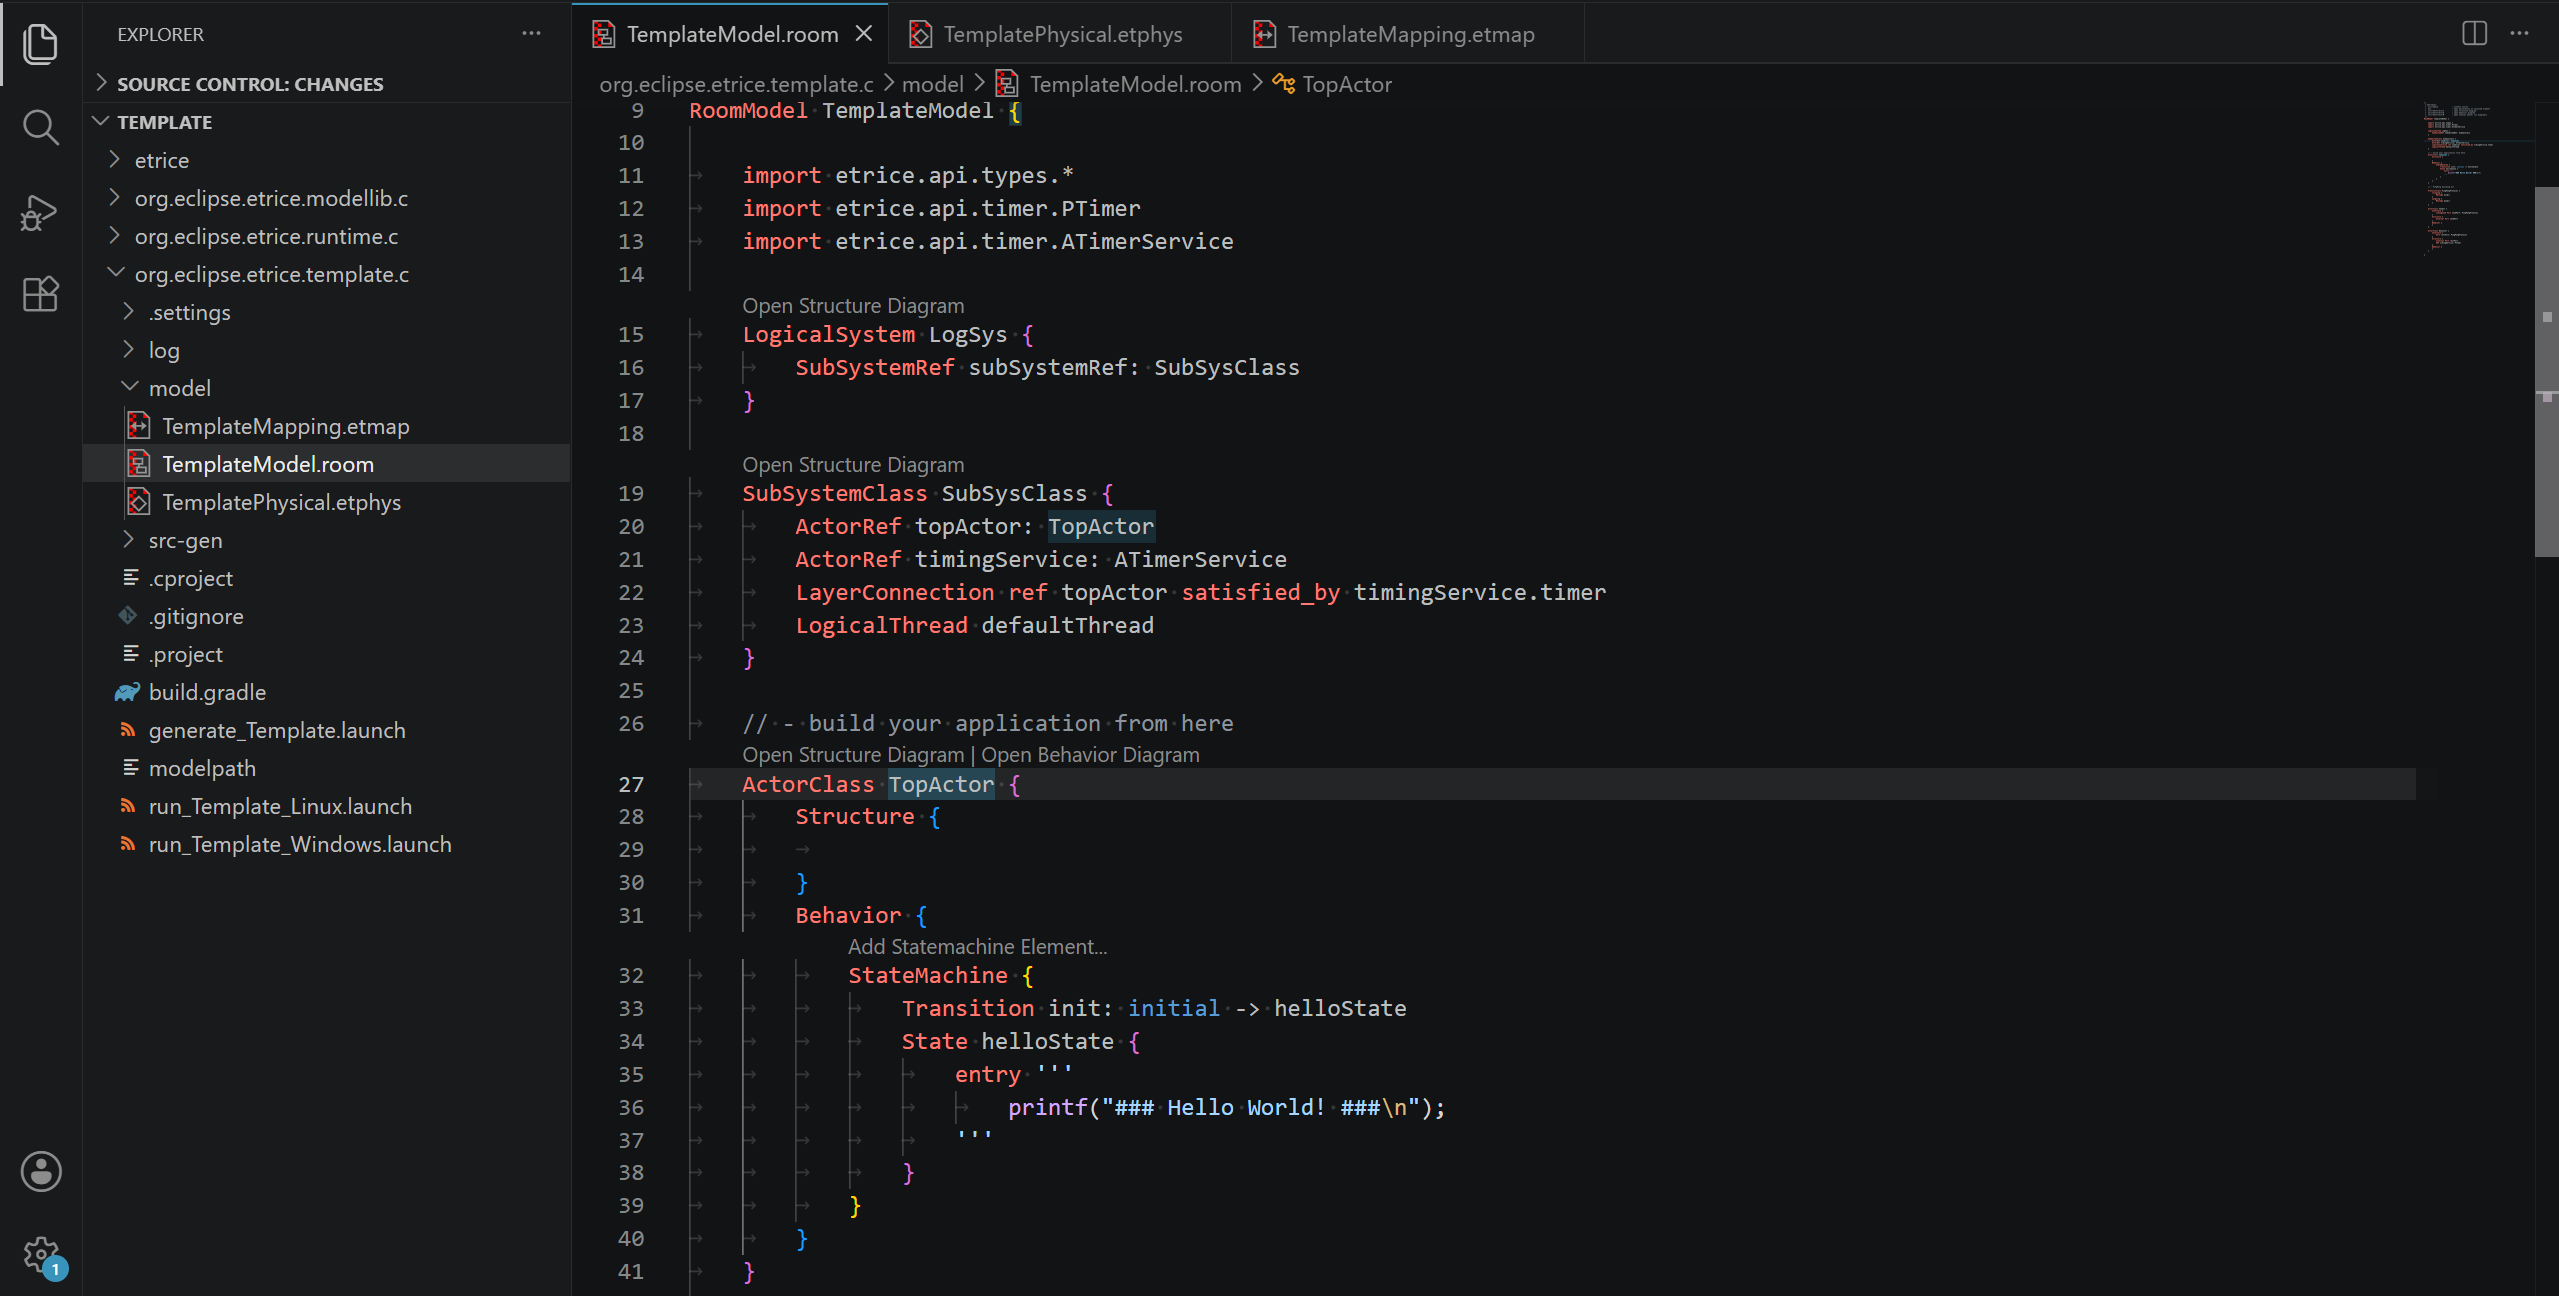
In this step we are introduced to the concept of Actors, a fundamental building block in ROOM, and how they are used in eTrice. In essence, an Actor is a representation of an object as a logical machine with defined behavior. Its structure, behavior and protocols are all defined within an element called an ActorClass. See the documentation on Actors for further information.
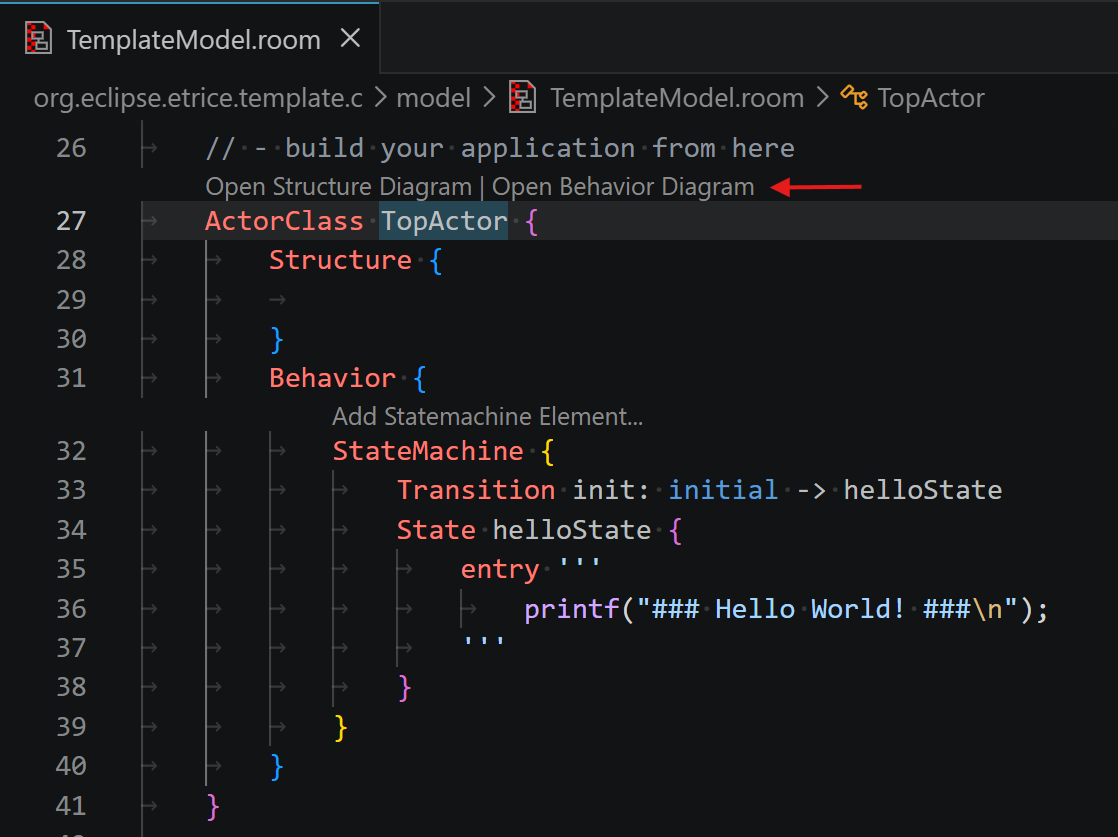
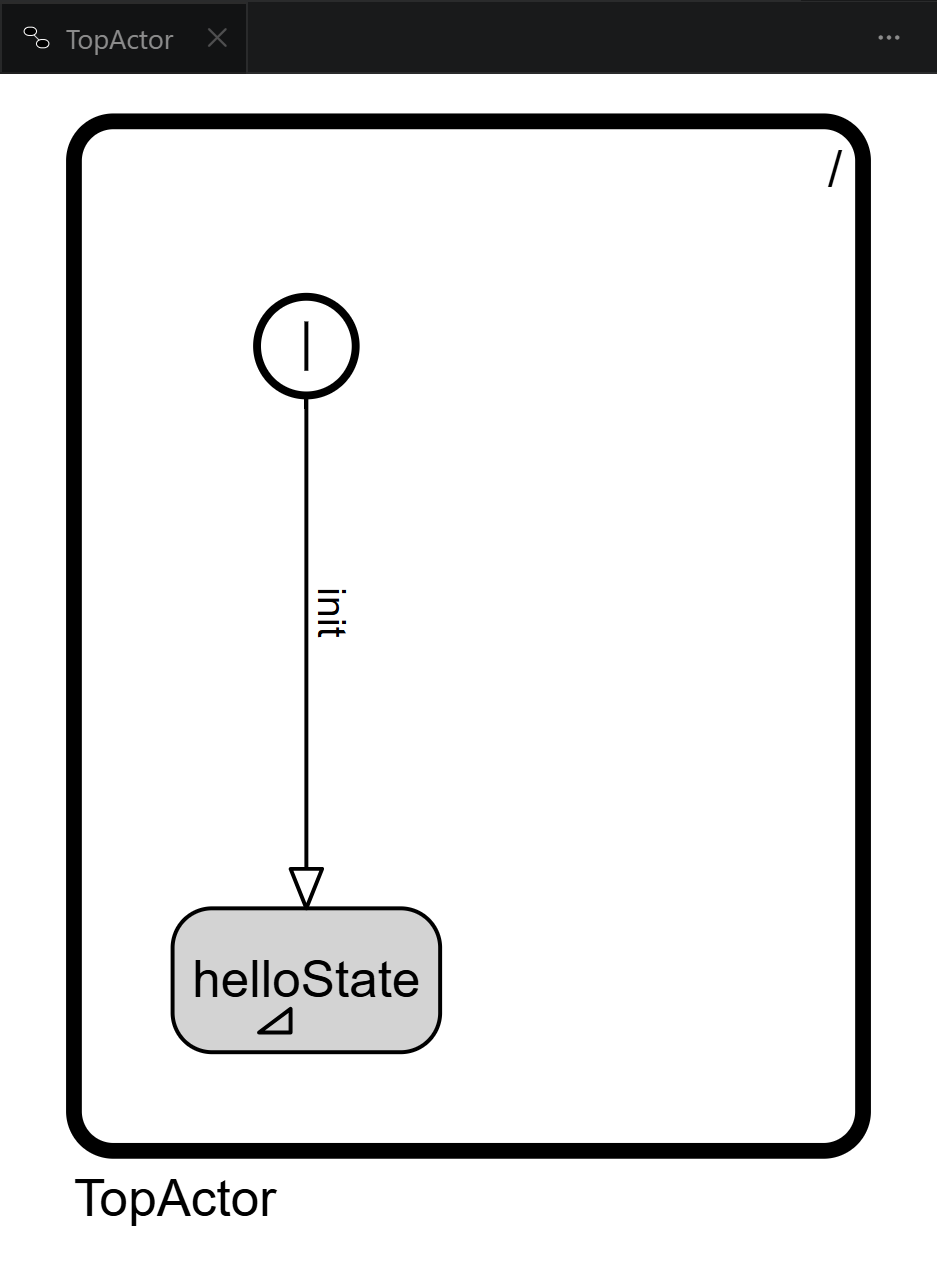
The model contains an ActorClass TopActor, which is currently the only active actor. TopActor has a state machine that is intended to output a simple HelloWorld statement. To inspect its behavior graphically, use the Open Behavior Diagram code lens above the TopActor class definition.
The state machine has an initial transition that leads to helloState. The state defines an entry code, which is executed during the transition. We can view the details by hovering over the state.
Generate source code
Now we are ready to translate the model into source files using the standalone eTrice C generator (see Standalone Generators).
First, generate the model library. This only needs to be done once after downloading the template project:
etrice-c -genDir org.eclipse.etrice.modellib.c/src-gen \
  -modelpath org.eclipse.etrice.modellib.c/model \
  org.eclipse.etrice.modellib.c/model/etrice/api/*.room
Then, generate the application:
etrice-c -genDir org.eclipse.etrice.template.c/src-gen \
  -modelpath "org.eclipse.etrice.modellib.c/model;org.eclipse.etrice.template.c/model" \
  org.eclipse.etrice.template.c/model/TemplateMapping.etmap \
  org.eclipse.etrice.template.c/model/TemplateModel.room \
  org.eclipse.etrice.template.c/model/TemplatePhysical.etphys
Build and run application
After generating, build the project using your C toolchain.
Open the Message Sequence Chart
After termination, we can inspect the behavior of our application. It is recorded in the form of a MSC (Message Sequence Chart) and can now be used for debugging or documentation purposes. Open msc.seq or subSystemRef_Async.seq in the folder log using the tool Trace2UML (if the file is not present, try to refresh the folder log).
The Trace2UML (Open Source tool) download links can be found in the Preconditions section of this page.
Yet the MSC is nearly empty having not recorded any interaction between actors. It shows that topActor (full instance path /LogSys/subSystemRef/topActor) has assumed helloState. In the next PingPong tutorial we are going to create a more sophisticated and vivid eTrice application introducing actor building blocks and message protocols.
