How the FMU is built and used#
The fmu code & cmake project is created by the sdv_dbc_util.
The FMU can be found here: examples/system_demo_example/generated/fmu_DemoExampleFMU/fmus
Before the project can be used, the following steps need to be done:
required configuration files have to be put into the subfolder.
function OpenAPILoad() needs to be updated in the model.cpp file.
See also
The prepared files are copied during cmake configuration.
file (COPY ${PROJECT_SOURCE_DIR}/fmu/resources/fmu_vehicle_devices_basic_services.toml DESTINATION ${PROJECT_SOURCE_DIR}/generated/fmu_DemoExampleFMU/DemoExampleFMU/resources)
file (COPY ${PROJECT_SOURCE_DIR}/fmu/resources/fmu_complex_service.toml DESTINATION ${PROJECT_SOURCE_DIR}/generated/fmu_DemoExampleFMU/DemoExampleFMU/resources)

# Overwrite model.cpp with an identical file but loads all components in OpenAPILoad(const std::string& resources)
file (COPY ${PROJECT_SOURCE_DIR}/fmu/model.cpp DESTINATION ${PROJECT_SOURCE_DIR}/generated/fmu_DemoExampleFMU/DemoExampleFMU)
The following describes how the FMU is loaded and used in OpenXilEnv.
The script (*.src file)
.../examples/system_demo_example/fmu/vapi_system_demo.scr
Open XilEnvGui.exe
Generate new INI file
Recommended: in upper menu click on RT-Factor Icon to switch from fast to slow: Instead of a high (cycling) number the number should be around 1.

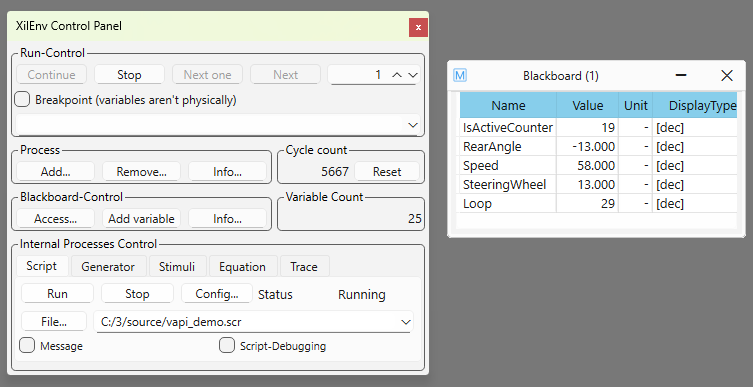
in XiLEnv Control Panel: Click on ‘Add…’ in ‘Process’
‘Start process’ window opens, click on ‘start an external process’
Select file ‘DemoExampleFMU.fmu’
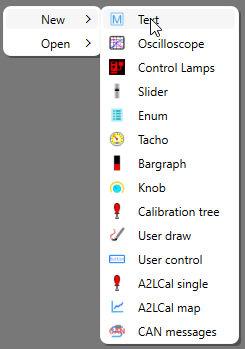
Right-Click somewhere ‘New > Text’ and open ‘Blackboard’
Right-Click and open ‘config’
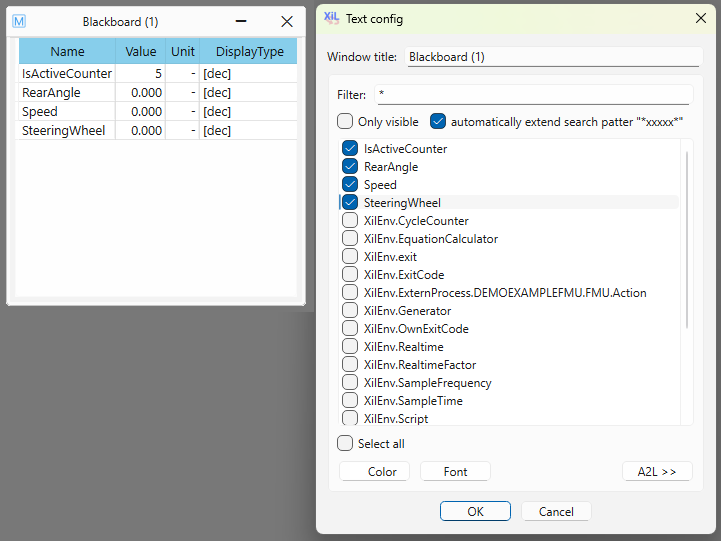
Add the 4 signals
in XiLEnv Control Panel: Click on ‘File…’ in ‘Internal Process Control’ and add script file ‘vapi_system_demo.scr’
in XiLEnv Control Panel: Click on ‘Run’ in ‘Internal Process Control’