
Step 5 - Other Basic Features
This page is part of a guide that gives a walk-through over the major 4diac IDE features.
This page shows the following interesting features in 4diac IDE that might improve your work:
Import an Existing System
Use these steps when you already have a 4diac project, for example from a zip file, a Git checkout or the examples folder, and you want to open it in 4diac IDE.
Choose the workspace.
Start 4diac IDE.
If a workspace chooser appears, select the folder you want to work in (for example a workspace folder on your Desktop) and click .
If 4diac IDE is already running, you can switch the workspace via and restart.
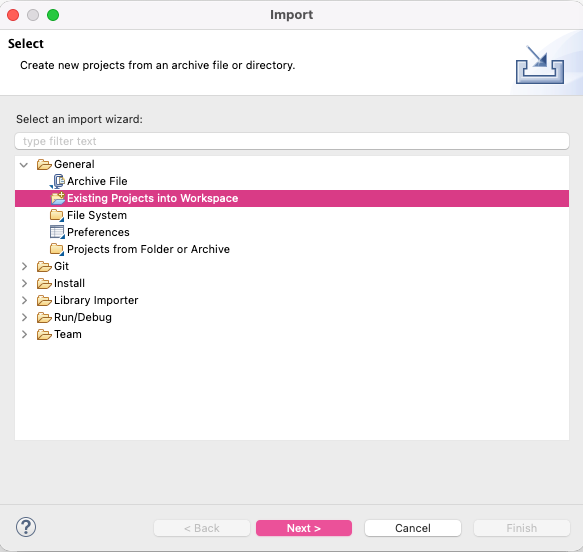
Open the import wizard. Go to , then select and click Next.
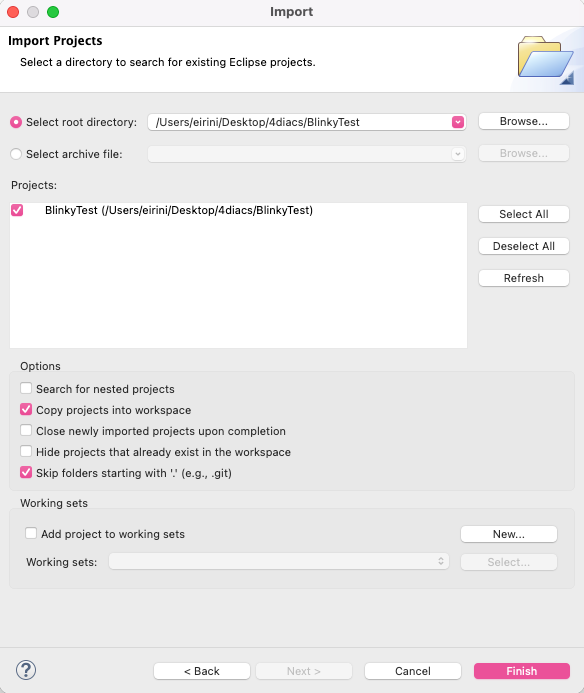
Select the folder that contains your system. In the Import Projects dialog, next to Select root directory, click and navigate to the folder that contains your project. Select that folder and confirm; the Projects list now shows one or more entries.
Pick what to import. In the Projects list, tick the checkbox of the system you want to import. If you want to keep the original project unchanged, which is recommended for tutorials and examples, enable Copy projects into workspace. This creates a copy in the workspace so you can edit it safely. Click to import.
|
Caution
|
If you do not enable Copy projects into workspace and later delete the system from the IDE, the original project on disk is deleted as well. |
Check that the system imported correctly. In the System Explorer, open your system and verify that the System Configuration is present with its Devices and Resources, and that the Application view shows the Function Blocks with their event and data connections.
Import Existing IEC 61499 Types
By default, new systems contain a copy of the IEC 61499 types in the tool-library. If different types are needed, for example from another project or another IEC 61499 engineering tool, these type files can be easily added by copying them into the project directory to the desired location. Furthermore, the Type Navigator allows to drag and drop types between projects as well as within a project to a different folder.
Creating Boot-Files
Use these steps when you want 4diac FORTE to start an application automatically from a boot-file, without downloading it from 4diac IDE every time.
When the option FORTE_SUPPORT_BOOTFILE is enabled in the 4diac FORTE runtime you are using, FORTE looks for a boot-file when it starts.
This boot-file must be located in the same directory as the 4diac FORTE executable and must be named forte.fboot.
It contains the FB network configuration for a device and is instantiated automatically during startup.
Open the boot-file wizard. In the System perspective, find the device or resource that should get a boot-file. Right-click it and select .
Select the system file.
In the Create FORTE Boot-files wizard, use the file list on the right to tick the system file of your project, for example BlinkyTest.sys.
After selecting the system file, the Selection area at the bottom shows the system entry (for example BlinkyTest).
By expanding this entry, you can see and select the devices of the system.
Choose the devices to include. In the Selection area, tick the device or devices for which boot-files should be generated. One boot-file is created for each selected device.
Choose the destination folder. Next to Destination, click and select the folder where the boot-files should be stored.
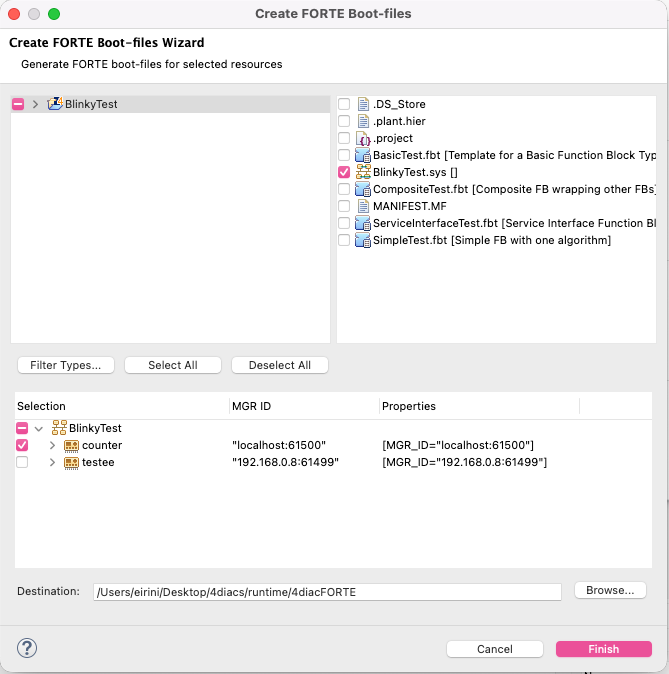
Generate the boot-files. Click . Each boot-file contains the selected resources and the FB networks contained in these resources. Because only the selected resources are included, you can keep additional resources in the system during development, for example for testing, and generate boot-files only for the resources needed in the final deployment.
Prepare the file for startup loading.
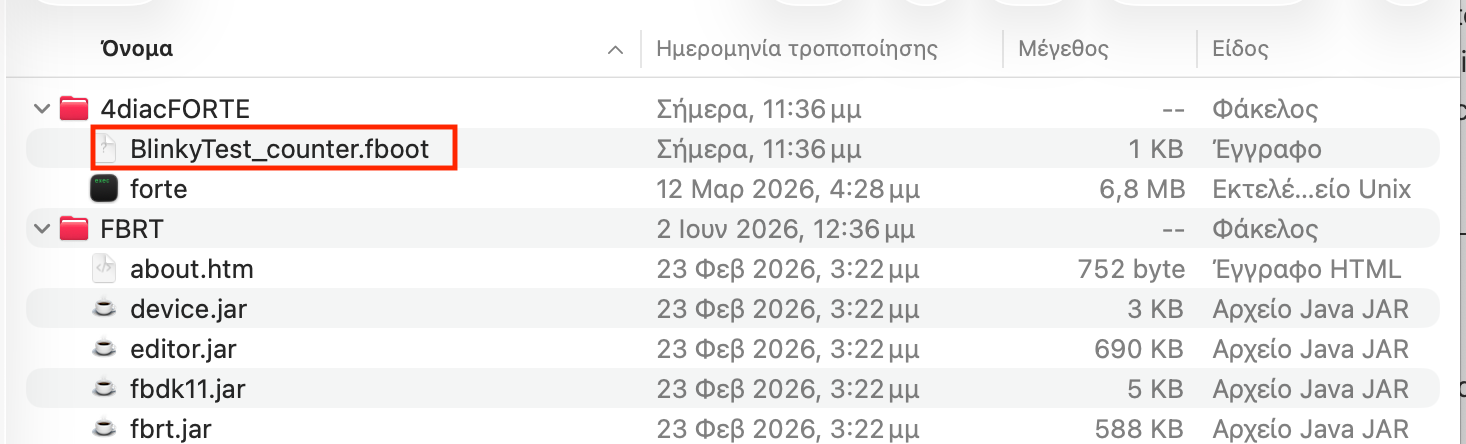
The generated file name is a combination of the system name and the device name with the extension .fboot.
Before using it for startup loading, rename this file to forte.fboot and place it in the same directory as the 4diac FORTE executable.
Where to go from here?
-
The last step is optional, and shows some advanced features of 4diac IDE that you might use in more complicated applications:
Step 6 - Advanced Features -
If you want to see some examples, the following link is an index of the available examples in the documentation:
4diac Examples -
If you have a specific platform that has input and outputs that is supported by 4diac FORTE, for example a Raspberry Pi or a PLC, and you want to use them, go to following page:
I/O Configuration Parameters for Different Platforms -
If you want to use a specific communication protocol supported by 4diac FORTE, for example MQTT, OPC UA, Modbus and so on, go to this page:
Supported Communication Protocols -
If you want to go back to see again how to create your own Function Blocks, here’s a link:
Step 4 - Create Your own Function Block Types -
If you want to go back to the Start Here page, we leave you here a fast access:
Where to Start