4. Auto Headlight : Run Simulation with scripts#
Follow chapter 2 before coming here : 2. Auto Headlight : Configure OpenXilEnv
Attention
Only Proceed here if you have been provided with .ini file and scripts to load these examples. or If you have followed chapter 2 and created your own scripts to load the FMUs, you can take these instructions as reference and execute in similar way. Otherwise, please skip this chapter and proceed to chapter 3. Auto Headlight : Run simulation by manual process.
Note
Assumption is that user knows to configure examples to the buttons to load the fmu.
Load examples with scripts#
Caution
Please check and adjust the paths and fmu names in scripts accordingly before going ahead with the example. Refer 2. Auto Headlight : Configure OpenXilEnv
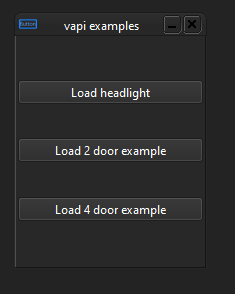
Click on any one of the buttons to load respective example.
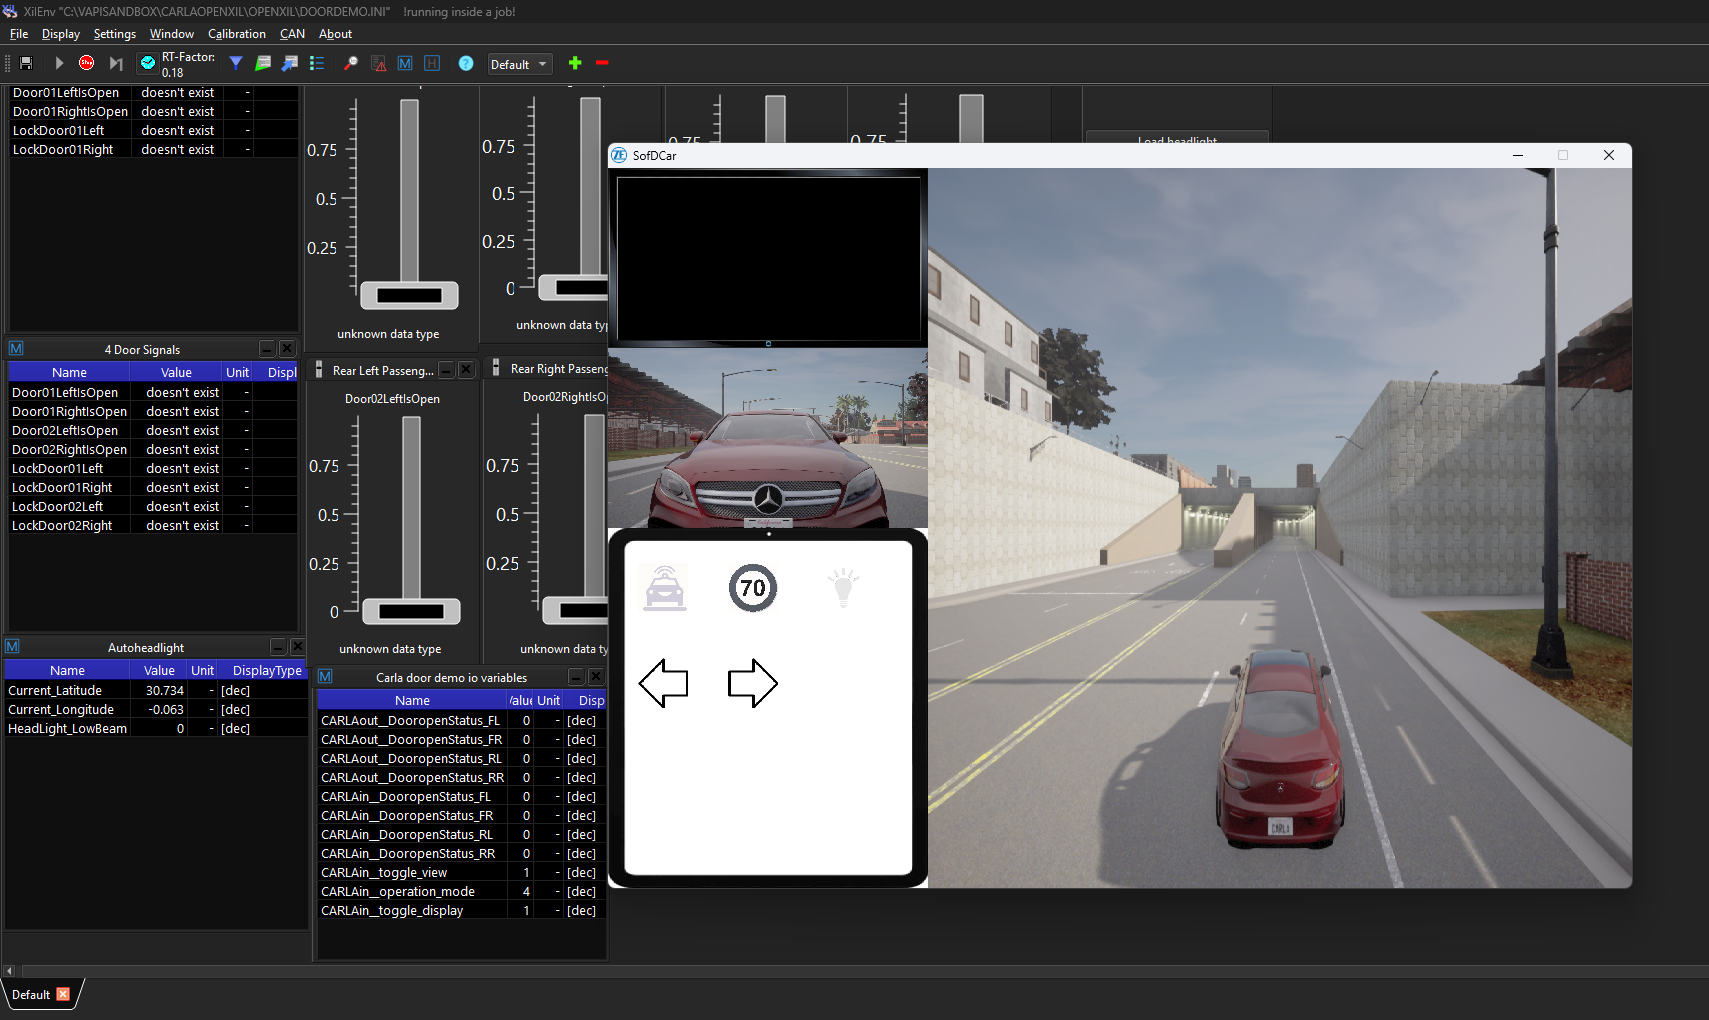
After the scene has been loaded and ready for usage.
Note
- Use following keys on your keyboard to control the vehicle motion in carla environment.
“W” -> Acceleration or Gas pedal. Hold it to move continuously and leave to slow down.
“A” -> Steer Left.
“D” -> Steer Right.
“S” -> Apply Brake.
“R” -> Toggle to enable or disable reverse gear.

Do following steps specific to the loaded example.
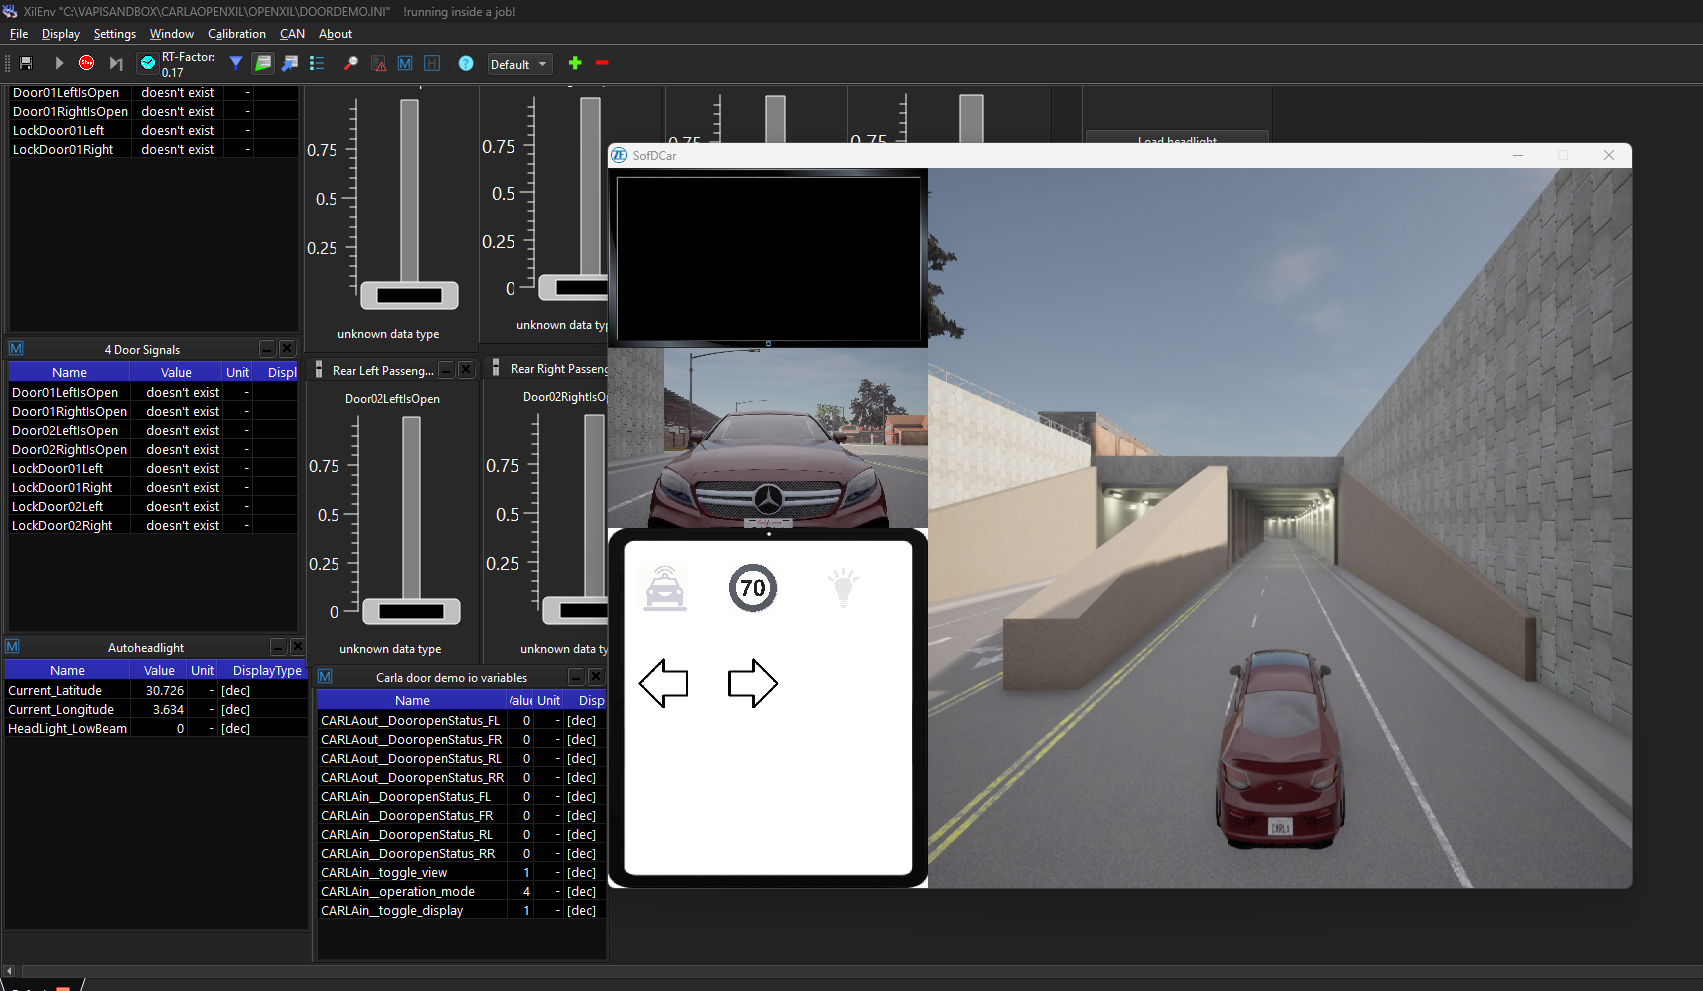
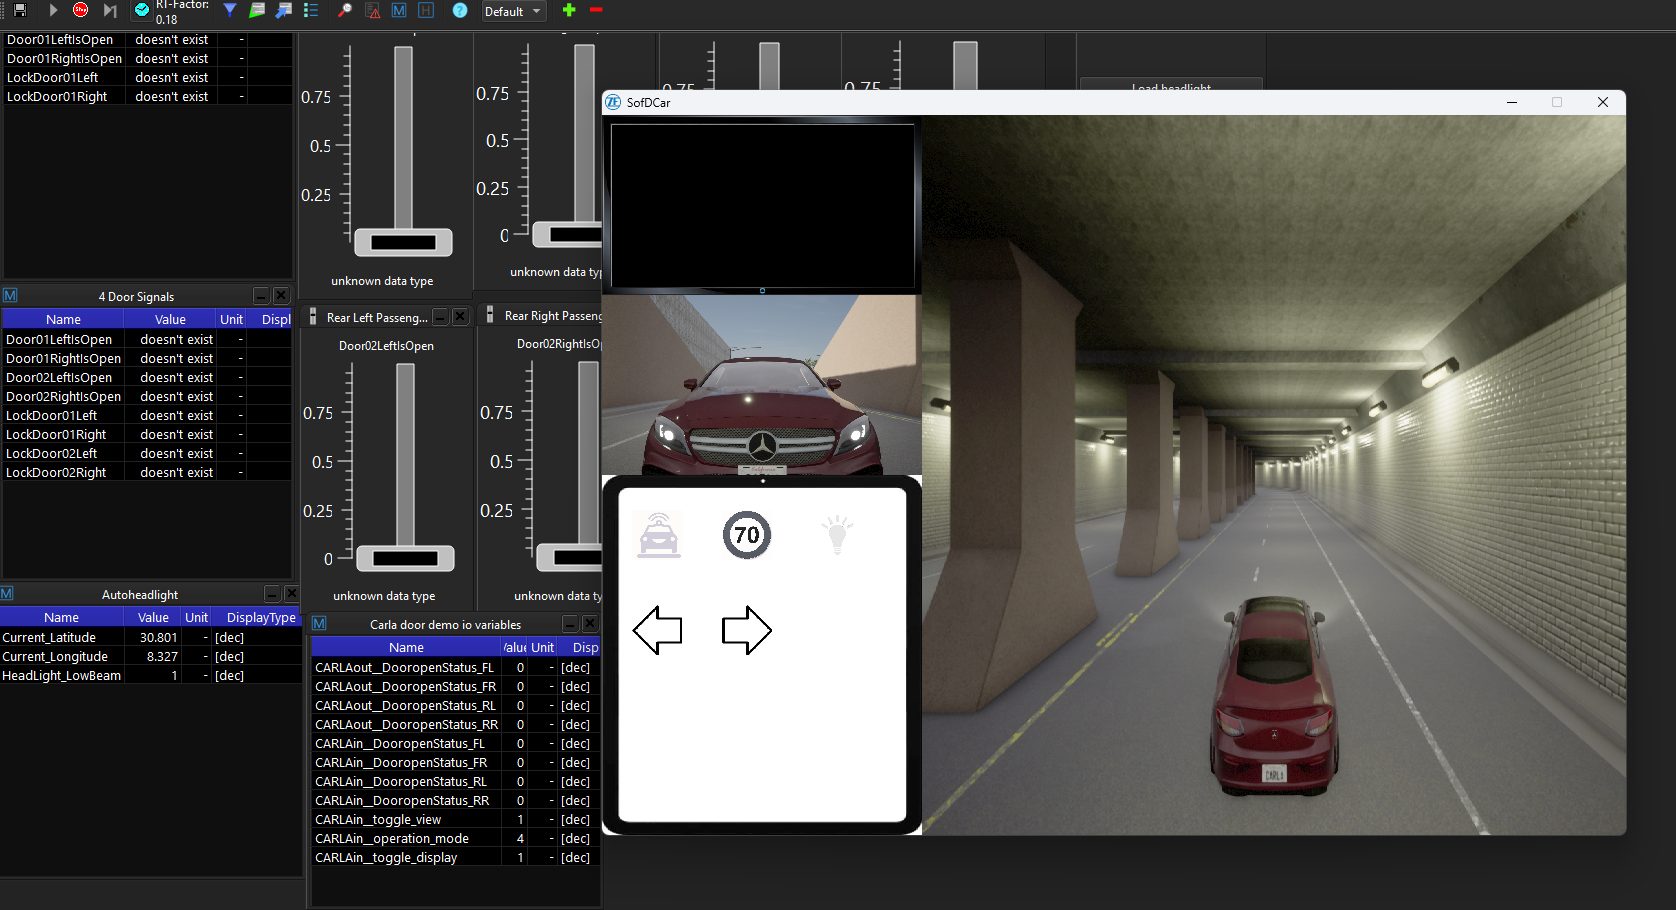
Auto Headlight : Starting point is defined in front of tunnel, so drive the car towards the tunnel and as soon as it enters, the headlight turns on and as car drives away from the tunnel, the headlight turns off.
Before entering tunnel: Headlights are off
After entering tunnel: Headlights are switched on
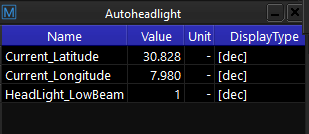
Signals can also be watched using the widgets as shown above.